Bulbs
Flower Basics
Flower Beds & Specialty Gardens
Flower Garden
Garden Furniture
Garden Gnomes
Garden Seeds
Garden Sheds
Garden Statues
Garden Tools & Supplies
Gardening Basics
Green & Organic
Groundcovers & Vines
Growing Annuals
Growing Basil
Growing Beans
Growing Berries
Growing Blueberries
Growing Cactus
Growing Corn
Growing Cotton
Growing Edibles
Growing Flowers
Growing Garlic
Growing Grapes
Growing Grass
Growing Herbs
Growing Jasmine
Growing Mint
Growing Mushrooms
Orchids
Growing Peanuts
Growing Perennials
Growing Plants
Growing Rosemary
Growing Roses
Growing Strawberries
Growing Sunflowers
Growing Thyme
Growing Tomatoes
Growing Tulips
Growing Vegetables
Herb Basics
Herb Garden
Indoor Growing
Landscaping Basics
Landscaping Patios
Landscaping Plants
Landscaping Shrubs
Landscaping Trees
Landscaping Walks & Pathways
Lawn Basics
Lawn Maintenance
Lawn Mowers
Lawn Ornaments
Lawn Planting
Lawn Tools
Outdoor Growing
Overall Landscape Planning
Pests, Weeds & Problems
Plant Basics
Rock Garden
Rose Garden
Shrubs
Soil
Specialty Gardens
Trees
Vegetable Garden
Yard Maintenance
How to Grow Peanuts
How to Grow Peanuts. Peanuts (Arachis hypogaea) look like large clover plants as they begin to grow, but their yellow flowers, which push the peanut seed pods into the ground to mature, make these legumes an interesting choice for the home garden. Needing between 120 and 150 frost-free days to grow to maturity, peanut plants are usually grown in...
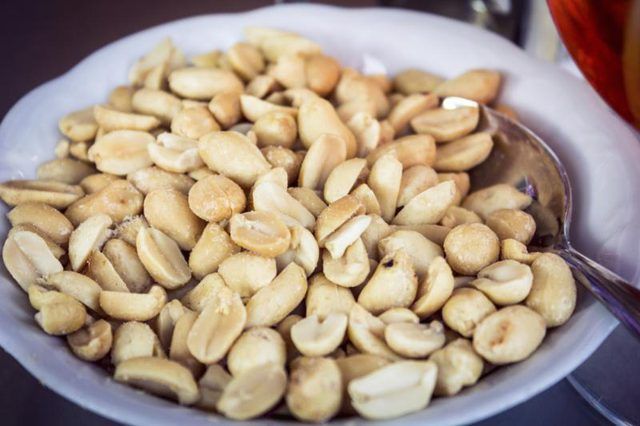
Peanuts (Arachis hypogaea) look like large clover plants as they begin to grow, but their yellow flowers, which push the peanut seed pods into the ground to mature, make these legumes an interesting choice for the home garden. Needing between 120 and 150 frost-free days to grow to maturity, peanut plants are usually grown in the warmer parts of the country, but Valencia and Spanish peanuts mature more quickly than the Virginia and Runner varieties and can be grown in cooler climates.
Amend Soil
Peanuts grow best when the soil pH is between 5.8 and 6.2, though they will do well up to pH 7.0. If the soil is too acidic, raise the pH with lime or slag, which also adds beneficial calcium to the peanuts. Because the flowers need to push the peanut embryo into the soil to mature, these plants need loose sandy soil. Work sand or compost into the soil before planting to loosen its texture.
Plant and Water
Plant the peanuts in a sunny area after the last frost of the winter has passed. Still in their paper skins, place them 6 inches apart and space rows 36 inches apart. Spanish peanuts are smaller plants that require only 4 inches between seeds and only 24 inches between rows. Keep the soil continuously moist during germination, when the plant is flowering and pods are being pushed into the soil, and around 100 days before harvest when the peanuts are forming. Stop watering completely two weeks before harvest as the peanuts mature.
Fertilize Plants
Peanuts effectively use nitrogen already present in the soil, so unlike most plants, they do not need additional nitrogen fertilizer. If peanuts have been grown in an area for more than one season, they may not need any fertilizer at all because they are efficient at using residual fertilizer. The exception is calcium. If not using lime to change the soil pH, add 2 1/2 pounds of gypsum per 100 feet of peanut row to add calcium. One pound of 0-24-24 or 0-14-14 fertilizer per 100 square feet of garden will be sufficient when growing peanuts for the first time.
Harvest Crop
Peanuts are ready to harvest when the whole plant begins to turn yellow. Test the maturity of the plants by pulling just one plant up at a time, shaking the dirt off and examining the peanuts. If the peanuts are not big enough to fill the shells, then they are not yet ready. Harvest plants by digging around the perimeter with a shovel or by using a turning fork that can carefully lift the plant out of the ground without breaking the stem attached to the peanut. Letting the harvested plant dry for a few days makes it easier to pull off the shells.

