Bulbs
Flower Basics
Flower Beds & Specialty Gardens
Flower Garden
Garden Furniture
Garden Gnomes
Garden Seeds
Garden Sheds
Garden Statues
Garden Tools & Supplies
Gardening Basics
Green & Organic
Groundcovers & Vines
Growing Annuals
Growing Basil
Growing Beans
Growing Berries
Growing Blueberries
Growing Cactus
Growing Corn
Growing Cotton
Growing Edibles
Growing Flowers
Growing Garlic
Growing Grapes
Growing Grass
Growing Herbs
Growing Jasmine
Growing Mint
Growing Mushrooms
Orchids
Growing Peanuts
Growing Perennials
Growing Plants
Growing Rosemary
Growing Roses
Growing Strawberries
Growing Sunflowers
Growing Thyme
Growing Tomatoes
Growing Tulips
Growing Vegetables
Herb Basics
Herb Garden
Indoor Growing
Landscaping Basics
Landscaping Patios
Landscaping Plants
Landscaping Shrubs
Landscaping Trees
Landscaping Walks & Pathways
Lawn Basics
Lawn Maintenance
Lawn Mowers
Lawn Ornaments
Lawn Planting
Lawn Tools
Outdoor Growing
Overall Landscape Planning
Pests, Weeds & Problems
Plant Basics
Rock Garden
Rose Garden
Shrubs
Soil
Specialty Gardens
Trees
Vegetable Garden
Yard Maintenance
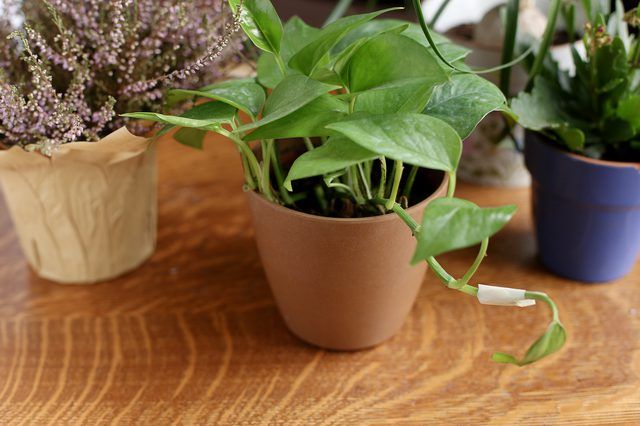
How to Graft a Plant
How to Graft a Plant. If you’ve never tried to graft a plant, you may be surprised at the technique’s simplicity. Although some grafting methods are more appropriate for experienced gardeners, but simple grafts are within reach of the average gardener. So if you have a steady hand, some sterile tools and a little patience, you can...
If you�ve never tried to graft a plant, you may be surprised at the technique�s simplicity. Although some grafting methods are more appropriate for experienced gardeners, but simple grafts are within reach of the average gardener. So if you have a steady hand, some sterile tools and a little patience, you can master the grafting basics.
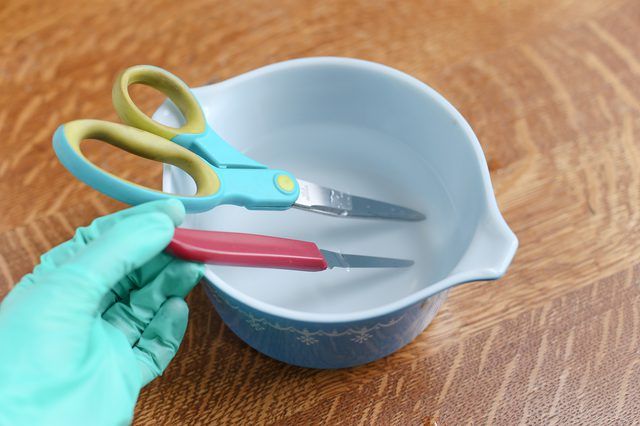
One of the most important steps in grafting a plant begins before you make any cuts. If your hands or the cutting tools are dirty, you can transmit a disease to a grafted plant. Dirty hands and tools may harbor pathogenic bacteria that spread to the cut surfaces of the plants and invade a plant systemically. Wear latex gloves after you wash your hands with anti-microbial soap, and sanitize your cutting tools. Although sterilized tools may not stop disease transmission, they may reduce the chance of infecting plants. Dr. S.A. Miller of Ohio State University recommends dipping the grafting blade in alcohol, passing it through a flame, and allowing the tool to cool before making any cuts. This is called "flaming."
Two of the simplest grafting methods depend on what kind of plant you�re grafting. For small seedlings, such as tomato (Lycopersicon esculentum) -- a tender perennial in U.S. Department of Agriculture plant hardiness zones 10 through 11 -- splice grafting, also known as slant-cut grafting, is typically used. Splice grafting is the most common technique to graft an heirloom tomato scion onto a hybrid tomato stock. Whip grafts are suitable for young woody plants with tender stems that are 1/4 inch to 1/2 inch in diameter.
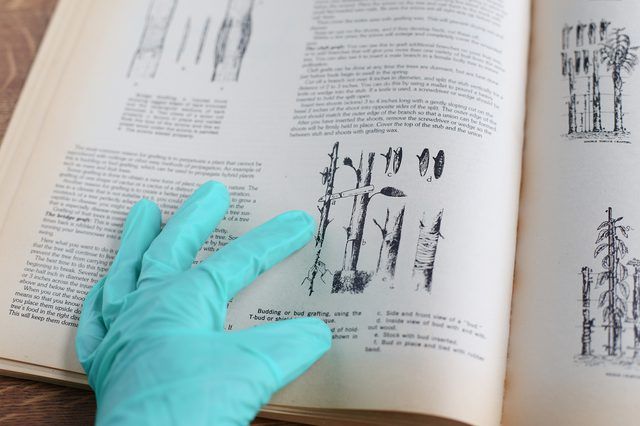
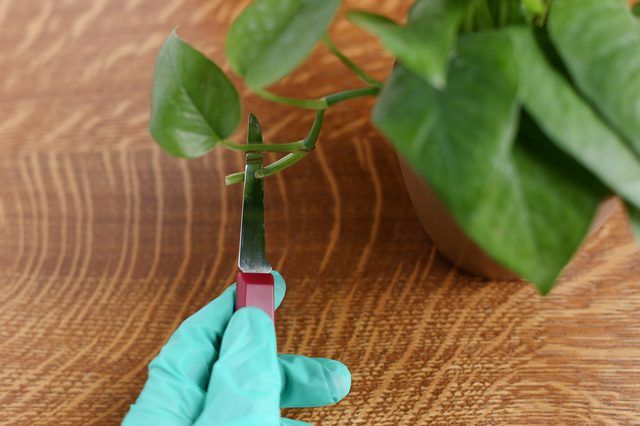
Using a flamed blade, sever the stem of one plant -- called the scion -- to graft onto the severed rootstock -- called the stock -- of another plant. To make a splice graft, cut a scion from one plant and the stock of another plant that has a similar diameter at 45-degree angles. Match the scion to the stock and use a silicone grafting clip to hold the two parts together. As the new plant knits together, the grafting clip will fall away. Preparing a plant for a whip graft, also called a tongue graft, starts with making a 2 1/2-inch cut angled upward on the scion and a similar cut on the stock, angled downward. Make a downward cut through the middle of the stock�s new slanted surface and an upward cut through the middle of the scion�s new slanted surface. Fit the two pieces together until they interlock like jigsaw puzzle pieces.
A silicone grafting clip is all you need to join a splice-grafted plant as it knits together. But whip grafts need a slightly firmer method to hold the two plant pieces together until the graft sets. Otherwise, the cut pieces can dry out, preventing a successful graft. You can use hand wax, which you soften in your hands, or brush wax, which you apply with a brush after heating it. Apply the wax so it covers all the cut surfaces of the graft, making sure that you don�t dislodge the interlocked stock and scion. Although you can purchase grafting tape, you can also use masking tape for whip grafts. Wrap the tape around the waxed area so it fits snugly but not so tightly that it cuts into the stems. You can safely remove the tape when new growth forms.


