Bulbs
Flower Basics
Flower Beds & Specialty Gardens
Flower Garden
Garden Furniture
Garden Gnomes
Garden Seeds
Garden Sheds
Garden Statues
Garden Tools & Supplies
Gardening Basics
Green & Organic
Groundcovers & Vines
Growing Annuals
Growing Basil
Growing Beans
Growing Berries
Growing Blueberries
Growing Cactus
Growing Corn
Growing Cotton
Growing Edibles
Growing Flowers
Growing Garlic
Growing Grapes
Growing Grass
Growing Herbs
Growing Jasmine
Growing Mint
Growing Mushrooms
Orchids
Growing Peanuts
Growing Perennials
Growing Plants
Growing Rosemary
Growing Roses
Growing Strawberries
Growing Sunflowers
Growing Thyme
Growing Tomatoes
Growing Tulips
Growing Vegetables
Herb Basics
Herb Garden
Indoor Growing
Landscaping Basics
Landscaping Patios
Landscaping Plants
Landscaping Shrubs
Landscaping Trees
Landscaping Walks & Pathways
Lawn Basics
Lawn Maintenance
Lawn Mowers
Lawn Ornaments
Lawn Planting
Lawn Tools
Outdoor Growing
Overall Landscape Planning
Pests, Weeds & Problems
Plant Basics
Rock Garden
Rose Garden
Shrubs
Soil
Specialty Gardens
Trees
Vegetable Garden
Yard Maintenance
How to Recover Dying Sod
How to Recover Dying Sod. Sod, like any plant, needs the proper environment to flourish. Since sod has the added hurdle of being a transplant to establish, homeowners installing sod need to take extra care to ensure their new sod has the best environment to establish roots in its new location. Environmental factors that can result in patches of...
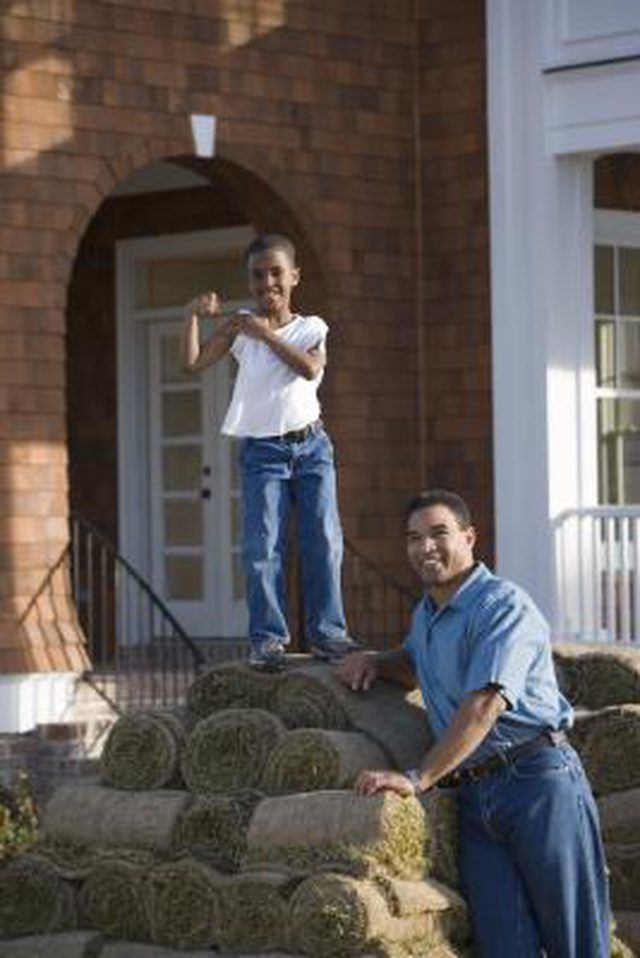
Sod, like any plant, needs the proper environment to flourish. Since sod has the added hurdle of being a transplant to establish, homeowners installing sod need to take extra care to ensure their new sod has the best environment to establish roots in its new location. Environmental factors that can result in patches of dying sod include inadequate water, too much water, improper drainage, insect infestation, too much shade, wrong grass plant for the area, and foot heavy traffic. Determine the problem with your dead areas of sod through a process of elimination.
Things You'll Need
Shovel
Tin can with both ends open
Measuring cup
Topsoil (as needed)
Sprinkler
Fertilizer (optional)
Insecticide (as needed)
Lift a small patch of sod and check just under the root layer for any small C-shaped white worms. These are grubs, which eat the roots of sod. Apply an insecticide labeled for grubs as soon as you notice damage. If damage is already extensive, University of Illinois Extension recommends treating for grubs, then raking away dead material and watering thoroughly to allow remaining roots to recover.
Dig down in the area that's dying and see what the soil looks like down 6 inches or 1 foot if your dead patched don't appear to be the result of grubs. If it's hard packed and won't let water through, new topsoil is required.
Force an open-ended can into the sod 1/2 inch deep or so. Fill it full of water and watch the surface of the water. If insects float to the top, identify their species and treat with an approved insecticide.
Evaluate the traffic pattern in your lawn. If the dead patches are across a high-traffic area, put up a temporary barrier until roots are firmly established, or remove the sod in favor of a pathway.
Determine whether the area is receiving too much water. Newly laid sod should be lightly watered twice a day, but only until roots start to penetrate the ground -- about seven to 10 days. If the sod has some resistance when you pull on it, roots are established and you should cut watering to 1/2 inch of water twice a week in summer. Set a measuring cup on the dying area and do your regular watering. If there is too much water in the cup, you need to cut back.
Check for pooling water when you finish your regular watering routine. The dead spot may be in a depression where water from other areas of the yard naturally accumulates. Lift the sod in that area and regrade the underlying soil to direct water to a non-sod area.
Prune back tree branches to decrease shade if the dead spot is in a heavily shaded area, or remove sod in that area in favor of a shade-tolerant ground cover. Certain types of grass do not grow well in the shade. You could apply seed -- in just that area-- using a shade-tolerant variety.
Hold off on the fertilizer for at least four weeks after installing sod, advises Purdue University's Turfgrass Science program, preferably until late fall. Too much nitrogen fertilizer will kill sod. Generally, not enough fertilizer will not kill sod, it just won't look as green and lush. An application of fertilizer in late fall that amounts to 1 pound of nitrogen per 1,000 feet is sufficient to encourage strong root growth, according to Purdue. Water sod well before fertilizing.
Dying sod across an entire lawn indicates a deeper problem, possibly caused by sod that was bad or dead when it was installed or poor soil preparation. Sod should be installed as soon as possible when it is delivered. The edges die easily if the sod is not kept moist. Rake off the dead material and water to determine if any roots are still living. Contact your sod supplier or contractor for their replacement policies.
Tips & Warnings
Most areas of the country have a local agricultural extension service from some local or state college. They are most helpful. You will need to take them a sample of your sod. They can analyze it in the lab and tell you what is wrong with it.
Don't cut your grass to short. It should be maintained at 2 to 3 inches long for best health.
When you dig in your sod be sure to save the sod (grass and roots) so the divet can be put back when you are through digging.


