Bulbs
Flower Basics
Flower Beds & Specialty Gardens
Flower Garden
Garden Furniture
Garden Gnomes
Garden Seeds
Garden Sheds
Garden Statues
Garden Tools & Supplies
Gardening Basics
Green & Organic
Groundcovers & Vines
Growing Annuals
Growing Basil
Growing Beans
Growing Berries
Growing Blueberries
Growing Cactus
Growing Corn
Growing Cotton
Growing Edibles
Growing Flowers
Growing Garlic
Growing Grapes
Growing Grass
Growing Herbs
Growing Jasmine
Growing Mint
Growing Mushrooms
Orchids
Growing Peanuts
Growing Perennials
Growing Plants
Growing Rosemary
Growing Roses
Growing Strawberries
Growing Sunflowers
Growing Thyme
Growing Tomatoes
Growing Tulips
Growing Vegetables
Herb Basics
Herb Garden
Indoor Growing
Landscaping Basics
Landscaping Patios
Landscaping Plants
Landscaping Shrubs
Landscaping Trees
Landscaping Walks & Pathways
Lawn Basics
Lawn Maintenance
Lawn Mowers
Lawn Ornaments
Lawn Planting
Lawn Tools
Outdoor Growing
Overall Landscape Planning
Pests, Weeds & Problems
Plant Basics
Rock Garden
Rose Garden
Shrubs
Soil
Specialty Gardens
Trees
Vegetable Garden
Yard Maintenance
How to Root Gardenia Clippings
How to Root Gardenia Clippings. Also known as Cape jasmine, gardenias produce deep green foliage upon shrubs that reach mature heights of 2 to 15 feet. Highly fragrant, creamy white flowers adorn the foliage when gardenia shrubs are in bloom from March through mid-June. Effective gardenia propagation is through seed, grafting or clippings....
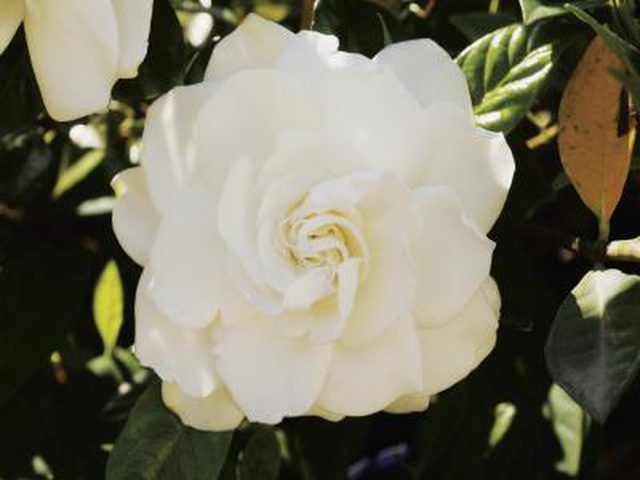
Also known as Cape jasmine, gardenias produce deep green foliage upon shrubs that reach mature heights of 2 to 15 feet. Highly fragrant, creamy white flowers adorn the foliage when gardenia shrubs are in bloom from March through mid-June. Effective gardenia propagation is through seed, grafting or clippings. Propagation by clippings requires a young stem, taken after the blooming season. Rooting usually takes place within three weeks of inserting the clippings in potting medium.
Things You'll Need
Pruning shears
4-inch pots
Peat moss
Coarse sand
Clear plastic bags
Rubber bands
Spray bottle
Select gardenia clippings between six to eight weeks of age, 4 to 6 inches long with at least two to three sets of leaves. Cut the clippings on a 45-degree angle, 1 inch from the main stem with a sharp pair of pruning shears.
Fill 4-inch pots with a 50/50 combination of damp peat moss and coarse sand. Press the cut end of one gardenia clipping into the center each pot. Approximately 2 inches of stem should lie below the soil line with all foliage above the soil line.
Cover each cutting with a clear plastic bag. Secure the bags to the pots with rubber bands and set the gardenia clippings in an area that receives bright, indirect sunlight.
Remove the plastic bags at least once a week to check for root development. Mist the soil lightly with water from a spray bottle to keep it damp. Replace the plastic if roots are still undeveloped.
Continue checking weekly for root-take. At the first sign of rooting, remove the plastic bags permanently.


