Bulbs
Flower Basics
Flower Beds & Specialty Gardens
Flower Garden
Garden Furniture
Garden Gnomes
Garden Seeds
Garden Sheds
Garden Statues
Garden Tools & Supplies
Gardening Basics
Green & Organic
Groundcovers & Vines
Growing Annuals
Growing Basil
Growing Beans
Growing Berries
Growing Blueberries
Growing Cactus
Growing Corn
Growing Cotton
Growing Edibles
Growing Flowers
Growing Garlic
Growing Grapes
Growing Grass
Growing Herbs
Growing Jasmine
Growing Mint
Growing Mushrooms
Orchids
Growing Peanuts
Growing Perennials
Growing Plants
Growing Rosemary
Growing Roses
Growing Strawberries
Growing Sunflowers
Growing Thyme
Growing Tomatoes
Growing Tulips
Growing Vegetables
Herb Basics
Herb Garden
Indoor Growing
Landscaping Basics
Landscaping Patios
Landscaping Plants
Landscaping Shrubs
Landscaping Trees
Landscaping Walks & Pathways
Lawn Basics
Lawn Maintenance
Lawn Mowers
Lawn Ornaments
Lawn Planting
Lawn Tools
Outdoor Growing
Overall Landscape Planning
Pests, Weeds & Problems
Plant Basics
Rock Garden
Rose Garden
Shrubs
Soil
Specialty Gardens
Trees
Vegetable Garden
Yard Maintenance
How to Repot a Peace Lily
How to Repot a Peace Lily. When a peace lily (Spathiphyllum spp.) crowds its container, it's time to repot this plant. Winter hardy only in U.S. Department of Agriculture plant hardiness zones 11 through 12, peace lily is usually grown as a houseplant. Peace lily varieties grow 1 to 6 feet tall and 1 to 5 feet wide, and thrive in indoor sites...
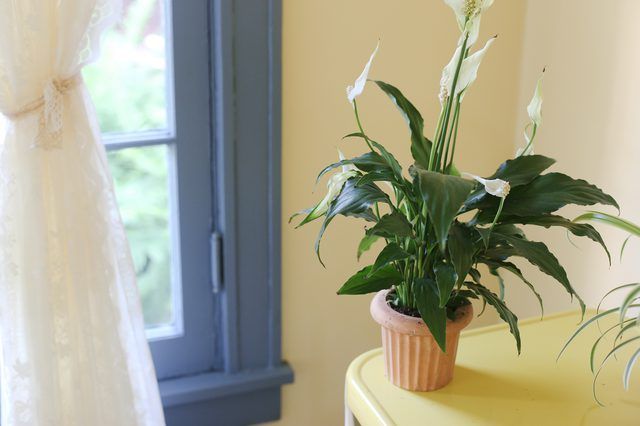
When a peace lily (Spathiphyllum spp.) crowds its container, it's time to repot this plant. Winter hardy only in U.S. Department of Agriculture plant hardiness zones 11 through 12, peace lily is usually grown as a houseplant. Peace lily varieties grow 1 to 6 feet tall and 1 to 5 feet wide, and thrive in indoor sites that receive indirect light. Areas bright enough to read a newspaper encourage the best flowering.
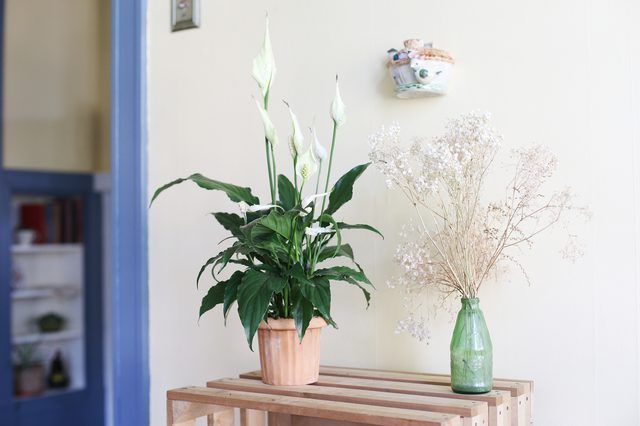
The best time for repotting a peace lily is in early to mid spring and when the plant has outgrown its container. Roots growing through the drainage holes in the base of the container and stems that fill the potting soil surface, making it difficult to water the plant, are some signs a peace lily needs a larger pot.
If a peace lily is very crowded it's better to repot it immediately rather than wait until spring. If the peace lily is only slightly crowded it's safe to wait. A peace lily usually grows and flowers well when slightly potbound.
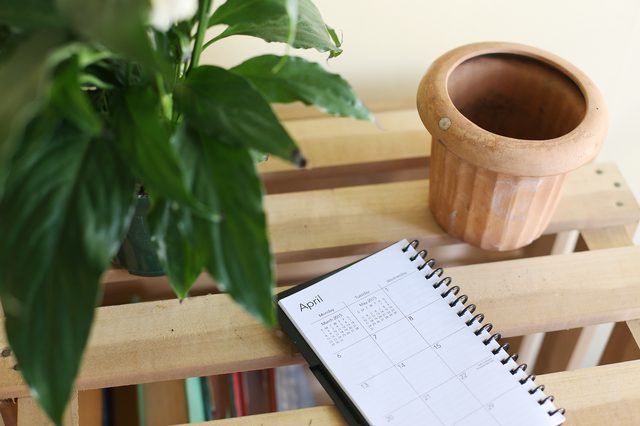
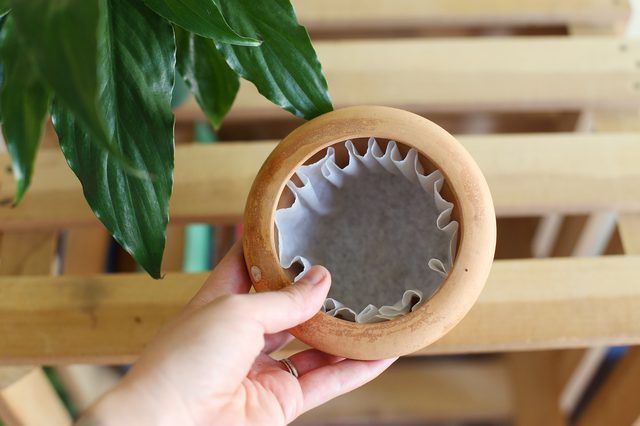
A new container for a peace lily should be one size larger than its current pot, and the potting soil must be freely draining. A peace lily growing in a pot that's 6 inches wide needs a new pot that's 7 or 8 inches wide. The container can be made of clay, plastic, metal or other waterproof material, but it must have drainage holes. Place a coffee filter or paper towel on the bottom of the pot to prevent potting soil from washing out.
Peace lily isn't a fussy houseplant and grows well in most well-drained commercial potting soils.
When removing a peace lily from its container for repotting, take the opportunity to check and trim its roots. Place one hand on the potting soil surface and gently hold the plant's stems. Turn the peace lily upside down, and pull the container away from the peace lily's root ball. If the plant doesn't come out of its container smoothly, knock the container edge on a hard surface and try again.
Examine the peace lily's roots for signs of damage or decay. Healthy peace lily roots are white or light-colored, and decaying roots are dark-colored or black, soft and sometimes smell offensive. Before and after trimming decaying roots from a peace lily, sterilize pruning shears by wiping them with a cloth that was dipped in rubbing alcohol. Prune decayed roots into healthy tissue, and cut through any roots circling the root ball. Make three or four vertical cuts into the root ball, one-sixth of its diameter deep.
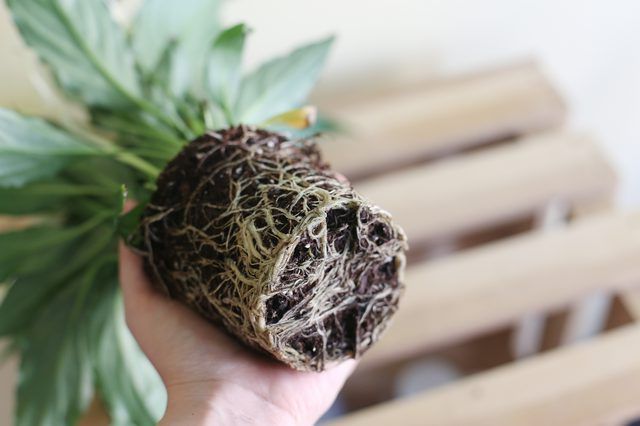
Fresh potting soil fills the gaps in the new pot when repotting a peace lily. Spread a layer of potting soil about 1 inch deep on the base of the container, and place the peace lily inside. The base of the peace lily stems should be about 1/2 inch below the container rim. You may need to add or remove potting soil at the container base to achieve the right level.
Fill gaps between the peace lily and the container wall with fresh potting soil, and gently firm the soil with your fingertips. Water the peace lily until water flows through the drainage holes. Place the plant in an area of bright indirect light, and water when the soil surface is dry.
