Bulbs
Flower Basics
Flower Beds & Specialty Gardens
Flower Garden
Garden Furniture
Garden Gnomes
Garden Seeds
Garden Sheds
Garden Statues
Garden Tools & Supplies
Gardening Basics
Green & Organic
Groundcovers & Vines
Growing Annuals
Growing Basil
Growing Beans
Growing Berries
Growing Blueberries
Growing Cactus
Growing Corn
Growing Cotton
Growing Edibles
Growing Flowers
Growing Garlic
Growing Grapes
Growing Grass
Growing Herbs
Growing Jasmine
Growing Mint
Growing Mushrooms
Orchids
Growing Peanuts
Growing Perennials
Growing Plants
Growing Rosemary
Growing Roses
Growing Strawberries
Growing Sunflowers
Growing Thyme
Growing Tomatoes
Growing Tulips
Growing Vegetables
Herb Basics
Herb Garden
Indoor Growing
Landscaping Basics
Landscaping Patios
Landscaping Plants
Landscaping Shrubs
Landscaping Trees
Landscaping Walks & Pathways
Lawn Basics
Lawn Maintenance
Lawn Mowers
Lawn Ornaments
Lawn Planting
Lawn Tools
Outdoor Growing
Overall Landscape Planning
Pests, Weeds & Problems
Plant Basics
Rock Garden
Rose Garden
Shrubs
Soil
Specialty Gardens
Trees
Vegetable Garden
Yard Maintenance
How to Harvest and Store Walnuts
How to Harvest and Store Walnuts. Harvesting and processing walnuts is a labor-intensive activity and extends across a period of time. Two species of walnut trees (Juglans spp.) are commonly grown, the native North American black walnut (Juglans nigra), which is hardy in U.S. Department of Agriculture plant hardiness zones 5 through 9a, and the...
Harvesting and processing walnuts is a labor-intensive activity and extends across a period of time. Two species of walnut trees (Juglans spp.) are commonly grown, the native North American black walnut (Juglans nigra), which is hardy in U.S. Department of Agriculture plant hardiness zones 5 through 9a, and the English or Persian walnut (Juglans regia), hardy in USDA zones 4 through 9. The nuts of a black walnut tree have harder shells and a stronger flavor than the nuts of an English walnut tree, and they are more difficult to shell.
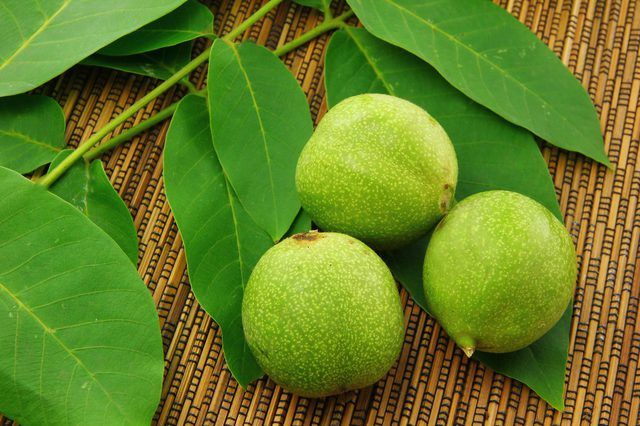
When walnuts are ripe, gather or pick them and process them right away. Usually, walnuts are ready for harvest from early September to early November, depending on the climate. A sign of ripeness in black walnut's nuts is when the hulls turn from green to yellow and a thumb can dent the hulls. The hulls of English walnut's nuts usually begin to dry and split open when the nuts are mature. In both tree species, often ripe walnuts fall to the ground. Gather fallen walnuts every few days. For an indication of when to pick walnuts from a tree, harvest a few nuts toward the tree's top, crack them and look at their interior membrane that separates the two kernel halves, called the packing membrane. A brown packing membrane usually signifies the maturity of the tree's nuts because nuts at the top of a tree ripen last.
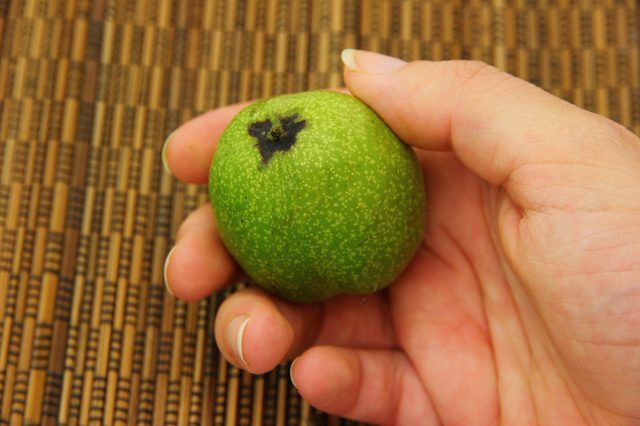
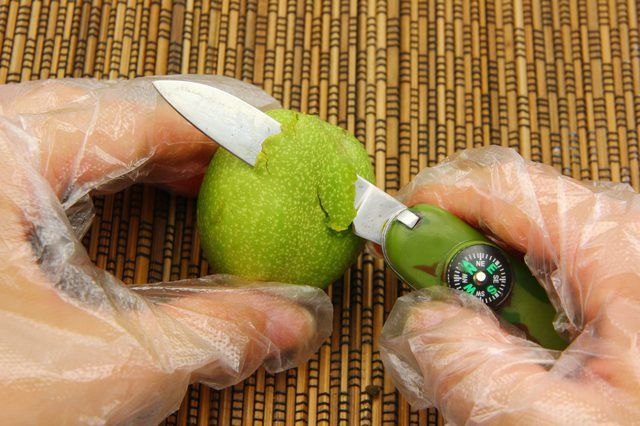
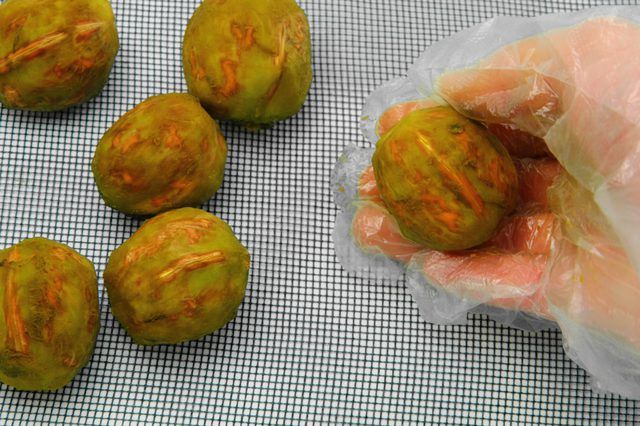
After harvesting walnuts, immediately remove their hulls. Wear plastic or other waterproof gloves to prevent the nuts' juices from staining your skin. If you leave hulls on the nuts, then the hull juices will travel into the nuts, making the kernels bitter and discolored. If you will remove hulls from only a few walnuts, then use a pocket knife to separate and remove the hulls. If you want to remove hulls from a larger quantity of walnuts, then use a clean cement mixer or corn huller, roll the nuts against a hard surface or rub them with a wire brush. After hulling, wash the walnuts in a tub of clean water to clean the shells and remove lingering hull pieces. Walnuts that float usually are unfilled and not worth processing.
Walnuts need to dry after they have been washed in water. Spread washed walnuts on wire screens to dry, arranging the nuts no more than three nuts deep. Place the screens in a dry place with good air circulation, such as a garage, shed or shady area. Stir the nuts each day. Cover them with plastic or a tarp if rain threatens, or move them under a covered area. If the nuts dry outdoors, then putting wire screening on top of the nuts may be necessary so birds and squirrels can't help themselves to the food. After a few days, some of the walnuts can be cracked open to check them for dryness. If the kernels and packing membranes are brittle and break with a snap, then the nuts are dry. If the kernels and packing membranes are still bendable, then continue the drying process.
Store walnuts either whole or shelled. At room temperature, whole walnuts stay fresh about three to six months. When whole walnuts are kept at 32 to 45 degrees Fahrenheit, they last one year, and they last two years at 0 F. Shelled walnuts take up less room, but the saturated oils in walnut meats are vulnerable to breakdown at room temperature, becoming rancid more quickly than other nuts. Store nutmeats in airtight containers immediately after shelling. They will last one or more years at 32 F, and two or more years at 0 F.
English walnuts are simple to shell with ordinary nut crackers. Black walnuts require more drastic measures, from hammers or pliers to rubber mallets. Use nut picks and pliers to extract the kernels. Some kinds of commercial nut crackers will work for black walnuts.
