Bulbs
Flower Basics
Flower Beds & Specialty Gardens
Flower Garden
Garden Furniture
Garden Gnomes
Garden Seeds
Garden Sheds
Garden Statues
Garden Tools & Supplies
Gardening Basics
Green & Organic
Groundcovers & Vines
Growing Annuals
Growing Basil
Growing Beans
Growing Berries
Growing Blueberries
Growing Cactus
Growing Corn
Growing Cotton
Growing Edibles
Growing Flowers
Growing Garlic
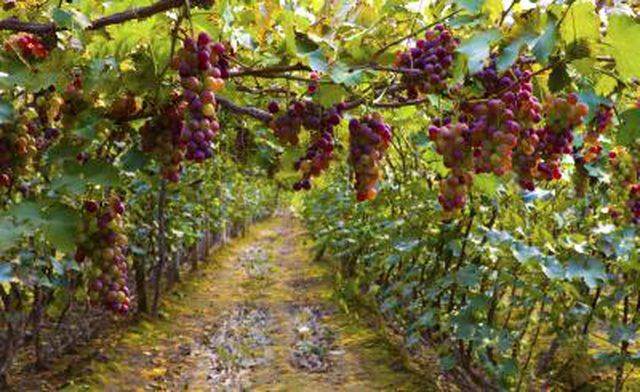
Growing Grapes
Growing Grass
Growing Herbs
Growing Jasmine
Growing Mint
Growing Mushrooms
Orchids
Growing Peanuts
Growing Perennials
Growing Plants
Growing Rosemary
Growing Roses
Growing Strawberries
Growing Sunflowers
Growing Thyme
Growing Tomatoes
Growing Tulips
Growing Vegetables
Herb Basics
Herb Garden
Indoor Growing
Landscaping Basics
Landscaping Patios
Landscaping Plants
Landscaping Shrubs
Landscaping Trees
Landscaping Walks & Pathways
Lawn Basics
Lawn Maintenance
Lawn Mowers
Lawn Ornaments
Lawn Planting
Lawn Tools
Outdoor Growing
Overall Landscape Planning
Pests, Weeds & Problems
Plant Basics
Rock Garden
Rose Garden
Shrubs
Soil
Specialty Gardens
Trees
Vegetable Garden
Yard Maintenance
How to Transplant Grapevines
How to Transplant Grapevines. For every region, there seems to be a grape (Vitis spp.) that will prosper. Depending on the species, grapes are hardy in U.S. Department of Agriculture plant hardiness zones 2 to 10. No matter what the variety, it's best to transplant grapes when the vines are dormant but the ground isn't frozen. Along with early...
For every region, there seems to be a grape (Vitis spp.) that will prosper. Depending on the species, grapes are hardy in U.S. Department of Agriculture plant hardiness zones 2 to 10. No matter what the variety, it's best to transplant grapes when the vines are dormant but the ground isn't frozen. Along with early spring, late fall can be ideal transplanting weather, especially in warmer climates. Be sure to check that cold snaps or storms -- especially those with high winds -- aren't anticipated as transplanting time nears.
If you're moving grapes from one part of your property to another, begin prepping the vines several months before the transplant by preparing the root system. If you have a choice, look for younger vines, which bounce back more quickly when moved. Prune the root ball by driving a sharp spade in a circular pattern, about 1 foot in diameter, from the base of each vine. This step encourages the formation of callus tissue that will eventually develop new roots after transplanting.
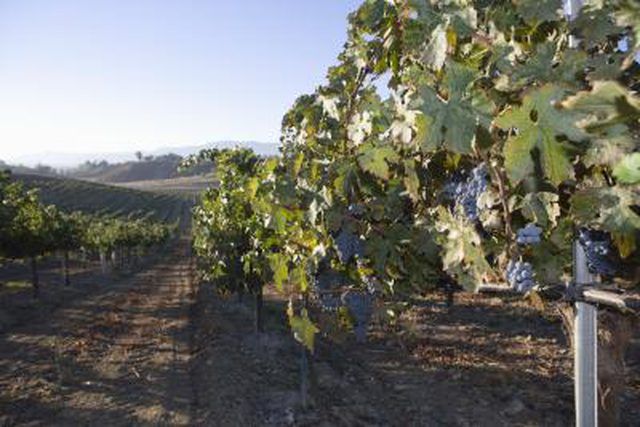
Digging the vines from their first location is the most labor-intensive part of the process. That's especially true if you're moving older vines, which can be several feet across, as well as heavy to lift and transport. Set the dug-up roots onto a large swath of burlap fabric in order to drag it to your new location, or lift it into a vehicle for transport. Ideally, you will have already dug the new holes for your grapevines, to lessen the amount of time the roots are exposed to open air.
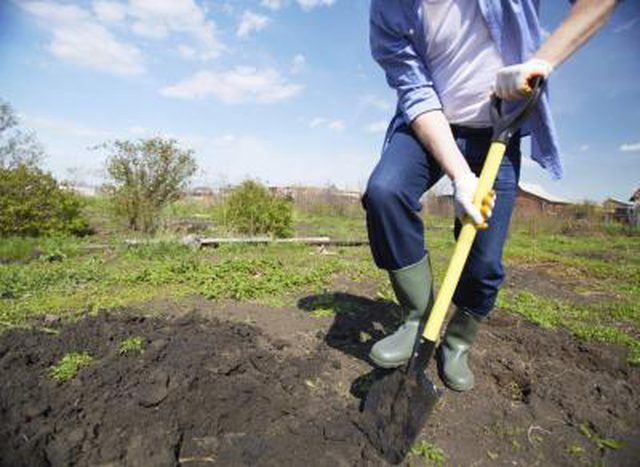
Whether you're transplanting your own grapevines or those from a nursery, it's important to prepare the area before at least a few weeks planting time. Make sure the soil is amended with sand or compost to improve drainage, if necessary. Grapes prefer neutral to slightly acidic soil; use limestone to raise pH that is lower than 6.5, or sulfur to lower pH higher than 7.5. When you dig the hole for the grapevine, create a space about as wide and slightly deeper than the root ball's height.
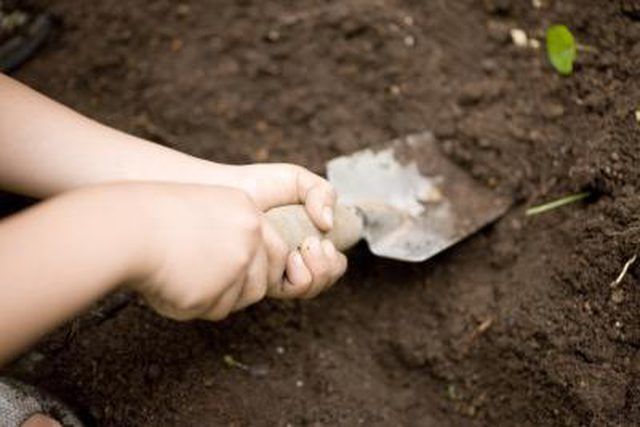
Once you bring the vine transplant to your planting site, set it in the hole. If the roots don't have enough room to spread out, widen the hole. This is also a good time to prune away any roots that are longer than the others, or that appear broken. Once you've set the vine in the hole, back-filled with soil and watered the area generously, trim the above-ground parts to a single cane. This cane should be tied to a stake or the lower part of the trellis once it is tall enough.


