Bulbs
Flower Basics
Flower Beds & Specialty Gardens
Flower Garden
Garden Furniture
Garden Gnomes
Garden Seeds
Garden Sheds
Garden Statues
Garden Tools & Supplies
Gardening Basics
Green & Organic
Groundcovers & Vines
Growing Annuals
Growing Basil
Growing Beans
Growing Berries
Growing Blueberries
Growing Cactus
Growing Corn
Growing Cotton
Growing Edibles
Growing Flowers
Growing Garlic
Growing Grapes
Growing Grass
Growing Herbs
Growing Jasmine
Growing Mint
Growing Mushrooms
Orchids
Growing Peanuts
Growing Perennials
Growing Plants
Growing Rosemary
Growing Roses
Growing Strawberries
Growing Sunflowers
Growing Thyme
Growing Tomatoes
Growing Tulips
Growing Vegetables
Herb Basics
Herb Garden
Indoor Growing
Landscaping Basics
Landscaping Patios
Landscaping Plants
Landscaping Shrubs
Landscaping Trees
Landscaping Walks & Pathways
Lawn Basics
Lawn Maintenance
Lawn Mowers
Lawn Ornaments
Lawn Planting
Lawn Tools
Outdoor Growing
Overall Landscape Planning
Pests, Weeds & Problems
Plant Basics
Rock Garden
Rose Garden
Shrubs
Soil
Specialty Gardens
Trees
Vegetable Garden
Yard Maintenance
How to Prune Wild Roses
How to Prune Wild Roses. Most cultivated rose varieties (Rosa spp.) are hybrids, rather than the natural "species" roses found growing in the wild. These wild rose species tend to grow vigorously, and require regular pruning to keep them in check. The best time for pruning wild roses is after they bloom. Wear gloves when pruning, because...

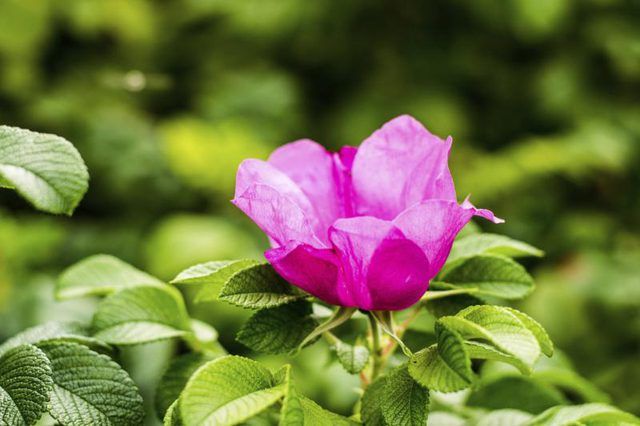
Most cultivated rose varieties (Rosa spp.) are hybrids, rather than the natural "species" roses found growing in the wild. These wild rose species tend to grow vigorously, and require regular pruning to keep them in check. The best time for pruning wild roses is after they bloom. Wear gloves when pruning, because wild roses typically have many thorns.
Wild Roses
One wild rose so common it grows as a weed in some areas is the multiflora, or rambler, rose (Rosa multiflora). This plant grows in U.S. Department of Agriculture plant hardiness zones 5 through 8, and may occasionally grow outside this range. It is considered an invasive plant, but can be kept under control by removing new canes that sprout up throughout the growing season. Other species roses that grow wild, but don't spread as fast, require less severe pruning. They may grow in USDA zones 2 through 11, depending on the species.
Pruning Goals
Most cultivated roses are grafted onto a host rootstock, but wild roses grow on their own roots and send up new canes directly from the soil rather than a graft union. When pruning these roses, the main goals are to remove dead or diseased canes and give the plant an attractive shape. To thin the rose clump, remove entire canes at soil level. To encourage new growth or shape the rose, cut canes at a 45-degree angle right above the place where a healthy leaf meets the cane. The leaf chosen should be growing outward from the center of the rose plant. When cutting flowers or pruning canes, remove only about 25 percent of the rose plant's height.
When to Prune
Most pruning for wild roses should be done after the plant flowers. This pruning focuses on removing unwanted shoots and choosing four to eight canes that will be allowed to grow and flower next year. Wild roses, including multiflora rose, bloom on last year's wood, so heavy pruning in the fall or spring would remove the canes that will produce blooms. In fall, remove spindly growth and root suckers that have developed over the summer. In spring, remove only canes that died over the winter.
Pruning Tips
Use a pair of clean, sharp pruning shears or a pruning knife when working with roses. After pruning, cover the cut ends with pruning paint or white glue to seal the ends of the canes, advises University of Illinois Extension. This helps prevent disease and insect infestation, particularly cane borers. It is a good precaution to disinfect pruning tools after each use, to prevent the spread of diseases among plants. Do this by soaking the tools in a solution of 1 part bleach to 3 parts water for five minutes. After soaking, rinse tools with clean water and allow them to air-dry before using or storing.