Bulbs
Flower Basics
Flower Beds & Specialty Gardens
Flower Garden
Garden Furniture
Garden Gnomes
Garden Seeds
Garden Sheds
Garden Statues
Garden Tools & Supplies
Gardening Basics
Green & Organic
Groundcovers & Vines
Growing Annuals
Growing Basil
Growing Beans
Growing Berries
Growing Blueberries
Growing Cactus
Growing Corn
Growing Cotton
Growing Edibles
Growing Flowers
Growing Garlic
Growing Grapes
Growing Grass
Growing Herbs
Growing Jasmine
Growing Mint
Growing Mushrooms
Orchids
Growing Peanuts
Growing Perennials
Growing Plants
Growing Rosemary
Growing Roses
Growing Strawberries
Growing Sunflowers
Growing Thyme
Growing Tomatoes
Growing Tulips
Growing Vegetables
Herb Basics
Herb Garden
Indoor Growing
Landscaping Basics
Landscaping Patios
Landscaping Plants
Landscaping Shrubs
Landscaping Trees
Landscaping Walks & Pathways
Lawn Basics
Lawn Maintenance
Lawn Mowers
Lawn Ornaments
Lawn Planting
Lawn Tools
Outdoor Growing
Overall Landscape Planning
Pests, Weeds & Problems
Plant Basics
Rock Garden
Rose Garden
Shrubs
Soil
Specialty Gardens
Trees
Vegetable Garden
Yard Maintenance
How to Transplant Lily of the Valley
How to Transplant Lily of the Valley. Lily of the valley (Convallaria magalis) grows to 6 inches high, producing delicate, white, bell-shaped flowers along a curved stem. Blooming in late spring, this fragrant flower appears delicate but thrives in nearly any soil and grows in shaded areas where few other plants survive. Left to naturalize, lily of...
Lily of the valley (Convallaria magalis) grows to 6 inches high, producing delicate, white, bell-shaped flowers along a curved stem. Blooming in late spring, this fragrant flower appears delicate but thrives in nearly any soil and grows in shaded areas where few other plants survive. Left to naturalize, lily of the valley spreads aggressively by underground rhizomes sending up new shoots several inches away. Dividing and transplanting them in new soil requires little work and often produces improved blooming. Lily of the valley flourishes in U.S. Department of Agriculture plant hardiness zones 2 through 7.
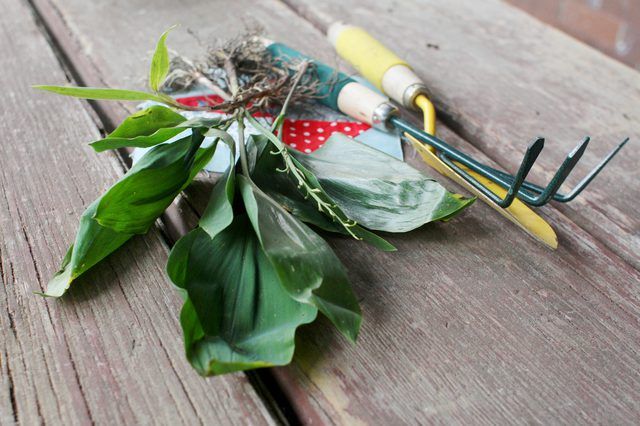
Things You'll Need
Garden spade
Damp cloth (optional)
Compost/manure
Mulch
Step 1
Transplant lily of the valley in late summer or early fall. Although they can be transplanted successfully anytime after blooming, fall transplanting produces hardier plants and increases next year's blooms.

Step 2
Select a location in a shady or partially shady area. Even though lily of the valley survives in nearly any lighting, blooms are more abundant when planted in a shady location. Early morning sunlight is fine, but avoid areas that receive direct sunlight for more than a few hours. Lily of the valley grows naturally beneath trees where it receives dappled sun throughout the day.
Step 3
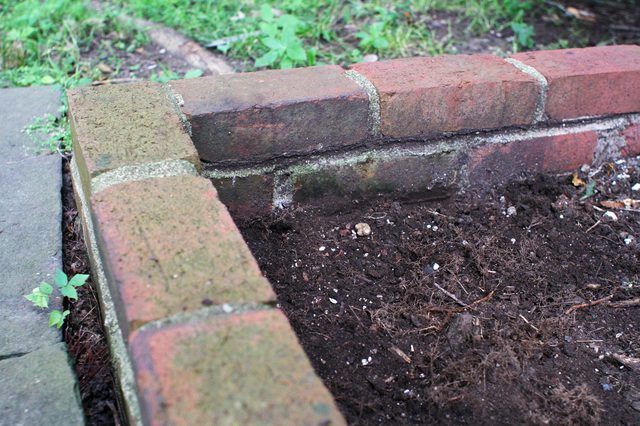
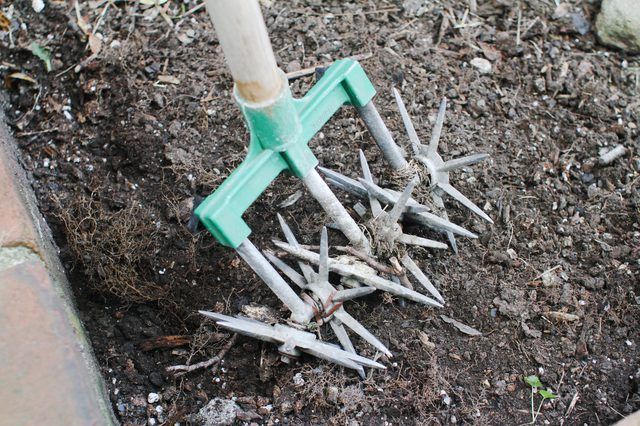
Prepare the new location by tilling the soil to a depth of 10 to 12 inches. Lily of the valley likes well-drained soil that is rich in organic matter. Amend the soil with well-rotted manure, compost or other organic matter to provide nutrients and increase aeration. Clay soils benefit from the addition of sand to promote drainage.
Step 4
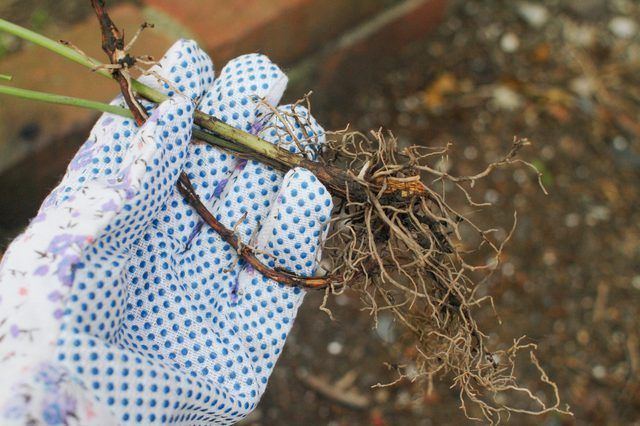
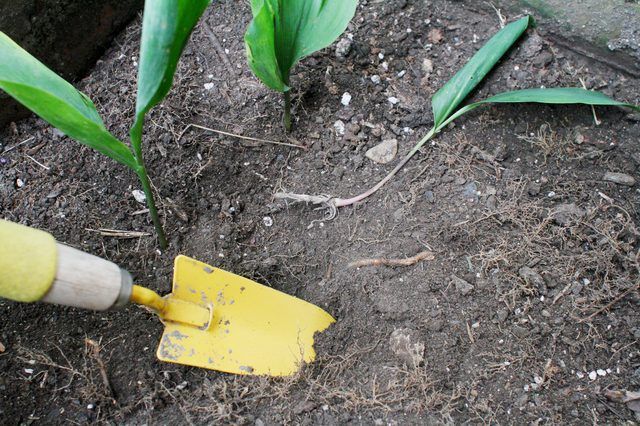
Dig beneath the plants with a sharp spade. Lift from the soil with roots attached. Tease plants apart with your hands and shake gently to loosen as much soil as possible without damaging the roots. Move the plants to the new location. If you are unable to plant immediately, wrap the roots with a damp cloth to prevent them from drying out.
Step 5
Plant to the original depth, about 3 inches, and firm the soil down with your hands to remove air pockets and settle the plant into its new location. Water thoroughly and keep evenly moist until the new plants are established. When transplanted in the fall, lily of the valley develops a strong root system to support growth and blooming in the next season.
Step 6
Mulch with leaves or straw in late fall before the ground freezes to prevent plants from being dislodged by freezing and thawing soil. Cease watering prior to the first freeze. Uncover the plants in early spring as soon as young shoots appear. Lily of the valley sends up a single shoot that contains two tightly coiled leaves. Leaves unfold gradually and a flower stalk emerges.
