Bulbs
Flower Basics
Flower Beds & Specialty Gardens
Flower Garden
Garden Furniture
Garden Gnomes
Garden Seeds
Garden Sheds
Garden Statues
Garden Tools & Supplies
Gardening Basics
Green & Organic
Groundcovers & Vines
Growing Annuals
Growing Basil
Growing Beans
Growing Berries
Growing Blueberries
Growing Cactus
Growing Corn
Growing Cotton
Growing Edibles
Growing Flowers
Growing Garlic
Growing Grapes
Growing Grass
Growing Herbs
Growing Jasmine
Growing Mint
Growing Mushrooms
Orchids
Growing Peanuts
Growing Perennials
Growing Plants
Growing Rosemary
Growing Roses
Growing Strawberries
Growing Sunflowers
Growing Thyme
Growing Tomatoes
Growing Tulips
Growing Vegetables
Herb Basics
Herb Garden
Indoor Growing
Landscaping Basics
Landscaping Patios
Landscaping Plants
Landscaping Shrubs
Landscaping Trees
Landscaping Walks & Pathways
Lawn Basics
Lawn Maintenance
Lawn Mowers
Lawn Ornaments
Lawn Planting
Lawn Tools
Outdoor Growing
Overall Landscape Planning
Pests, Weeds & Problems
Plant Basics
Rock Garden
Rose Garden
Shrubs
Soil
Specialty Gardens
Trees
Vegetable Garden
Yard Maintenance
Design a Virtual Garden Online
Design a Virtual Garden Online. While a blank slate is often advantageous, the wide range of plants and landscaping options can make starting a garden from scratch seem overwhelming. Numerous online garden-planning resources can help you plan and visualize the garden design before committing your shovel to soil. These tools are just as advantageous...
While a blank slate is often advantageous, the wide range of plants and landscaping options can make starting a garden from scratch seem overwhelming. Numerous online garden-planning resources can help you plan and visualize the garden design before committing your shovel to soil. These tools are just as advantageous for planning small vegetable gardens as they are for overhauling the garden design of your entire property. Online garden planning tools vary -- some have advanced features that others don't have -- but the basic functions of most programs are similar.
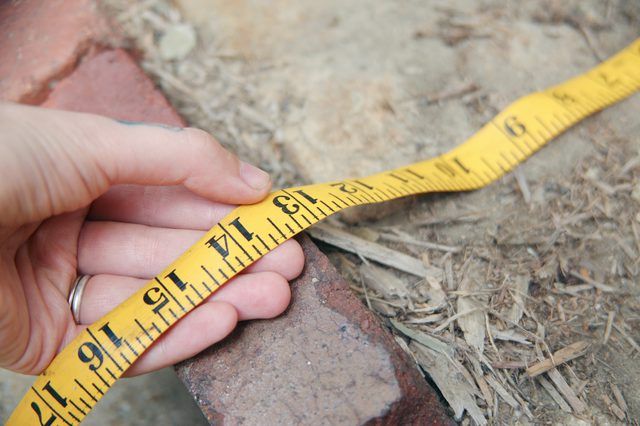
Things You'll Need
Measuring tape
Step 1
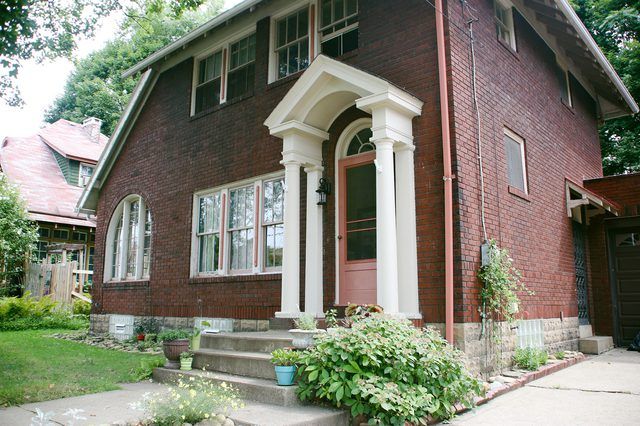
Measure the space for the garden with a measuring tape. If you only want to plan a small corner garden, you need only measure the dimensions in that corner. Measure your entire property if you wish to extend the design throughout the property. When attempting large-scale designs, also measure any large, existing features, such as the house, garage, sheds, driveway, walkways, pergolas, gazebos, trees and shrubs -- anything you intend to incorporate in the final design.
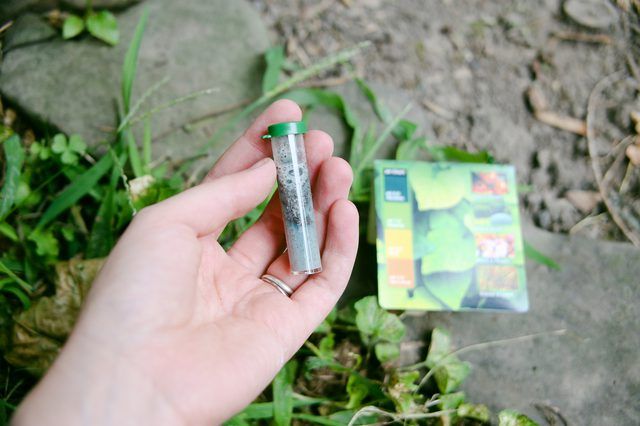
Step 2
Take a sample of the soil in the area for the garden to determine the soil type. Choose plants that perform well in your type of soil when you plan the virtual garden, and you won't have to spend countless hours amending the soil type to be suitable for other plants. Observe the amount of sunlight the different areas of your yard receive throughout the day so you can choose plants that suit the available sunlight. This helps you avoid mishaps such as planting sun-loving moss phlox (Phlox subulata) in an area with dense shade. Moss phlox grows in U.S. Department of Agriculture plant hardiness zones 3 through 9.
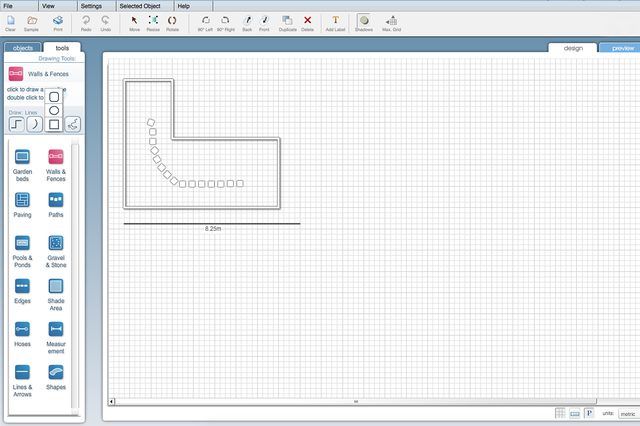
Step 3
Draw a scale model of the property or garden space dimensions in the online garden planner tool. This typically requires you to click and drag until the workbox is the proper size. The online program should have a square grid to help you achieve the proper scale. To plan a garden that is 20 feet by 20 feet, for example, each square in the grid can be equivalent to 1 foot, making the required box 20 squares long and 20 squares wide. Alternatively, you can select a garden template that closely resembles your own space and use it as a starting point for your garden design, although this option isn't available with all online garden-planner programs.
Step 4
Draw shapes within the larger workbox to represent the existing structures on the property or within the garden. Some programs are so advanced that you can select a house style that is a near perfect match for your own house and then select other features such as decks and driveways in the exact material. In basic programs, you might simply designate the house with a square, use a rectangle for the driveway or mark a large shade tree with a large circle.
Step 5
Select large garden features that you want to add to the garden design, such as walkways, fences, ponds, pools or arbors. Place them within the workbox in the exact spot you wish to add the features on your property. You might have to mark these new features with basic shapes or real pictures provided by the program. While a program with real pictures makes it easy to visualize how these features work in your garden, inserting shapes to the proper scale also helps determine which features work well in the space. These types of garden features can often be found listed under "Tools" or "Structures."
Step 6
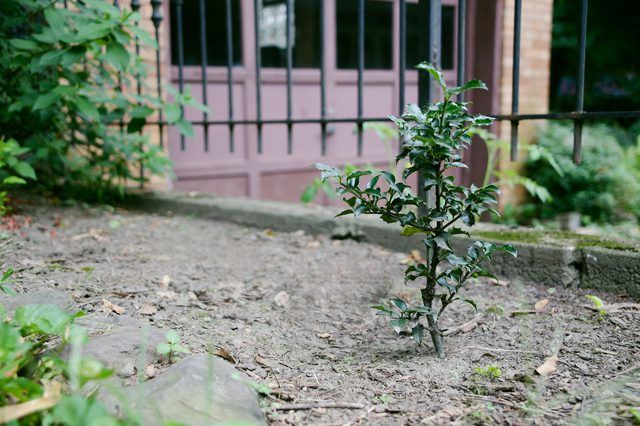
Insert large plants in the large workbox, followed by medium and smaller plants until you are satisfied with the plant placement. Some programs have options such as "large shrub" or "small shrub," while others provide lists of hundreds of actual plants you can add to see how they look. The plants you choose must be compatible with the plant hardiness zone in which you live. For example, you can't expect to grow a lilac shrub in tropical USDA plant hardiness zone 11 because it requires the cold winter chill found in USDA zones 3 through 7. You can find plant hardiness zone information online, but some garden-planner tools provide this information.
Step 7
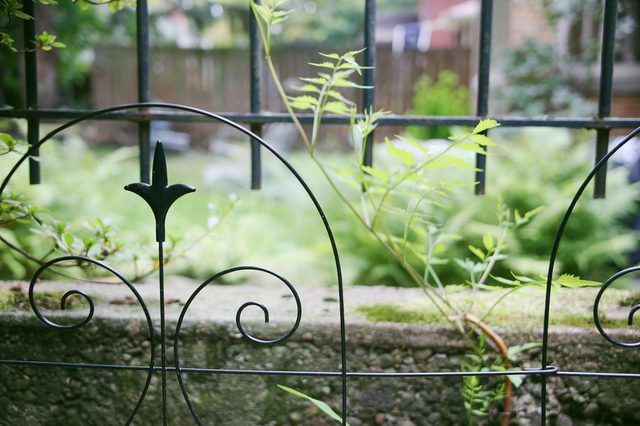
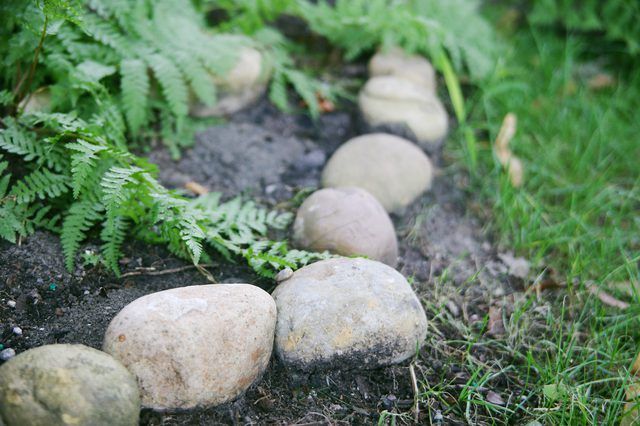
Define areas of the garden with edging and borders. You can place individual small stones for a border around a flower bed or designate the borders with a thick, bold line in less sophisticated programs.
Step 8
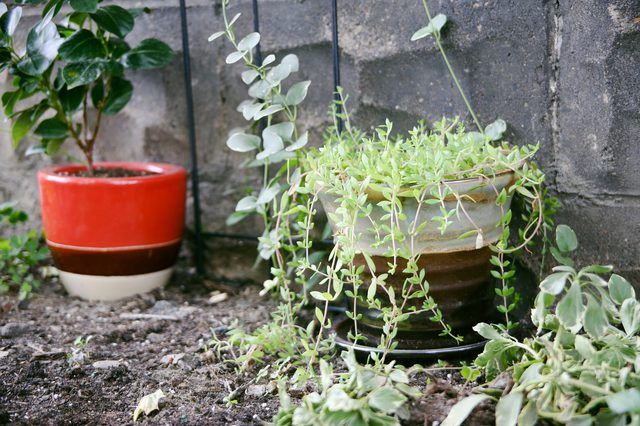
Fill in empty spaces in the design with garden decorations, which might include small lawn ornaments, statuary or potted plants. For instance, you might want to sample how a short deck would look with a row of potted plants instead of a more intrusive handrail and pickets. Use this step to see what the end of your driveway might look like when flanked with stone columns topped with lanterns or urn planters.


