Bulbs
Flower Basics
Flower Beds & Specialty Gardens
Flower Garden
Garden Furniture
Garden Gnomes
Garden Seeds
Garden Sheds
Garden Statues
Garden Tools & Supplies
Gardening Basics
Green & Organic
Groundcovers & Vines
Growing Annuals
Growing Basil
Growing Beans
Growing Berries
Growing Blueberries
Growing Cactus
Growing Corn
Growing Cotton
Growing Edibles
Growing Flowers
Growing Garlic
Growing Grapes
Growing Grass
Growing Herbs
Growing Jasmine
Growing Mint
Growing Mushrooms
Orchids
Growing Peanuts
Growing Perennials
Growing Plants
Growing Rosemary
Growing Roses
Growing Strawberries
Growing Sunflowers
Growing Thyme
Growing Tomatoes
Growing Tulips
Growing Vegetables
Herb Basics
Herb Garden
Indoor Growing
Landscaping Basics
Landscaping Patios
Landscaping Plants
Landscaping Shrubs
Landscaping Trees
Landscaping Walks & Pathways
Lawn Basics
Lawn Maintenance
Lawn Mowers
Lawn Ornaments
Lawn Planting
Lawn Tools
Outdoor Growing
Overall Landscape Planning
Pests, Weeds & Problems
Plant Basics
Rock Garden
Rose Garden
Shrubs
Soil
Specialty Gardens
Trees
Vegetable Garden
Yard Maintenance
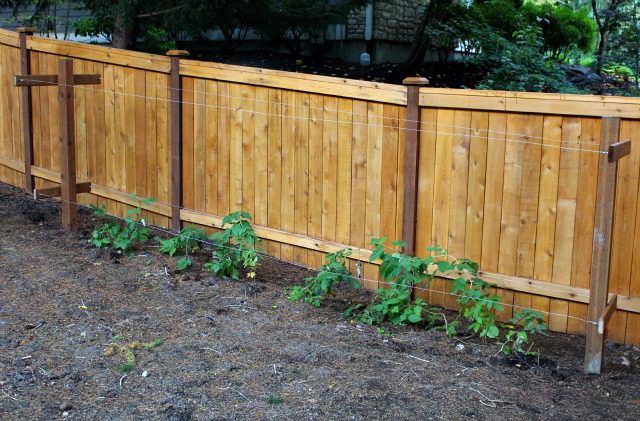
How to Build a Raspberry Trellis
This raspberry trellis is an inexpensive and easy weekend project for the beginner gardener using common household tools.
Picking raspberries and growing raspberries is so much more enjoyable when you have a raspberry trellis installed in your berry patch. The berries are easier to reach and mulching the beds in the fall is a breeze. Building a traditional raspberry trellis is a great project for the beginning gardener and can be completed for less than $50 .
Things You'll Need
4 x 4 x 8-foot treated posts, (2)
2 x 4 x 3-foot treated boards, (2)
2 x 4 x 2-foot treated boards, (2)
Posthole digger
Level
#6 screw eyes, (8)
100 feet 14-gauge galvanized wire
80-lb bag fast setting concrete, (1)
3 1/2 inch wood screws, (16)
Cordless drill
Wire snips
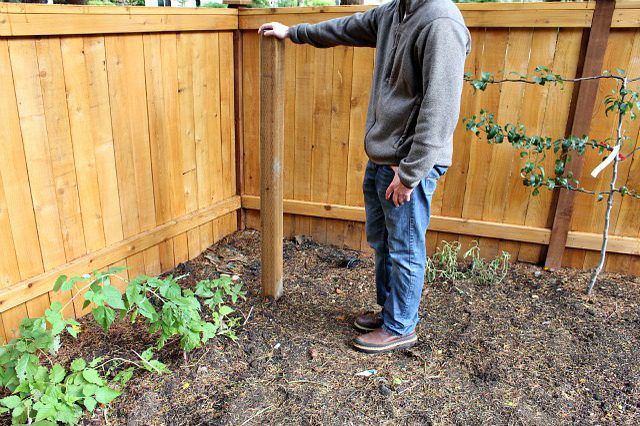
Step 1: Set Fence Posts
Use a posthole digger to dig two holes, 2 feet deep and about 20 feet apart. Set posts in cement following the directions on the back of the concrete bag and let the cement harden overnight.
The next day, backfill the hole and tamp the soil into place once the cement has dried.
Step 2: Pre-Drill Holes
Pre-drill four holes in the center of each 2-foot and 3-foot board.
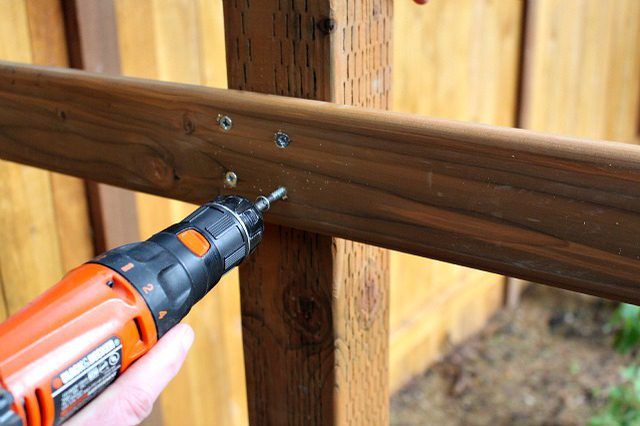
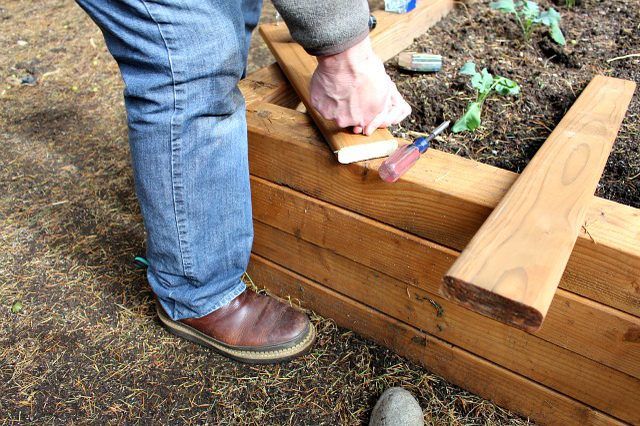
Step 3: Attach Crosspieces to Posts
Place the 36-inch crosspiece 18 inches from the top of your post, level it and drill four wood screws through the board and into the fence post. Then, place the 24-inch crosspiece approximately 18 inches from the ground, level it and drill four wood screws through the board and into the fence post. Raspberry canes tend to arch outward as they grow so having the longer board towards the top of the fence post is beneficial.
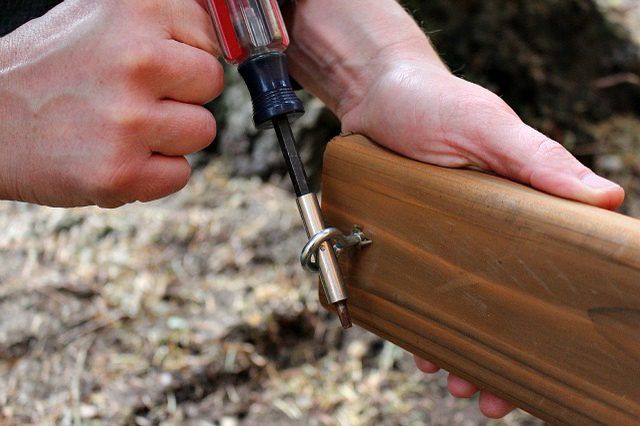
Step 4: Attach Screw Eyes to Crosspieces
Once the crosspieces are attached to the posts you'll need to install the screw eyes to the crosspieces. Screw eyes hold the support wires and should be placed on the inside of your trellis. Place screw eyes approximately two inches from the edge of your crosspieces and screw them into the board. You may need to use a screwdriver or other slender tool to tighten them securely into the boards.
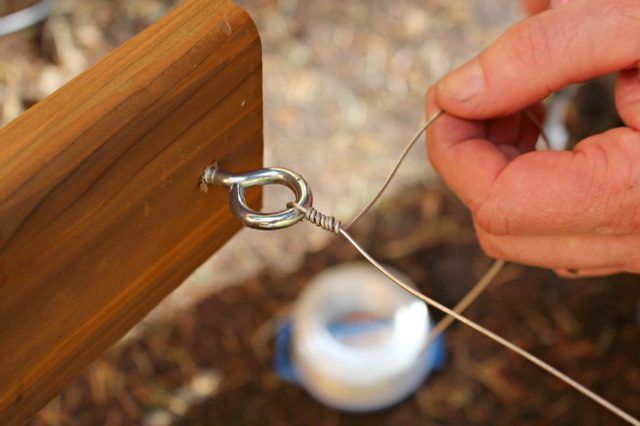
Step 5: Thread Wire
Stretch the galvanized wire taut between the screw eyes from one end of the trellis to the other. Twist to secure.
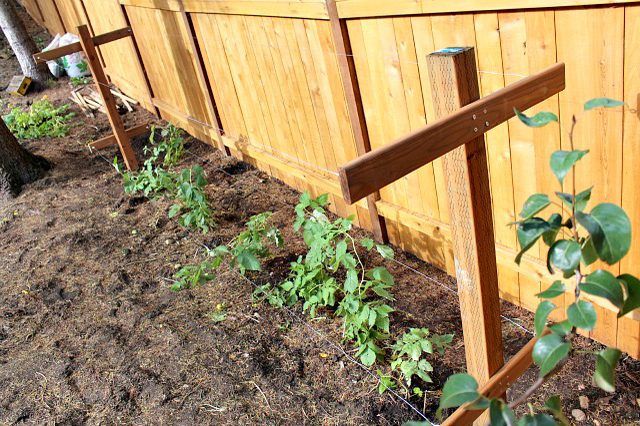
Step 6: Enjoy Your Trellis
The finished height of the trellis should be about 6-feet tall. As the raspberries grow, you can choose to tie them to the wires or let them sway in between the galvanized wires. Tighten wires as needed the following spring.


