Bulbs
Flower Basics
Flower Beds & Specialty Gardens
Flower Garden
Garden Furniture
Garden Gnomes
Garden Seeds
Garden Sheds
Garden Statues
Garden Tools & Supplies
Gardening Basics
Green & Organic
Groundcovers & Vines
Growing Annuals
Growing Basil
Growing Beans
Growing Berries
Growing Blueberries
Growing Cactus
Growing Corn
Growing Cotton
Growing Edibles
Growing Flowers
Growing Garlic
Growing Grapes
Growing Grass
Growing Herbs
Growing Jasmine
Growing Mint
Growing Mushrooms
Orchids
Growing Peanuts
Growing Perennials
Growing Plants
Growing Rosemary
Growing Roses
Growing Strawberries
Growing Sunflowers
Growing Thyme
Growing Tomatoes
Growing Tulips
Growing Vegetables
Herb Basics
Herb Garden
Indoor Growing
Landscaping Basics
Landscaping Patios
Landscaping Plants
Landscaping Shrubs
Landscaping Trees
Landscaping Walks & Pathways
Lawn Basics
Lawn Maintenance
Lawn Mowers
Lawn Ornaments
Lawn Planting
Lawn Tools
Outdoor Growing
Overall Landscape Planning
Pests, Weeds & Problems
Plant Basics
Rock Garden
Rose Garden
Shrubs
Soil
Specialty Gardens
Trees
Vegetable Garden
Yard Maintenance
How to Grow Microgreens
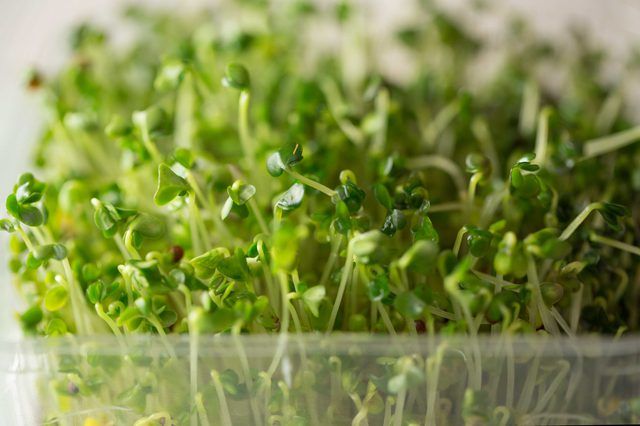
How to Grow Microgreens. Anyone with a sunny windowsill can grow microgreens, which are vegetables and herbs picked when they're very young. Seeds produce seedling leaves first, followed by the plant's true leaves. Microgreens are harvested when the first set of true leaves appears. Most edible, leafy plants can be used for microgreens, such as...
Anyone with a sunny windowsill can grow microgreens, which are vegetables and herbs picked when they're very young. Seeds produce seedling leaves first, followed by the plant's true leaves. Microgreens are harvested when the first set of true leaves appears. Most edible, leafy plants can be used for microgreens, such as the annuals sweet basil (Ocimum basilicum), cabbage (Brassica oleracea Capitata Group) and Chinese mustard (Brassica juncea), or perennial herbs such as fennel (Foeniculum vulgare), which grows in U.S. Department of Agriculture plant hardiness zones 4 through 9, or chives (Allium schoenoprasum), which grows in USDA zones 4 through 8.
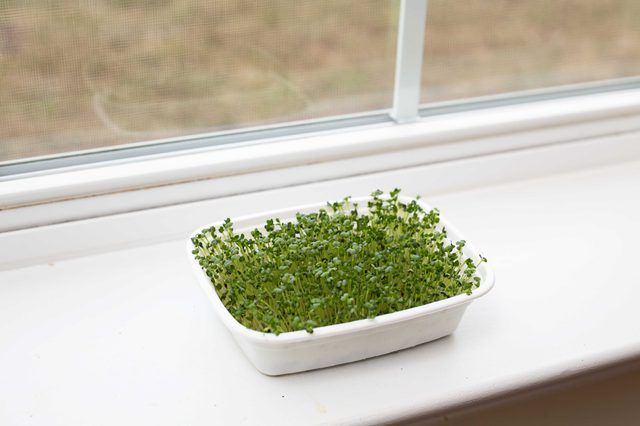
Microgreens grow best in bright sites indoors. Young seedlings are vulnerable to heavy rain, wind and other extreme weather conditions, so grow microgreens in a greenhouse, conservatory or on a bright, south-facing windowsill. Most flat, plastic containers with drainage holes are fine for growing microgreens, and most soilless growing media can support the young plants, including a folded sheet of burlap, or a 3/4-inch layer of peat, coconut fiber, vermiculite or perlite. Fibrous seedling mats are made especially for growing microgreens and sprouts. Use pesticide-free seeds for microgreens. The time to harvest varies between plants, so usually just one variety is sown per container. Lettuce (Lactuca sativa), an annual plant, isn't suitable because its leaves are soft when young.
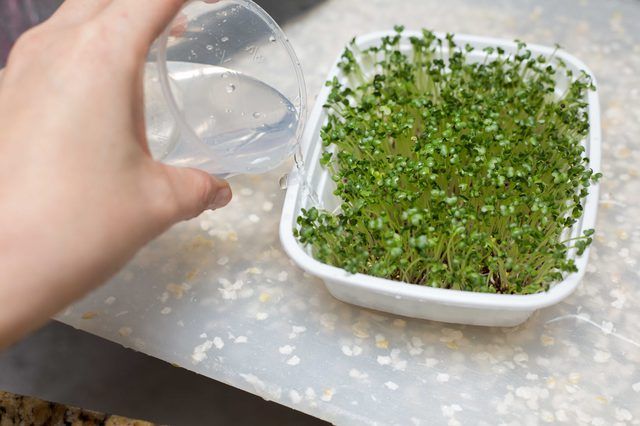
Moist growing sites promote fast, healthy growth in microgreens, but too much water encourages diseases. Microgreen seeds need water to germinate, but after the seeds have sprouted it's best to water from the base of the plants to avoid wetting the leaves. Stand the sprouted microgreens container in a sink or shallow bowl containing 1 inch of water every day. As soon as the water appears on the surface of the growing medium, lift the container out of the water and place it somewhere it can drain freely. In very hot weather, microgreens might need more frequent watering. Check the plants and water them whenever the growing medium surface is dry. Use only well or tap water for watering microgreens, because water from a pond or rain water barrel can contain disease-causing organisms.
Plants that take longer than most other microgreens to grow to harvest benefit from a weak fertilizer application. Most microgreen plants are harvested very young and don't require feeding, but carrots (Daucus carota var. sativus), dill (Anethum graveolens) and other slow-growing microgreens grow best with one light fertilizer application. When the second set of leaves emerge, dilute an 8-0-0 liquid fertilizer at a rate of 1/4 teaspoon per 6 cups of water, and float the microgreens container in the solution for 30 seconds. Lift out the container and allow it to drain. Manufacturer's instructions vary between products, so follow the instructions on the label, but double the dilution rate to create a weak solution.
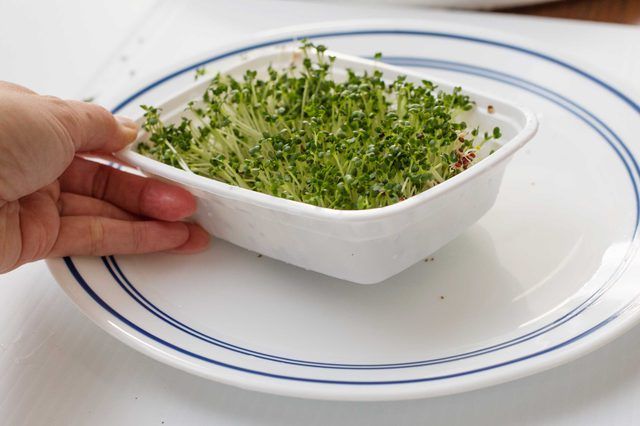
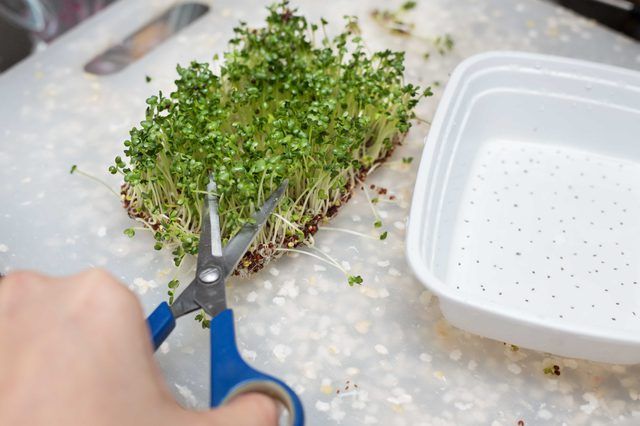
Harvest time for microgreens is seven to 21 days after sowing, or when the plants are about 2 inches tall. Snip the leaves with scissors, or if the microgreens are growing on burlap or a seedling mat, hold the sheet up in one hand and run an electric knife down it with the other hand. For the freshest leaves, harvest microgreens just before eating them. Microgreens wilt quickly after cutting. The roots are exhausted by harvest time, and should be discarded.


