Bulbs
Flower Basics
Flower Beds & Specialty Gardens
Flower Garden
Garden Furniture
Garden Gnomes
Garden Seeds
Garden Sheds
Garden Statues
Garden Tools & Supplies
Gardening Basics
Green & Organic
Groundcovers & Vines
Growing Annuals
Growing Basil
Growing Beans
Growing Berries
Growing Blueberries
Growing Cactus
Growing Corn
Growing Cotton
Growing Edibles
Growing Flowers
Growing Garlic
Growing Grapes
Growing Grass
Growing Herbs
Growing Jasmine
Growing Mint
Growing Mushrooms
Orchids
Growing Peanuts
Growing Perennials
Growing Plants
Growing Rosemary
Growing Roses
Growing Strawberries
Growing Sunflowers
Growing Thyme
Growing Tomatoes
Growing Tulips
Growing Vegetables
Herb Basics
Herb Garden
Indoor Growing
Landscaping Basics
Landscaping Patios
Landscaping Plants
Landscaping Shrubs
Landscaping Trees
Landscaping Walks & Pathways
Lawn Basics
Lawn Maintenance
Lawn Mowers
Lawn Ornaments
Lawn Planting
Lawn Tools
Outdoor Growing
Overall Landscape Planning
Pests, Weeds & Problems
Plant Basics
Rock Garden
Rose Garden
Shrubs
Soil
Specialty Gardens
Trees
Vegetable Garden
Yard Maintenance
How to Plant Borders & Flower Beds
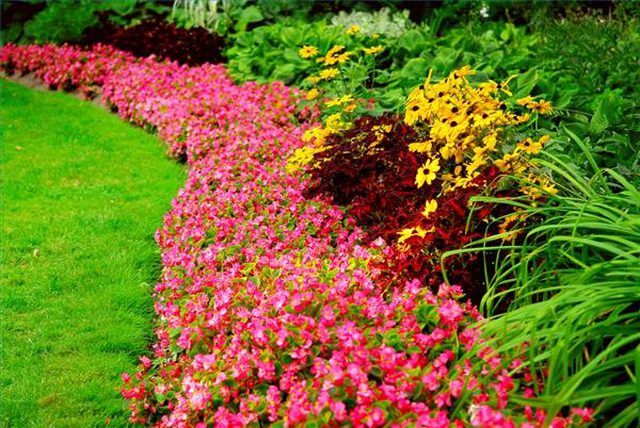
How to Plant Borders & Flower Beds. Well-designed flower beds with attractive plant borders add curb appeal to a home and enhance its value. Building and maintaining these beds can provide enjoyment, satisfaction and a sense of pride. The steps in building flower beds include design, plant selection, soil preparation, planting and mulching.

Well-designed flower beds with attractive plant borders add curb appeal to a home and enhance its value. Building and maintaining these beds can provide enjoyment, satisfaction and a sense of pride. The steps in building flower beds include design, plant selection, soil preparation, planting and mulching.
Things You'll Need
Graph paper and pencil
Landscape plant books
Hoe
Square-bladed shovel
Cultivator (Rototiller)
Garden rake
Plants
Garden trowel
Organic mulch
Plan carefully to ensure attractive flower beds. Before the first shovel of soil is turned, make decisions on how the bed is to look. Using a sheet of graph paper and a pencil, sketch the desired shape of the bed. Then darken graph paper squares where plants are to be placed. List desired bed characteristics beneath the sketch. Characteristics might include year-round color, differential plant heights, a presence of ornamental grasses or available herbs. Use the sketch and characteristic list as the blueprint for building the bed.

Use as many information sources as possible when selecting plants. There are numerous landscape plant books available at bookstores, gift shops and in libraries that show color photographs of plants and give their growth characteristics, suitable soil types, desired climates, blooming periods and other important information. County agricultural extension agents and garden centers can also be helpful in plant selection.
Native plants are recommended because they require less fertilizer, water and care than introduced plants. If deer frequent the yard, use deer-resistant plants.

Begin bed preparation by delineating the outer edges. This can be done with either string held by large nails or wooden stakes or with a spray can of tree paint. Once the outer edges are identified, remove existing vegetation with either a hoe or square-bladed shovel. Remove all plant roots and stems, wood, rocks and other debris.
When the area is clean, use a cultivator to turn the soil to a depth of 8 to 12 inches. Keep going over it until the soil particles are marble-sized or less. If it is available, spread a three to four inch layer of compost and mix it into the soil with the cultivator. Level the bed with a garden rake.
Plant the border first to further delineate the bed's edges. If an edger is to be used to trim lawn grass around the bed, then border plants should be positioned out of its range.
After the border is completed, plant the rest of the plants as shown on the graph paper. All plants should be planted at the same depth as they were in the nursery containers. When planting is complete, thoroughly water the entire bed.
Cover the bed with a 2- to 4-inch layer of organic mulch. Some type of tree bark is preferred because it provides good coverage. Organic mulch is suggested because if adds organic matter to the soil when it rots. After the bed has been established for two to three years, an inorganic mulch such as gravel or other types of stone can be used.