Bulbs
Flower Basics
Flower Beds & Specialty Gardens
Flower Garden
Garden Furniture
Garden Gnomes
Garden Seeds
Garden Sheds
Garden Statues
Garden Tools & Supplies
Gardening Basics
Green & Organic
Groundcovers & Vines
Growing Annuals
Growing Basil
Growing Beans
Growing Berries
Growing Blueberries
Growing Cactus
Growing Corn
Growing Cotton
Growing Edibles
Growing Flowers
Growing Garlic
Growing Grapes
Growing Grass
Growing Herbs
Growing Jasmine
Growing Mint
Growing Mushrooms
Orchids
Growing Peanuts
Growing Perennials
Growing Plants
Growing Rosemary
Growing Roses
Growing Strawberries
Growing Sunflowers
Growing Thyme
Growing Tomatoes
Growing Tulips
Growing Vegetables
Herb Basics
Herb Garden
Indoor Growing
Landscaping Basics
Landscaping Patios
Landscaping Plants
Landscaping Shrubs
Landscaping Trees
Landscaping Walks & Pathways
Lawn Basics
Lawn Maintenance
Lawn Mowers
Lawn Ornaments
Lawn Planting
Lawn Tools
Outdoor Growing
Overall Landscape Planning
Pests, Weeds & Problems
Plant Basics
Rock Garden
Rose Garden
Shrubs
Soil
Specialty Gardens
Trees
Vegetable Garden
Yard Maintenance
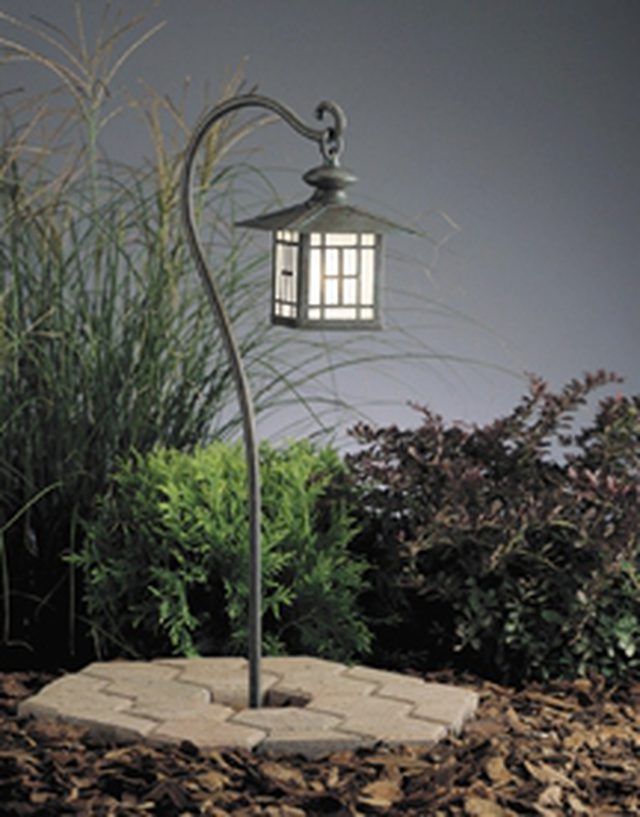
How to Install Low-Voltage Landscape Lights
How to Install Low-Voltage Landscape Lights. Low-voltage landscape lighting installations are easy to complete in an afternoon. The benefits of such an easy project will be obvious the first night they are installed. Your night-time curb appeal will increase instantly, and your lights will impress your neighbors every evening. Low-voltage landscape...

Low-voltage landscape lighting installations are easy to complete in an afternoon. The benefits of such an easy project will be obvious the first night they are installed. Your night-time curb appeal will increase instantly, and your lights will impress your neighbors every evening. Low-voltage landscape lighting also increases the security and safety of your home by spreading light into needed areas.
Things You'll Need
Low-voltage cable
Light fixtures
Low-voltage transformer
Shovel
Wire strippers
Phillips screwdriver
Design the layout of your low-voltage lighting. Mix and match different lamp styles (path lights, wall-wash fixtures, up-light fixture) to accent different features of your home.
Place the light fixtures on the ground where they will be installed, and run a low-voltage cable along the installation path. Run the cable under obstacles such as bushes, shrubs and fencing. When you have determined a clear path, dig a shallow trench in the sod 3 to 4 inches deep and at least 12 inches from walkways.
Lay the cable in the trench. Run the cable to where the transformer will plug into an outdoor electrical outlet. Drive a wooden stake into the ground near the outlet and mount the transformer to the stake with screws. Strip the wires to expose 1/2 inch of bare wire and hook the wires to the terminals on the transformer. Plug the transformer into the wall outlet.
Use a metal or a wooden stake to put a starter hole in the ground for the light fixtures. Do not pound them into the ground with a mallet. Make sure the light fixtures do not jut into the walkway.
Space the fixtures evenly. Each light fixture will have a connector at its base. Slide the two connector halves over the wire until it snaps together. The light should go on when the connection is made. Repeat for each light fixture. When each fixture is connected, bury the cable. Check the light fixtures to be sure they are installed straight and not tilted to one side.
Tips & Warnings
Replace burned-out light bulbs as soon as possible. Failing to do so will shorten the lifespan of the rest of the bulbs.