Bulbs
Flower Basics
Flower Beds & Specialty Gardens
Flower Garden
Garden Furniture
Garden Gnomes
Garden Seeds
Garden Sheds
Garden Statues
Garden Tools & Supplies
Gardening Basics
Green & Organic
Groundcovers & Vines
Growing Annuals
Growing Basil
Growing Beans
Growing Berries
Growing Blueberries
Growing Cactus
Growing Corn
Growing Cotton
Growing Edibles
Growing Flowers
Growing Garlic
Growing Grapes
Growing Grass
Growing Herbs
Growing Jasmine
Growing Mint
Growing Mushrooms
Orchids
Growing Peanuts
Growing Perennials
Growing Plants
Growing Rosemary
Growing Roses
Growing Strawberries
Growing Sunflowers
Growing Thyme
Growing Tomatoes
Growing Tulips
Growing Vegetables
Herb Basics
Herb Garden
Indoor Growing
Landscaping Basics
Landscaping Patios
Landscaping Plants
Landscaping Shrubs
Landscaping Trees
Landscaping Walks & Pathways
Lawn Basics
Lawn Maintenance
Lawn Mowers
Lawn Ornaments
Lawn Planting
Lawn Tools
Outdoor Growing
Overall Landscape Planning
Pests, Weeds & Problems
Plant Basics
Rock Garden
Rose Garden
Shrubs
Soil
Specialty Gardens
Trees
Vegetable Garden
Yard Maintenance
How to Harvest Worm Castings From A Worm Bin
How to Harvest Worm Castings From A Worm Bin. Building a worm bin is easy, feeding worms is easy, but how do you get the black gold that is worm castings out of your worm bin - without removing the worms too. Follow these simple steps to harvest your worm castings.
Building a worm bin is easy, feeding worms is easy, but how do you get the black gold that is worm castings out of your worm bin - without removing the worms too. Follow these simple steps to harvest your worm castings.
Things You'll Need
Newspaper
Dirt/potting soil/compost
Water
A large bucket
Willingness to get your hands dirty
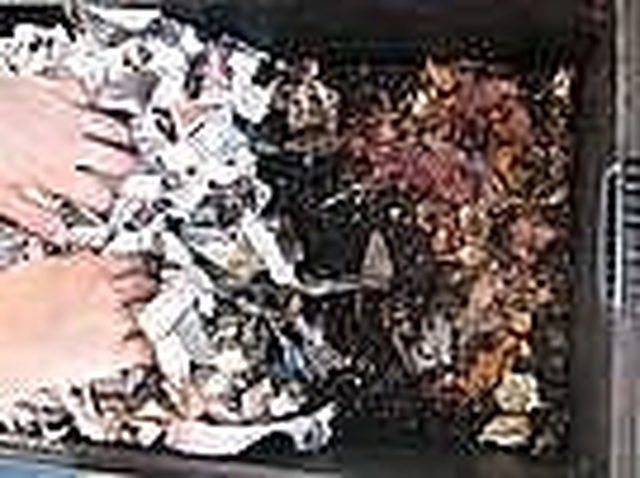
Begin by mixing a new load of worm bedding to add to your bin. This is a simple process. Tear your newspaper into 1" wide strips. Don't get too OCD with it, the worms don't care how wide or even these strips are. Place the strips in a bucket of water and add dirt/soil. Stir the mixture well to get the grit evenly dispersed throughout the bedding. Pull the mixture out one handful at a time and squeeze ALL the excess water out - you want the worms moist - not wet. They breath through their skin and can be drowned.
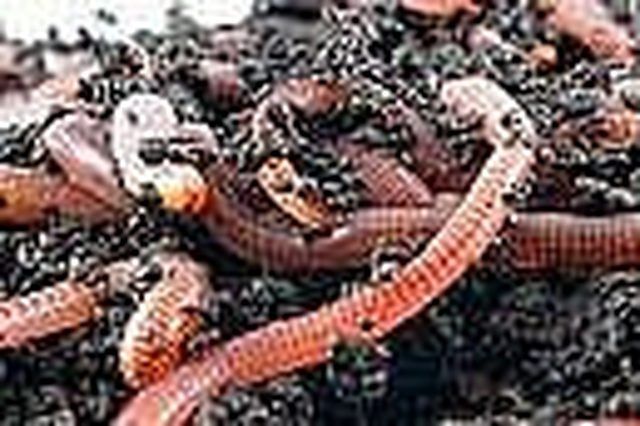
Push all of the contents of the bin to one end. Be gentle - you don't want to smash your worms. The bedding, worms, and worm castings should fit into about half the box when you are ready to harvest - as the worms have broken down much of bedding into fine castings.
Now simply add your newly mixed batch of worm bedding to the empty half of the bin. Place a larger supply of food than normal at the far end of the bin - away from the vermicompost that is to be harvested. Be sure it is moist and well ventilated, and properly mixed. The grit in the bedding should be well dispersed - worms need this grit to digest their food.
Let the fin sit for a 2-3 days after adding the new bedding. Mix up another batch of worm bedding (See Step 1 above) to replace the harvested material once it has been removed. Now simply remove the majority of the worm castings from the bin and replace it with this newest batch of bedding.
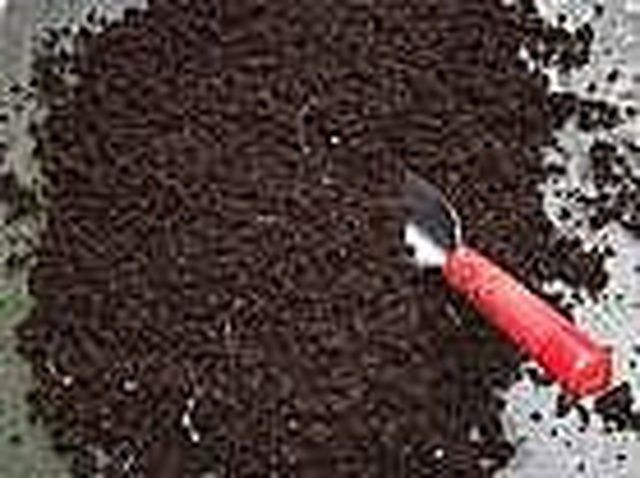
You now have at your disposal one of nature's finest organic soil amendments. Worm castings can sell for high dollar value at specialty garden stores - or add them to your vegetable or flower garden for an especially healthy crop.

Tips & Warnings
Don't feed your worms for a few days before you are ready to harvest. You don't want this unprocessed food mixed in your castings harvest - and the worms will move more quickly into the new bedding in search of food.
It is a good idea to sift through the harvested castings for stragglers. Some worms may not have made the journey to the new food supply. These can simply be picked out and thrown back into the bin.
For simple directions to make an indoor worm bin see my eHow article "How To Vermicompost In Your Kitchen"
Don't let your worms get too hot or cold. Keeping a bin indoors can make the whole process easier.


