Bulbs
Flower Basics
Flower Beds & Specialty Gardens
Flower Garden
Garden Furniture
Garden Gnomes
Garden Seeds
Garden Sheds
Garden Statues
Garden Tools & Supplies
Gardening Basics
Green & Organic
Groundcovers & Vines
Growing Annuals
Growing Basil
Growing Beans
Growing Berries
Growing Blueberries
Growing Cactus
Growing Corn
Growing Cotton
Growing Edibles
Growing Flowers
Growing Garlic
Growing Grapes
Growing Grass
Growing Herbs
Growing Jasmine
Growing Mint
Growing Mushrooms
Orchids
Growing Peanuts
Growing Perennials
Growing Plants
Growing Rosemary
Growing Roses
Growing Strawberries
Growing Sunflowers
Growing Thyme
Growing Tomatoes
Growing Tulips
Growing Vegetables
Herb Basics
Herb Garden
Indoor Growing
Landscaping Basics
Landscaping Patios
Landscaping Plants
Landscaping Shrubs
Landscaping Trees
Landscaping Walks & Pathways
Lawn Basics
Lawn Maintenance
Lawn Mowers
Lawn Ornaments
Lawn Planting
Lawn Tools
Outdoor Growing
Overall Landscape Planning
Pests, Weeds & Problems
Plant Basics
Rock Garden
Rose Garden
Shrubs
Soil
Specialty Gardens
Trees
Vegetable Garden
Yard Maintenance
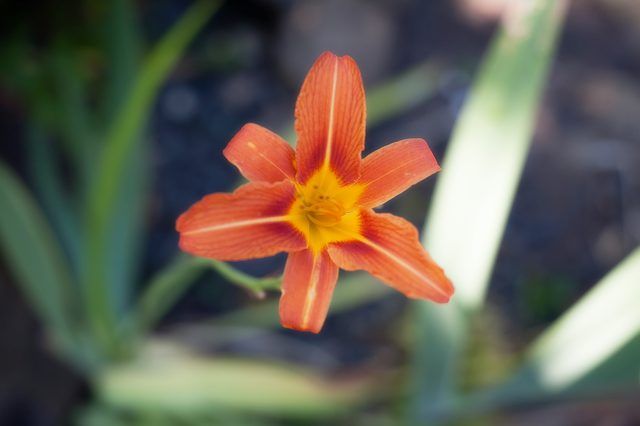
How to Care for Daylilies
How to Care for Daylilies. Daylilies (Hemerocallis spp.), are popular perennials in U.S. Department of Agriculture plant hardiness zones 3 to 8 or 9, depending on the cultivar. Their grassy leaves gently flop aside to make room for large, funnel-shaped flowers that resemble lilies. These blooms come in a variety of colors, including reds, yellows,...
Daylilies (Hemerocallis spp.), are popular perennials in U.S. Department of Agriculture plant hardiness zones 3 to 8 or 9, depending on the cultivar. Their grassy leaves gently flop aside to make room for large, funnel-shaped flowers that resemble lilies. These blooms come in a variety of colors, including reds, yellows, pinks, oranges and lavenders. Daylilies are considered easy to grow and require little care once they are well established.
Things You'll Need
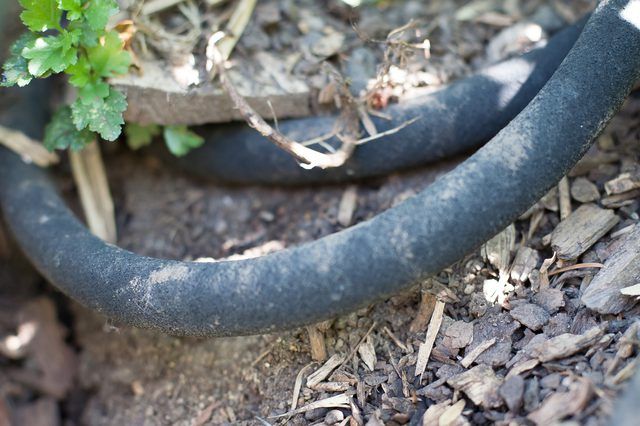
Soaker hose
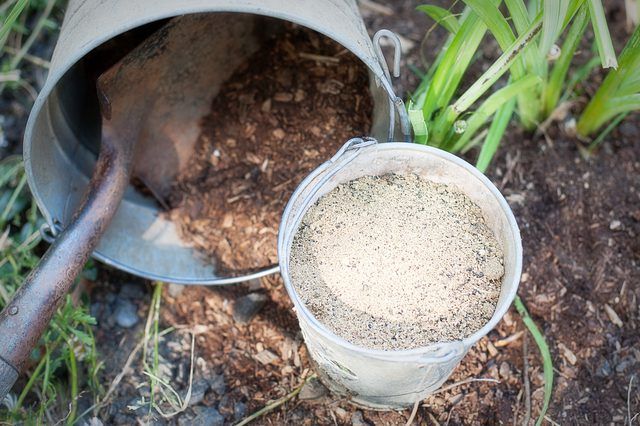
Compost or low-nitrogen fertilizer
Mulch
Step 1
Water daylilies early in the day and low to the ground, ideally with a soaker hose. Watering from overhead during the hottest part of the day may cause the blooms to wilt. Daylilies can tolerate drought, but they thrive best with deep watering once a week that penetrates at least 8 inches into the ground. Consider watering more than once a week but just as deeply if your daylilies are planted in sandy soil.
Step 2
Fertilize your daylilies with a low-nitrogen fertilizer. Fertilizing once a year during the springtime is sufficient, and healthy established plants may not need an annual dose. Adding compost to the soil once or twice a year may supply sufficient nutrients. In low-nutrient, sandy soils, you can fertilize again after the blooming season if you feel it is necessary.
Step 3
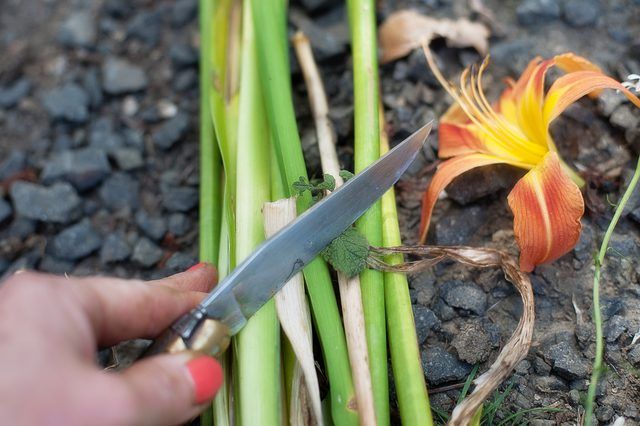
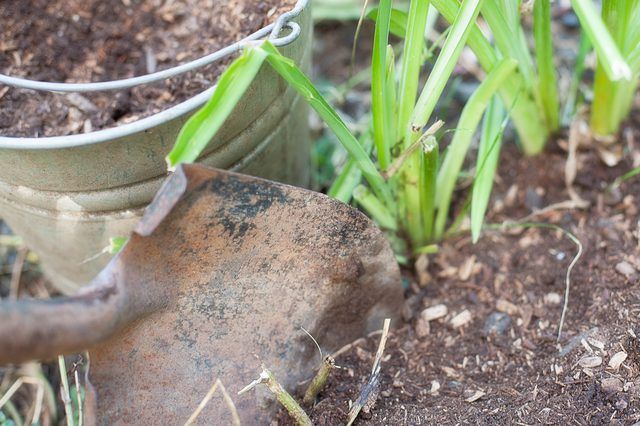
Remove daylily blooms as soon as they are spent. This encourages more blooms and is best done at the end of the day. Cut the stalks close to the ground when all the flowers are finished blooming, but allow the leaves to die back naturally before cutting them away.
Step 4
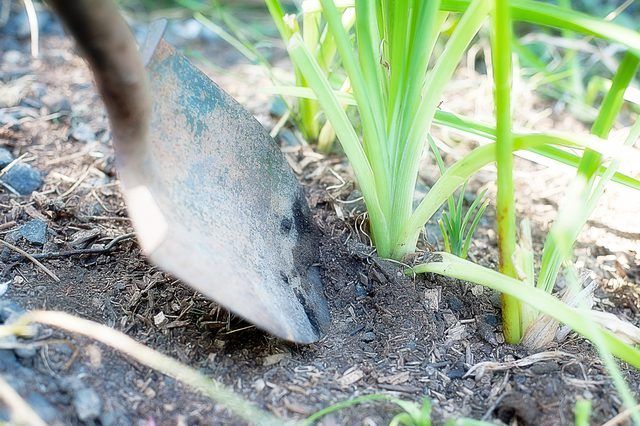
Apply mulch around your daylilies to keep soil temperature consistent. Avoid piling mulch right around the base of the plants, as this can stress stem tissues and may lead to insect and disease problems.
Step 5
Divide clumps of daylilies when they become large to prevent diminished blooming performance. In the fall after daylilies finish blooming is the best time to divide the plants, as long as they have at least six weeks before the first frost to get established.


