Bulbs
Flower Basics
Flower Beds & Specialty Gardens
Flower Garden
Garden Furniture
Garden Gnomes
Garden Seeds
Garden Sheds
Garden Statues
Garden Tools & Supplies
Gardening Basics
Green & Organic
Groundcovers & Vines
Growing Annuals
Growing Basil
Growing Beans
Growing Berries
Growing Blueberries
Growing Cactus
Growing Corn
Growing Cotton
Growing Edibles
Growing Flowers
Growing Garlic
Growing Grapes
Growing Grass
Growing Herbs
Growing Jasmine
Growing Mint
Growing Mushrooms
Orchids
Growing Peanuts
Growing Perennials
Growing Plants
Growing Rosemary
Growing Roses
Growing Strawberries
Growing Sunflowers
Growing Thyme
Growing Tomatoes
Growing Tulips
Growing Vegetables
Herb Basics
Herb Garden
Indoor Growing
Landscaping Basics
Landscaping Patios
Landscaping Plants
Landscaping Shrubs
Landscaping Trees
Landscaping Walks & Pathways
Lawn Basics
Lawn Maintenance
Lawn Mowers
Lawn Ornaments
Lawn Planting
Lawn Tools
Outdoor Growing
Overall Landscape Planning
Pests, Weeds & Problems
Plant Basics
Rock Garden
Rose Garden
Shrubs
Soil
Specialty Gardens
Trees
Vegetable Garden
Yard Maintenance
Planting in a Planter Box
Planting in a Planter Box. A planter box, whether large or small, expands your garden space and allows you to bring color and greenery to your home's balcony, patio or entryway. Nearly any plant can grow well in a container if it has the proper location and the planter is the correct size. Understanding the basics of a healthy planter box, combined...
A planter box, whether large or small, expands your garden space and allows you to bring color and greenery to your home's balcony, patio or entryway. Nearly any plant can grow well in a container if it has the proper location and the planter is the correct size. Understanding the basics of a healthy planter box, combined with careful plant and design selection, helps ensure your container plants thrive.
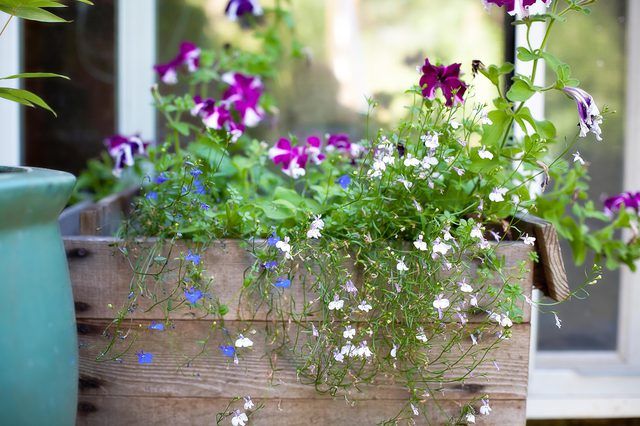
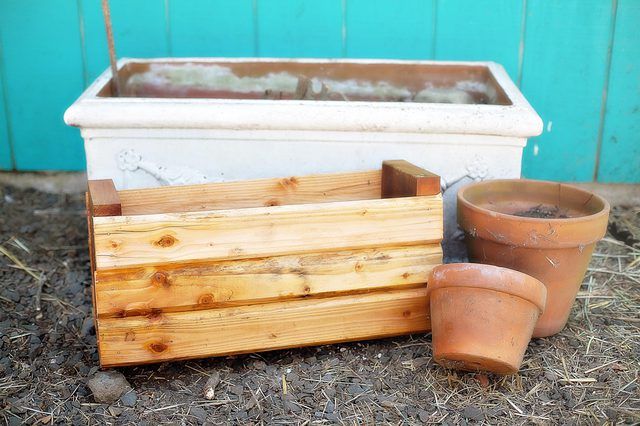
Not all planter box containers are created equal. The material the planter box is made from will have an impact on how frequently you water. Containers made from porous materials like terra cotta or unglazed pottery require more frequent watering than those made of plastic or have an outside sealant applied, as the soil dries more quickly. If using a planter box made from wood, select one made from a material that is naturally resistant to rot or CCA treated. Wooden containers treated with creosote or penta are toxic to plants and should not be used. The soil in dark-colored or metal containers situated in hot and sunny locations will absorb and retain more heat than light-colored ones. Root damage can occur from prolonged exposure to the hot soil and frequent watering is required, as the soil dries more quickly.
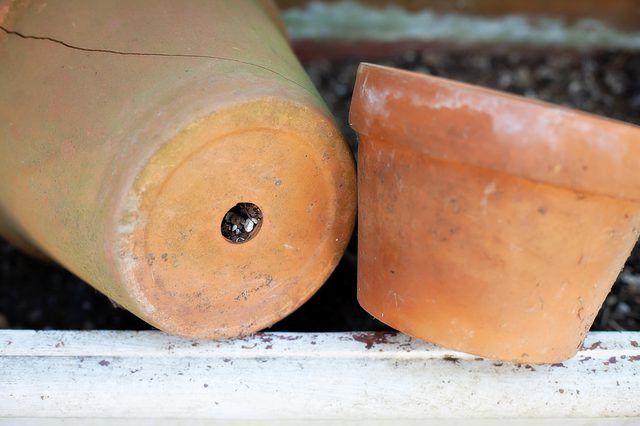
A planter box requires bottom drainage so the container's soil doesn't become soggy. Select a planter with predrilled holes, or drill at least one 1/2-inch-diameter hole in the bottom of a wood or plastic container. Use a plastic pot insert with bottom drainage holes if you have a stone or clay planter without drainage. The insert should be slightly smaller than the planter. If water accumulates in the bottom of the planter box after watering the container inserts, carefully remove the inserted containers or tip the planter box on its side to empty the standing water or root rot can occur. If you want to reuse a planter with new plants, scrub it clean and wash it with a solution that is one part bleach and nine parts water to disinfect the planter. Wearing waterproof gloves while mixing and using the solution will help to protect your hands. When selecting a new planter, choose one with a diameter one-half to one-third the expected mature size of the plants you want to put in it.
Patio or dwarf varieties of vegetable plants such as "Husky Cherry Red" tomatoes (Solanum lycopersicum "Husky Cherry Red") or naturally smaller vegetables, such as leaf lettuce (Lactuca sativa), grow well in containers. Both annual and perennial flowering and ornamental plants also can thrive in planters. Grow a single variety of flowering plants, such as a planter filled with colorful pansies (Viola x wittrockiana), which typically is grown as an annual but is hardy in U.S. Department of Agriculture plant hardiness zones 6 through 10. Combining plants is an option. For example, grow a tall scarlet sage (Salvia splendens), hardy in USDA zones 10 through 11, centered in a plant box, and surround it with trailing petunias (Petunia x hybrida), hardy in USDA zones 9 through 10, which will hang over the planter's edges.
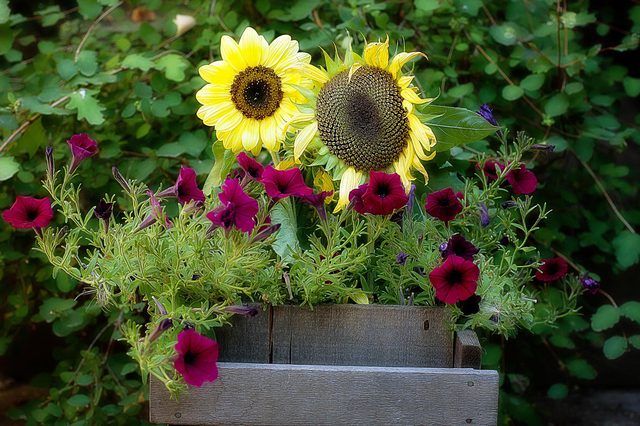
Before filling your planter with soil, place it in the final location you desire for it. Selecting plants with similar growing requirements allows all of them to thrive in the amount of sunlight provided in the location. Fill the planter's bottom one-half with a commercial potting mixture, or create your own mixture with one part sterile loam and one part peat or compost. Set the plants in the container, leaving them in their nursery pots, and experiment with arrangements until you find one you like. Generally, container plants are spaced at one-half the garden spacing distance recommended on the plants' labels. Set the tallest plants in the planter's center, and surround them with shorter plants. After you find the desired arrangement, slide the plants from their pots, and set them on top of the soil. Add soil beneath the plants' root balls until the top of each root ball sits 2 inches beneath the planter' rim, and then finish filling the planter with soil to the top of the root balls.
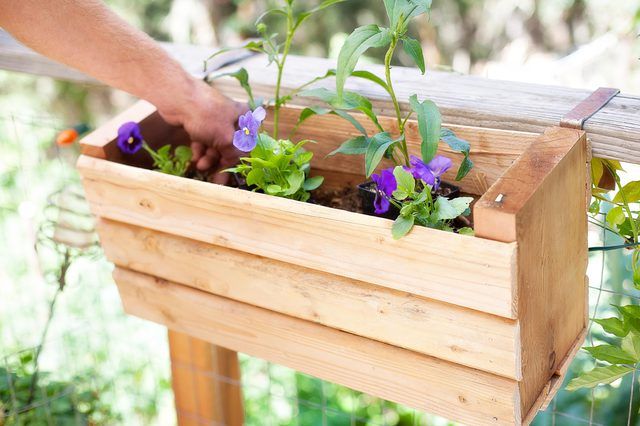
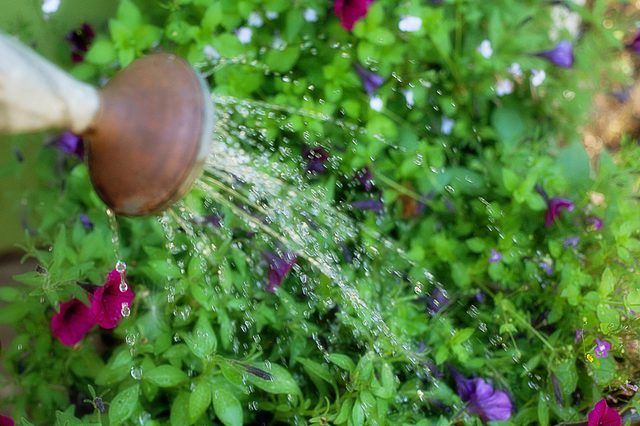
Care requirements depend on the plant varieties, but most plants require immediate watering after planting to settle the soil around their roots. Water the planter's soil until the excess moisture begins to drain from the container's bottom. Avoid leaving the planter in standing water. If the container has a drip tray, then it needs to be emptied after each watering. If the planter's tall plants, such as some tomato varieties, require staking, install the stakes in the planter immediately after planting. The plants may wilt during the first few days after transplanting as the roots recover from the shock of being moved. Keep the soil moist but not soggy, and avoid using fertilizer until the plants recover and begin putting on active new growth.
