Bulbs
Flower Basics
Flower Beds & Specialty Gardens
Flower Garden
Garden Furniture
Garden Gnomes
Garden Seeds
Garden Sheds
Garden Statues
Garden Tools & Supplies
Gardening Basics
Green & Organic
Groundcovers & Vines
Growing Annuals
Growing Basil
Growing Beans
Growing Berries
Growing Blueberries
Growing Cactus
Growing Corn
Growing Cotton
Growing Edibles
Growing Flowers
Growing Garlic
Growing Grapes
Growing Grass
Growing Herbs
Growing Jasmine
Growing Mint
Growing Mushrooms
Orchids
Growing Peanuts
Growing Perennials
Growing Plants
Growing Rosemary
Growing Roses
Growing Strawberries
Growing Sunflowers
Growing Thyme
Growing Tomatoes
Growing Tulips
Growing Vegetables
Herb Basics
Herb Garden
Indoor Growing
Landscaping Basics
Landscaping Patios
Landscaping Plants
Landscaping Shrubs
Landscaping Trees
Landscaping Walks & Pathways
Lawn Basics
Lawn Maintenance
Lawn Mowers
Lawn Ornaments
Lawn Planting
Lawn Tools
Outdoor Growing
Overall Landscape Planning
Pests, Weeds & Problems
Plant Basics
Rock Garden
Rose Garden
Shrubs
Soil
Specialty Gardens
Trees
Vegetable Garden
Yard Maintenance
How to Sterilize Plant Pots
How to Sterilize Plant Pots. Bacteria, parasites and other harmful microbes living on the surface of a plant pot can destroy a growing plant. Even new pots can harbor larva, eggs and other pests if they were stored in an infested area, and used pots may also contain fungal or disease pathogens. Sterilization of your pots reduces the possibility of...
Bacteria, parasites and other harmful microbes living on the surface of a plant pot can destroy a growing plant. Even new pots can harbor larva, eggs and other pests if they were stored in an infested area, and used pots may also contain fungal or disease pathogens. Sterilization of your pots reduces the possibility of passing on harmful parasites such as spider mites, silver fish and fruit flies, along with diseases and fungal spores, to your plants.
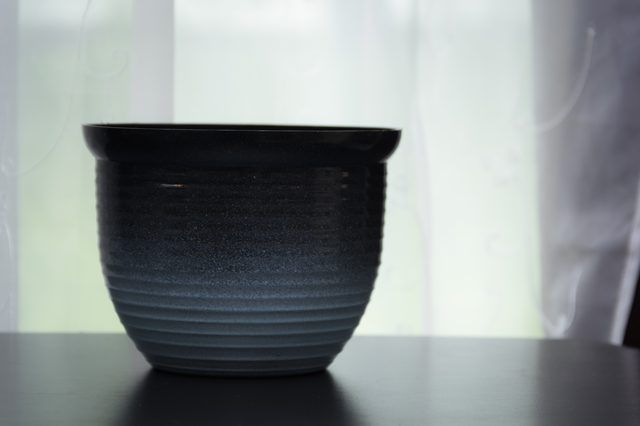
Things You'll Need
Large container
Wire brush
Chlorine bleach
Step 1
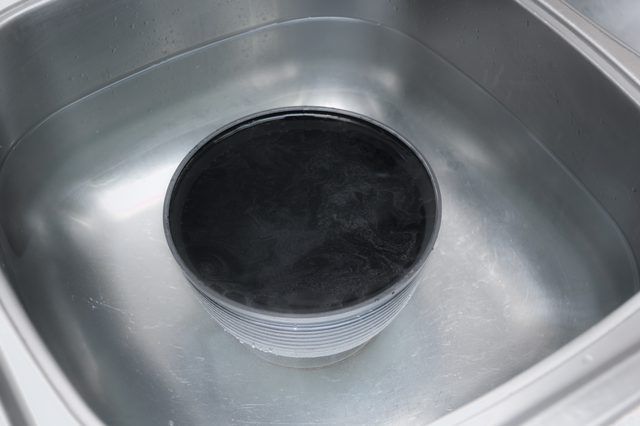
Select a container large enough to fully submerge the pot in, such as a sink, bucket or bathtub.
Step 2
Mix one part bleach with nine parts water for a bleach solution. For example, If you are using a bathtub for sterilization, fill the tub with 1 gallon of bleach and 9 gallons of water should suffice.
Step 3
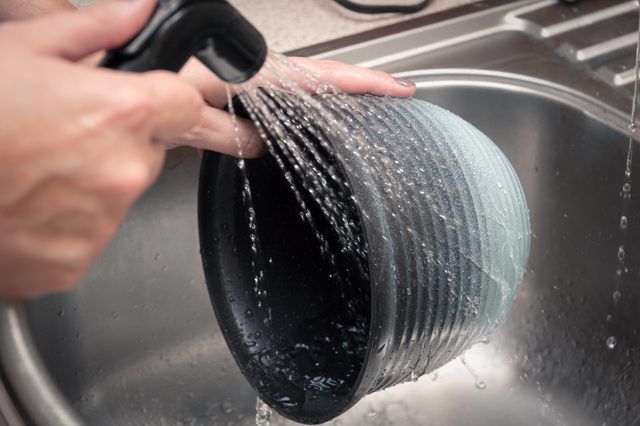
Rinse the pots in warm water before sterilizing them. Scrub off any soil or debris from the interior or exterior surface with a wire brush.
Step 4
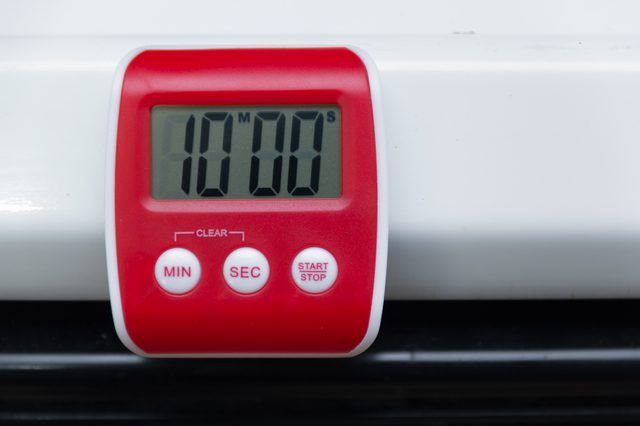
Submerge your pots in the sterilization solution. Soak the pots for at least 10 minutes in the solution to kill harmful germs and parasites. If the solution doesn’t cover the entire surface of the pot all at once, ensure that your rotate the plant pots until every part of the surface has been submerged for 10 minutes.
Step 5
Rinse the plant pots with lukewarm water. After rinsing the pots, soak them in clean water until use or allow them to fully air dry on a drying rack.
