Bulbs
Flower Basics
Flower Beds & Specialty Gardens
Flower Garden
Garden Furniture
Garden Gnomes
Garden Seeds
Garden Sheds
Garden Statues
Garden Tools & Supplies
Gardening Basics
Green & Organic
Groundcovers & Vines
Growing Annuals
Growing Basil
Growing Beans
Growing Berries
Growing Blueberries
Growing Cactus
Growing Corn
Growing Cotton
Growing Edibles
Growing Flowers
Growing Garlic
Growing Grapes
Growing Grass
Growing Herbs
Growing Jasmine
Growing Mint
Growing Mushrooms
Orchids
Growing Peanuts
Growing Perennials
Growing Plants
Growing Rosemary
Growing Roses
Growing Strawberries
Growing Sunflowers
Growing Thyme
Growing Tomatoes
Growing Tulips
Growing Vegetables
Herb Basics
Herb Garden
Indoor Growing
Landscaping Basics
Landscaping Patios
Landscaping Plants
Landscaping Shrubs
Landscaping Trees
Landscaping Walks & Pathways
Lawn Basics
Lawn Maintenance
Lawn Mowers
Lawn Ornaments
Lawn Planting
Lawn Tools
Outdoor Growing
Overall Landscape Planning
Pests, Weeds & Problems
Plant Basics
Rock Garden
Rose Garden
Shrubs
Soil
Specialty Gardens
Trees
Vegetable Garden
Yard Maintenance
How to Repair Low Voltage Landscape Lighting
How to Repair Low Voltage Landscape Lighting. If some of your outdoor low voltage landscape lighting is not working, the most likely cause is a bad connection. Landscape lighting wire is buried under the ground and has splices. The ground is a hostile environment that will corrode and damage wire splices, interrupting the electrical connection. The...
If some of your outdoor low voltage landscape lighting is not working, the most likely cause is a bad connection. Landscape lighting wire is buried under the ground and has splices. The ground is a hostile environment that will corrode and damage wire splices, interrupting the electrical connection. The majority of your repairs will involve the connections between the controller and the light. Manufacturers of outdoor lighting products realize the design weaknesses of their products and have come up with some innovative ideas to keep water out of the connection. One company not only uses waterproof wire-nut connectors, but also includes plastic bags to put over the splice to protect it. This method is highly recommended and is one of the best ways to keep water out of a splice.
Things You'll Need
Phillips screwdriver
Pliers
Connectors
Silicone
Plastic bags
Plastic ties
Step 1
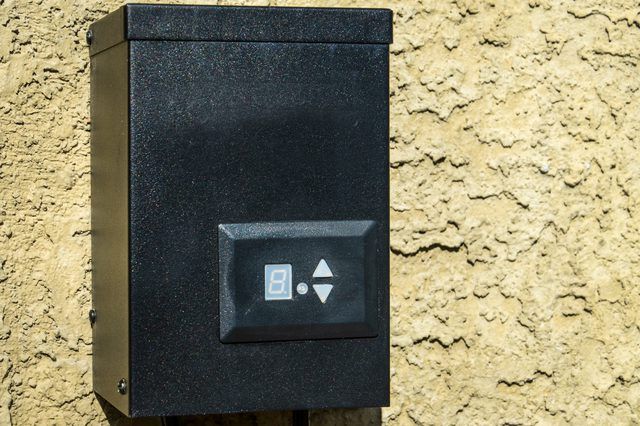
If your low voltage landscape lighting does not turn on at the right time of day, check the controller for the correct time. Reprogram the controller to the correct time of day.
Step 2
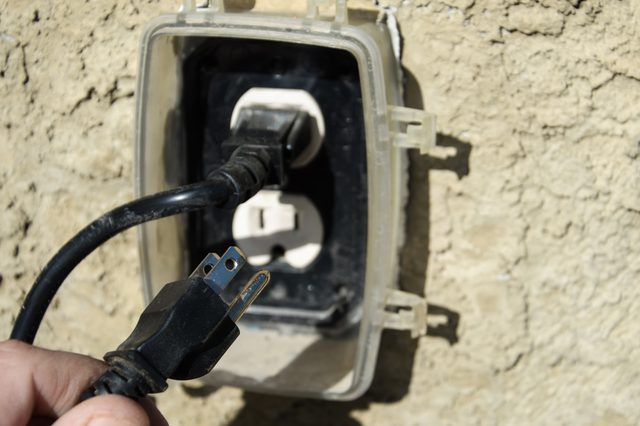
If your low voltage landscape lighting is programmed correctly but still does not turn on, check that the controller has power and is plugged in.
Step 3
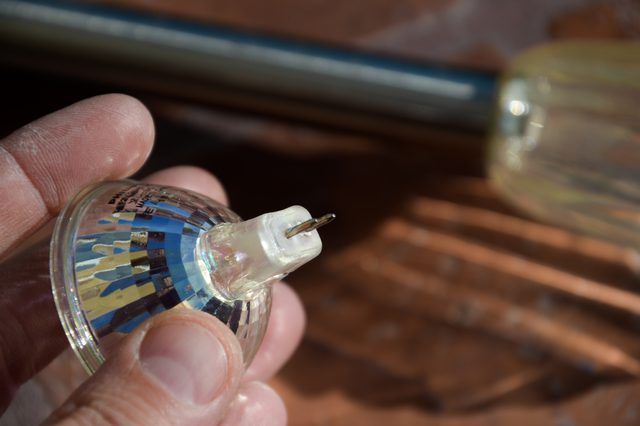
Check the light bulb to see if it is burned out. Replace the bulb if necessary.
Step 4
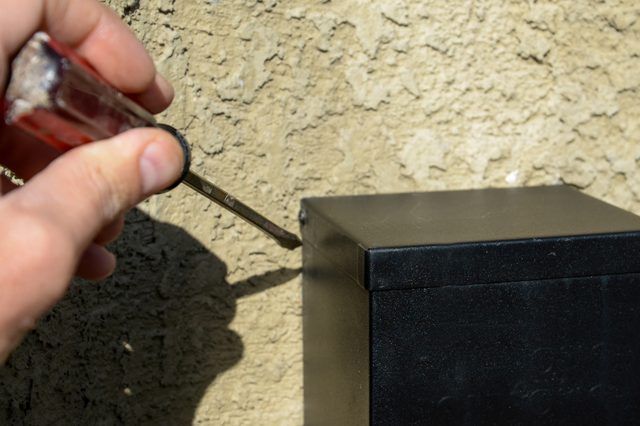
Remove the front panel of the controller to expose lighting wire connection. This is the wire that runs from the lights to the controller. Check the connection of the wire. Tighten if loose with a Phillips screwdriver.
Step 5
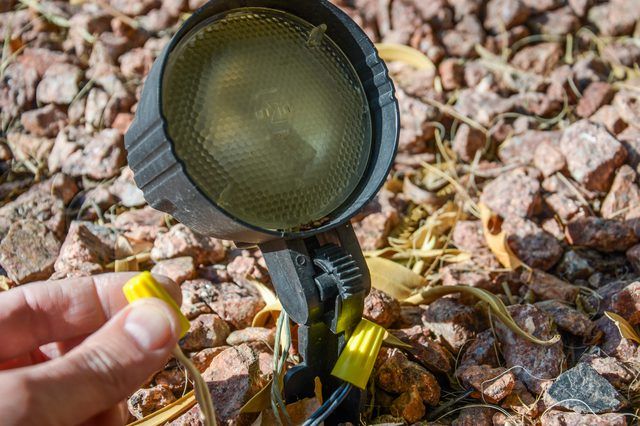
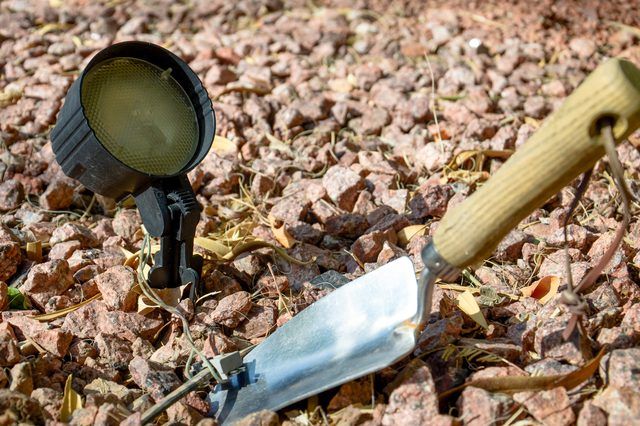
If the landscape light appears to be getting power from the controller but fails to turn on, dig up the splice. Make sure the connection is snug and tight.
Step 6
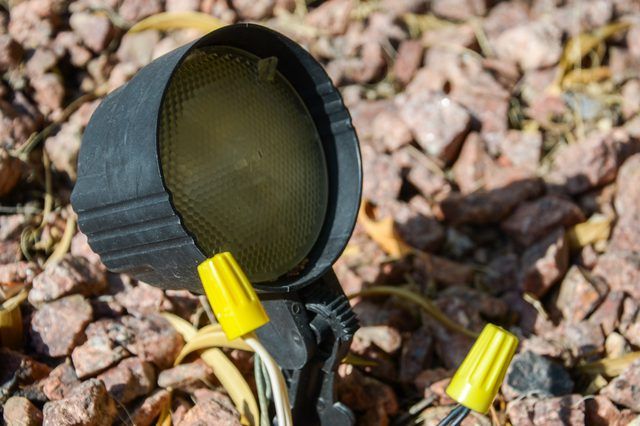
If the connection is loose, then disconnect the power source and unscrew the wire-nut connector.
Step 7
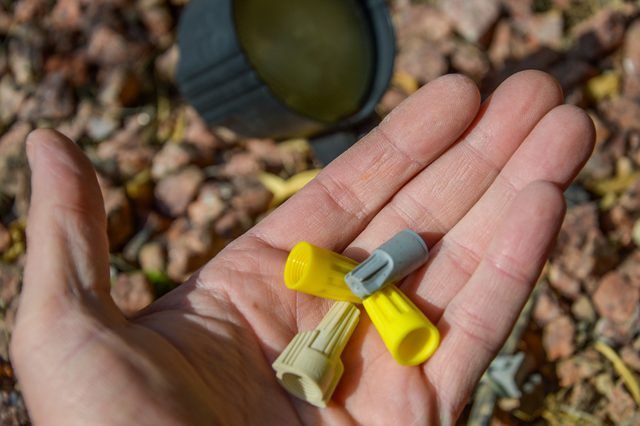
Look closely at the wires and the wire nut itself, checking for corrosion. Discard the wire nut and use a new one if there are signs of corrosion.
Step 8
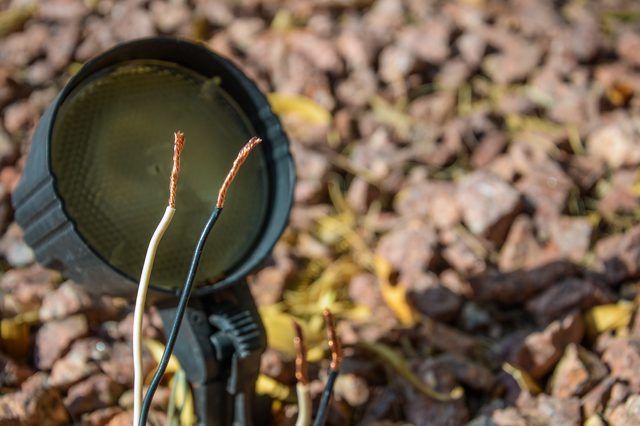
Clean off both ends of the wire. Use pliers to splice wires together, twisting them together until snug.
Step 9
Twist on the wire-nut connector. Use a regular connector or a connector filled with silicone, or you can fill the connector with silicone yourself.
