Bulbs
Flower Basics
Flower Beds & Specialty Gardens
Flower Garden
Garden Furniture
Garden Gnomes
Garden Seeds
Garden Sheds
Garden Statues
Garden Tools & Supplies
Gardening Basics
Green & Organic
Groundcovers & Vines
Growing Annuals
Growing Basil
Growing Beans
Growing Berries
Growing Blueberries
Growing Cactus
Growing Corn
Growing Cotton
Growing Edibles
Growing Flowers
Growing Garlic
Growing Grapes
Growing Grass
Growing Herbs
Growing Jasmine
Growing Mint
Growing Mushrooms
Orchids
Growing Peanuts
Growing Perennials
Growing Plants
Growing Rosemary
Growing Roses
Growing Strawberries
Growing Sunflowers
Growing Thyme
Growing Tomatoes
Growing Tulips
Growing Vegetables
Herb Basics
Herb Garden
Indoor Growing
Landscaping Basics
Landscaping Patios
Landscaping Plants
Landscaping Shrubs
Landscaping Trees
Landscaping Walks & Pathways
Lawn Basics
Lawn Maintenance
Lawn Mowers
Lawn Ornaments
Lawn Planting
Lawn Tools
Outdoor Growing
Overall Landscape Planning
Pests, Weeds & Problems
Plant Basics
Rock Garden
Rose Garden
Shrubs
Soil
Specialty Gardens
Trees
Vegetable Garden
Yard Maintenance
How to Transplant Spider Plant Cuttings
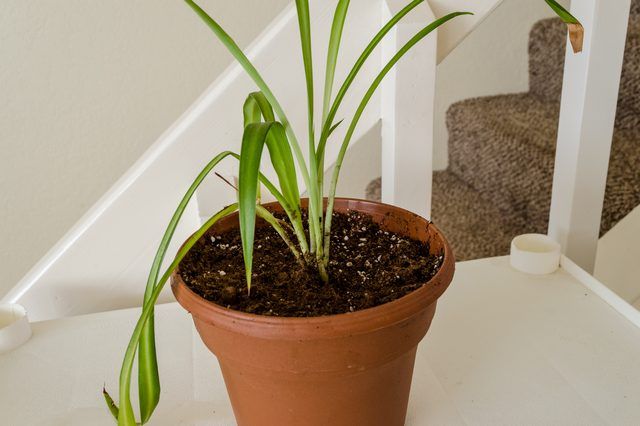
How to Transplant Spider Plant Cuttings. Spider plants are one of the most popular tropical plants to add to your home, because they are practically unstoppable even for those with a "black thumb." Cuttings to propagate your spider plants should come from the spiderettes or "babies" that come from the runners of most spider...
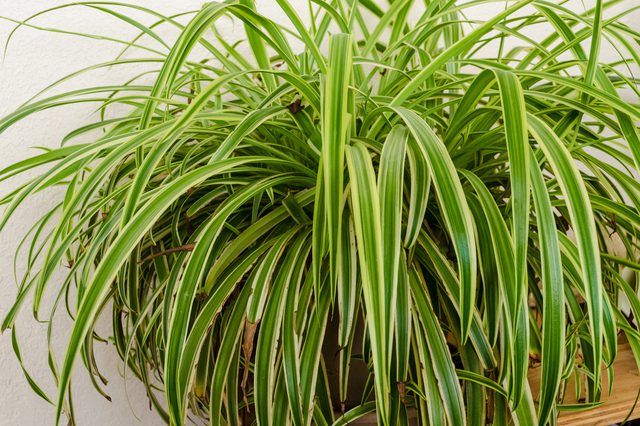
Spider plants are one of the most popular tropical plants to add to your home, because they are practically unstoppable even for those with a "black thumb." Cuttings to propagate your spider plants should come from the spiderettes or "babies" that come from the runners of most spider plants. These cuttings are easy to root and transplant. Itís so easy that you could end up with a dozen or more spider plants, which is great for purifying the air in your home.
Things You'll Need
4- to 6-inch in diameter plant container
Potting soil
Step 1
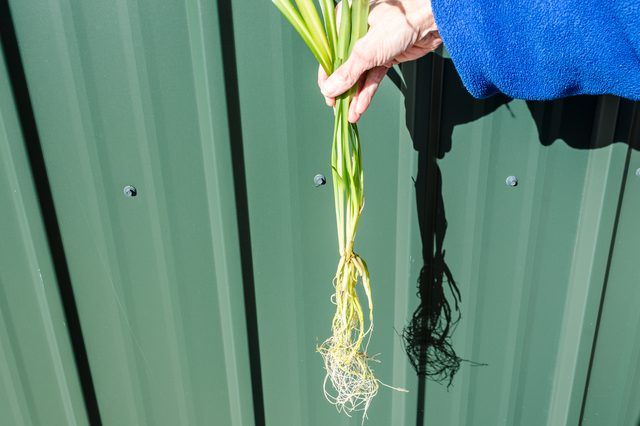
Check the length of the roots of your spider plant cuttings. If you are rooting them in water, 3 inches of roots is a good length for them to achieve a good support system, and you can start transplanting them into soil. This usually takes two to four weeks. The best way to root spider plants is to plant the spiderettes in their own pots while they are still attached to the parent plant, suggests the Botany Department of Bellevue College. If you have any trouble growing your spider plant cuttings in the future, consider using this method. There is no actual transplanting required.
Step 2
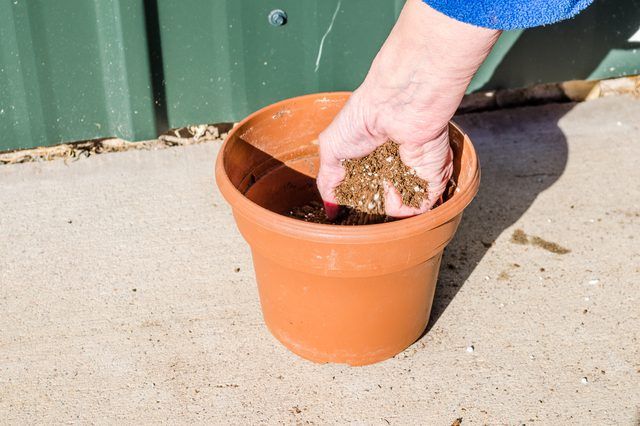
Fill a 4- to 6-inch diameter flower pot two-thirds full of potting soil. Spider plants will do well in almost any type of good soil, but one that is peat based is ideal. Make sure you use a plant container that has a drain hole; spider plants are susceptible to root rot if they sit in standing water for a long period.
Step 3
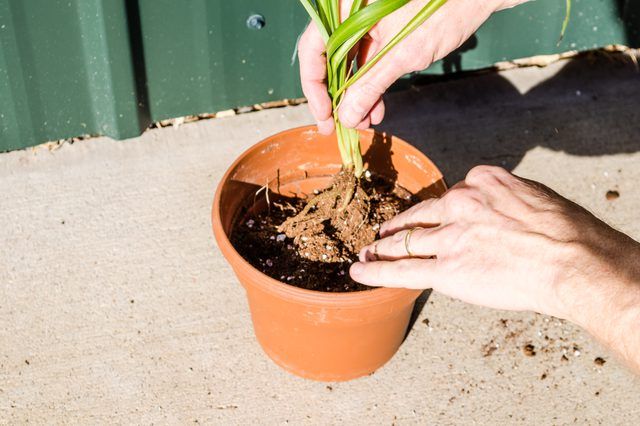
Remove your spider plant cutting from its water home and hold it with one hand over your flower pot. With the other hand, scoop up handfuls of potting soil to cover the roots. Pat the soil down gently in the root area so you do not tear any as you go along. Continue this method until you are about 2 inches from the top of your pot, tapping the soil firmly in place to get rid of any air pockets.
Step 4
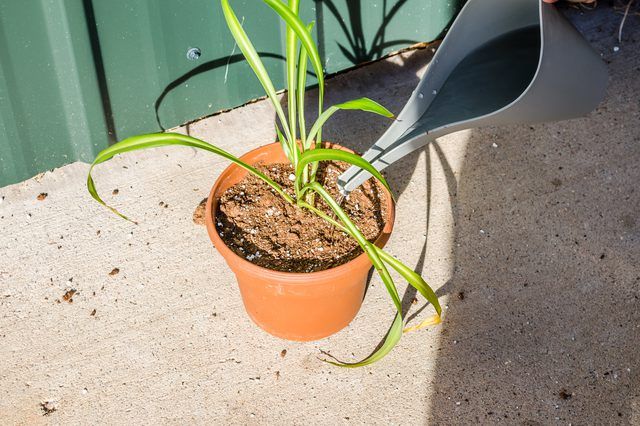
Water your new plant until the surface soil is moderately wet to the touch. Keep it moderately wet for the first two to three weeks while the roots are getting adjusted to their new home. After that, spider plants need to be watered only once or twice a week. Your plant will not tolerate soggy soil around the roots once they are mature, so overwatering can seriously compromise the health of your plant.
Step 5
Place your transplanted spider plant cutting in a bright, partially sunny area of your home. Spider plants need to be fertilized only three or four times a year. With proper care, your spider plant baby will be having babies of its own in about one to two years.
