Bulbs
Flower Basics
Flower Beds & Specialty Gardens
Flower Garden
Garden Furniture
Garden Gnomes
Garden Seeds
Garden Sheds
Garden Statues
Garden Tools & Supplies
Gardening Basics
Green & Organic
Groundcovers & Vines
Growing Annuals
Growing Basil
Growing Beans
Growing Berries
Growing Blueberries
Growing Cactus
Growing Corn
Growing Cotton
Growing Edibles
Growing Flowers
Growing Garlic
Growing Grapes
Growing Grass
Growing Herbs
Growing Jasmine
Growing Mint
Growing Mushrooms
Orchids
Growing Peanuts
Growing Perennials
Growing Plants
Growing Rosemary
Growing Roses
Growing Strawberries
Growing Sunflowers
Growing Thyme
Growing Tomatoes
Growing Tulips
Growing Vegetables
Herb Basics
Herb Garden
Indoor Growing
Landscaping Basics
Landscaping Patios
Landscaping Plants
Landscaping Shrubs
Landscaping Trees
Landscaping Walks & Pathways
Lawn Basics
Lawn Maintenance
Lawn Mowers
Lawn Ornaments
Lawn Planting
Lawn Tools
Outdoor Growing
Overall Landscape Planning
Pests, Weeds & Problems
Plant Basics
Rock Garden
Rose Garden
Shrubs
Soil
Specialty Gardens
Trees
Vegetable Garden
Yard Maintenance
How to Make a Sprouting Tray
How to Make a Sprouting Tray. Sprouts can be grown anywhere with no need for a garden or even a sunny window sill. Sprouts, which are grown from a variety of seeds that have different flavors, make a healthy and satisfying addition to salads, sandwiches and many cooked dishes. Sprouting allows you to have fresh greens even in winter. There are many...
Sprouts can be grown anywhere with no need for a garden or even a sunny window sill. Sprouts, which are grown from a variety of seeds that have different flavors, make a healthy and satisfying addition to salads, sandwiches and many cooked dishes. Sprouting allows you to have fresh greens even in winter. There are many methods of sprouting, but a common and simple way to get started is with a tray method. There is no need to purchase expensive trays as you can quickly use something you already have to create a sprouting tray.
Things You'll Need
Bowl
Baking tray
Baking rack
Paper towels
Plastic wrap
Fill a bowl with warm tap water. Soak ? cup of sprouting seeds in the water for eight hours.
Use a glass baking dish or stainless steel pan that is 2 inches deep. Place a baking rack inside the pan. The top of the rack needs to set so there is 1 inch of space between the top of the rack and the rim of the pan.
Stack two paper towels on top of each other. Wet them down, then squeeze out the excess water, taking care not to tear the towels. Lay them on top the rack.
Drain the water from the soaking seeds. Sprinkle the seeds on top of the paper towels as evenly as possible. Cover the seeds with a second two-towel layer after moistening the towels.
Cover the top of the sprouting tray with plastic wrap, leaving one end unsealed so air still circulates. Place in a dark cupboard or closet.
Water seeds one to two times daily. Remove the top layer of towels and sprinkle water on the seeds. Moisten the towels if they are drying out and place them back on top the seeds.
Use sprouts once they are ? inch to 2 inches long. Place them in sunlight for a day if you desire green sprouts instead of white.
Tips & Warnings
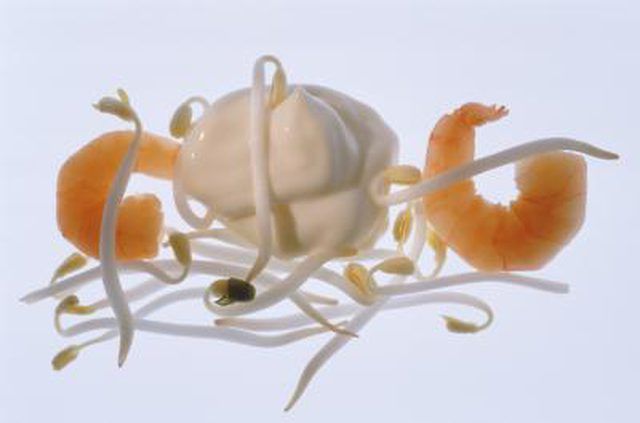
Radish, broccoli and mung bean are popular sprouting seed varieties.
Rinse seeds, then dry them. Store in a the vegetable crisper for three to five days.
Avoid using seeds not sold specifically for sprouting. These may be treated with fungicides or other harmful chemicals.


