Bulbs
Flower Basics
Flower Beds & Specialty Gardens
Flower Garden
Garden Furniture
Garden Gnomes
Garden Seeds
Garden Sheds
Garden Statues
Garden Tools & Supplies
Gardening Basics
Green & Organic
Groundcovers & Vines
Growing Annuals
Growing Basil
Growing Beans
Growing Berries
Growing Blueberries
Growing Cactus
Growing Corn
Growing Cotton
Growing Edibles
Growing Flowers
Growing Garlic
Growing Grapes
Growing Grass
Growing Herbs
Growing Jasmine
Growing Mint
Growing Mushrooms
Orchids
Growing Peanuts
Growing Perennials
Growing Plants
Growing Rosemary
Growing Roses
Growing Strawberries
Growing Sunflowers
Growing Thyme
Growing Tomatoes
Growing Tulips
Growing Vegetables
Herb Basics
Herb Garden
Indoor Growing
Landscaping Basics
Landscaping Patios
Landscaping Plants
Landscaping Shrubs
Landscaping Trees
Landscaping Walks & Pathways
Lawn Basics
Lawn Maintenance
Lawn Mowers
Lawn Ornaments
Lawn Planting
Lawn Tools
Outdoor Growing
Overall Landscape Planning
Pests, Weeds & Problems
Plant Basics
Rock Garden
Rose Garden
Shrubs
Soil
Specialty Gardens
Trees
Vegetable Garden
Yard Maintenance
How to Use Milk Crates As Planters
How to Use Milk Crates As Planters. Planter beds can be expensive, which makes it appealing to create them by recycling items from around your house. Milk crates make good planter beds because most smaller plants do not need more space than one cubic foot, and many people already have them around their houses. They look eclectic and allow plants...
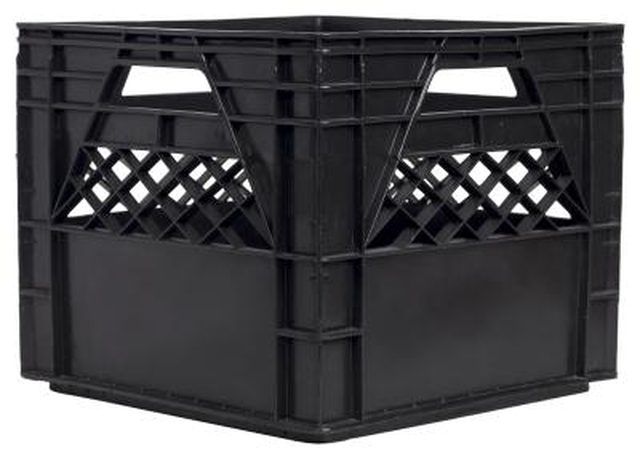
Planter beds can be expensive, which makes it appealing to create them by recycling items from around your house. Milk crates make good planter beds because most smaller plants do not need more space than one cubic foot, and many people already have them around their houses. They look eclectic and allow plants like strawberries to root runners in the sides. Though they are heavy, they are also much easier to move than larger planters.
Things You'll Need
Milk crate
Soap
Water
Landscaping fabric
Pocket knife
Sphagnum moss
Bucket
Potting soil
Spade
Clean the milk crate with soap and water and allow it to dry. Spray paint it to match the color scheme in your garden, or leave it for an eclectic look. Use a pocket knife to cut a piece of landscaping fabric thirteen inches square and lay it in the bottom of the crate. Soak sphagnum moss in a bucket with water and press it against the walls of the crate to keep soil from falling out and to keep moisture in.
Choose a plant to put in the crate. Some plants, like spider plants and strawberries, have runners that can hang down sides and they take root in the outside of the moss through the holes in the crate. You could also plant a vine that spills over the sides, depending on the look you want. The crate also makes a good planter for tomato plants.
Fill the center of the crate with potting soil. Dig a hole in the soil with a spade and place your plant in the hole. Fill in the space between the side of the hole and the plant with potting soil.
Place the planter in your garden to complete the look. Water your plant thoroughly and watch for wilting so you'll know when to water it again. You want it to take root and establish itself.
Tips & Warnings
You can make several milk crates into a raised bed by attaching them together with zip ties before you put the moss and potting soil in them.


