Bulbs
Flower Basics
Flower Beds & Specialty Gardens
Flower Garden
Garden Furniture
Garden Gnomes
Garden Seeds
Garden Sheds
Garden Statues
Garden Tools & Supplies
Gardening Basics
Green & Organic
Groundcovers & Vines
Growing Annuals
Growing Basil
Growing Beans
Growing Berries
Growing Blueberries
Growing Cactus
Growing Corn
Growing Cotton
Growing Edibles
Growing Flowers
Growing Garlic
Growing Grapes
Growing Grass
Growing Herbs
Growing Jasmine
Growing Mint
Growing Mushrooms
Orchids
Growing Peanuts
Growing Perennials
Growing Plants
Growing Rosemary
Growing Roses
Growing Strawberries
Growing Sunflowers
Growing Thyme
Growing Tomatoes
Growing Tulips
Growing Vegetables
Herb Basics
Herb Garden
Indoor Growing
Landscaping Basics
Landscaping Patios
Landscaping Plants
Landscaping Shrubs
Landscaping Trees
Landscaping Walks & Pathways
Lawn Basics
Lawn Maintenance
Lawn Mowers
Lawn Ornaments
Lawn Planting
Lawn Tools
Outdoor Growing
Overall Landscape Planning
Pests, Weeds & Problems
Plant Basics
Rock Garden
Rose Garden
Shrubs
Soil
Specialty Gardens
Trees
Vegetable Garden
Yard Maintenance
How to Make a Gazing Ball From a Bowling Ball
How to Make a Gazing Ball From a Bowling Ball. Hand-blown glass gazing balls originated in the 1200s and remain a popular garden feature today. The superstitious believed that gazing balls kept witches away from a home by distracting them with their own distorted reflection. Depending upon the version of the legend, the witches either are repelled...

Hand-blown glass gazing balls originated in the 1200s and remain a popular garden feature today. The superstitious believed that gazing balls kept witches away from a home by distracting them with their own distorted reflection. Depending upon the version of the legend, the witches either are repelled by their image, or cannot resist admiring themselves. In the latter case, terrorizing the residents would slip their minds. Gazing balls were used more practically in the 1800s for peering around the corner to identify approaching garden visitors.
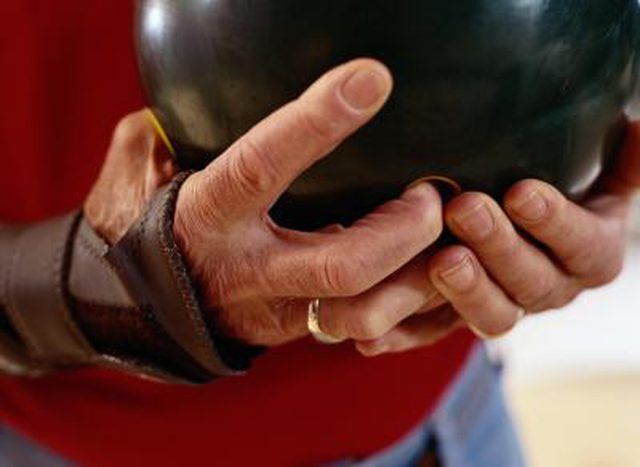
The bowling ball-shaped orb has changed little over the centuries. In fact, creative recyclers might spy an actual orphaned bowling ball and ponder its suitability for the job if it were upcycled. "Upcycling" is not merely reusing an item, but transforming it to improve its quality or usefulness. With some paint and imagination, a castoff can turn into a piece of art.
Things You'll Need
Vinegar
Sand paper
Small waste basket or large can
Spray paint
Plastic primer
Wood putty
Clear silicone
Grout
Admixture
Latex gloves
Face mask or respirator
Clean rag
Preparation
Strip the wax finish off the ball. Soak a cloth with vinegar and wipe the ball down.
Sand the surface with a fine- to medium-grit sand paper. Paint more readily adheres to a rough surface rather than a smooth one.
Determine whether the finger holes should be filled. If they won't be used for pegs or a design element, seal them with wood putty. Keeping moisture out will ensure your project will withstand the elements better.
Stabilize the ball. A tiny bathroom trash basket or a large coffee can work well. This will act as a stand when you paint it.
Painting
Prime the bowling ball with spray paint. Select primer intended for plastic surfaces. Allow the paint to dry.
Rotate the ball and spray the missing spots and allow ball to dry.
Add desired paint color after the primer coat, allowing each layer to thoroughly dry. Many metallic polyurethane paints are on the market. Spray in a solid, consistent layer for a traditional look or create special effects.
Mosaic
Follow the steps for bowling ball preparation.
Apply silicone adhesive to pieces of glass or tile and place each piece on the bowling ball. Place all the pieces and make adjustments before applying grout.
Mix grout. In lieu of water, an admixture can be used to stiffen the mixture.
Apply grout in between the tiles or glass pieces. To ensure full coverage, do not hesitate to cover the edges of the mosaic pieces. Allow grout to cure for 10 minutes before removing excess.
Wipe excess grout with a wet cloth. Let the grout set up for another 10 minutes or more. Seal after 24 hours if desired.
Place the new gazing ball in the garden. Hide it among foliage or place it on a sturdy stand.
Tips & Warnings
When painting the ball, use two additional layers of paint after priming to ensure longevity of the paint. Admix and grout are available in the tile section of hardware stores. Typical gazing balls reflect light, but image reflections do not appear as crisply as they do in a mirror. Rather, reflections appear as they would on a spoon, metallic object or waxed car hood. Perceived images require an attentive and imaginative gaze, hence the name.
Ventilation is critical. Paint or grout in a well-ventilated area. Do not paint in freezing temperatures because drying time will lengthen dramatically. If selected stand is not sturdy enough to support the bowling ball, a safer alternative is to place it in a basket cushioned by Spanish moss, which is available in craft stores.