Bulbs
Flower Basics
Flower Beds & Specialty Gardens
Flower Garden
Garden Furniture
Garden Gnomes
Garden Seeds
Garden Sheds
Garden Statues
Garden Tools & Supplies
Gardening Basics
Green & Organic
Groundcovers & Vines
Growing Annuals
Growing Basil
Growing Beans
Growing Berries
Growing Blueberries
Growing Cactus
Growing Corn
Growing Cotton
Growing Edibles
Growing Flowers
Growing Garlic
Growing Grapes
Growing Grass
Growing Herbs
Growing Jasmine
Growing Mint
Growing Mushrooms
Orchids
Growing Peanuts
Growing Perennials
Growing Plants
Growing Rosemary
Growing Roses
Growing Strawberries
Growing Sunflowers
Growing Thyme
Growing Tomatoes
Growing Tulips
Growing Vegetables
Herb Basics
Herb Garden
Indoor Growing
Landscaping Basics
Landscaping Patios
Landscaping Plants
Landscaping Shrubs
Landscaping Trees
Landscaping Walks & Pathways
Lawn Basics
Lawn Maintenance
Lawn Mowers
Lawn Ornaments
Lawn Planting
Lawn Tools
Outdoor Growing
Overall Landscape Planning
Pests, Weeds & Problems
Plant Basics
Rock Garden
Rose Garden
Shrubs
Soil
Specialty Gardens
Trees
Vegetable Garden
Yard Maintenance
How to Remove the Blades on a Cub Cadet Mower
How to Remove the Blades on a Cub Cadet Mower. Cub Cadets represent one of the best-selling brands of riding mowers on the market, but they require simple maintenance to keep your lawn looking pristine. If you notice an uneven or ragged look to your freshly cut grass, it's time to remove the blades on your Cub Cadet and replace them with sharpened...
Cub Cadets represent one of the best-selling brands of riding mowers on the market, but they require simple maintenance to keep your lawn looking pristine. If you notice an uneven or ragged look to your freshly cut grass, it's time to remove the blades on your Cub Cadet and replace them with sharpened blades. With the right tools, the process of removing the blades should take about 15 minutes.
Things You'll Need
Work gloves
2-by-4 block of wood
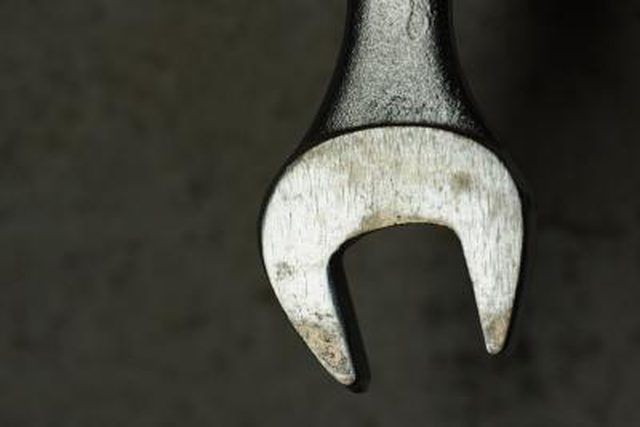
1 1/8-inch wrench
Remove the ignition key and disconnect the spark plug wire to prevent the possibility of the mower accidentally starting while you are removing the blades.
Disconnect the mowing deck from beneath your mower, following the multi-step directions in your operator's manual. Turn the deck over to provide access to the blades.
Put on your work gloves to protect your hands from accidental contact with sharp edges on the blades. Secure the blade you intend to remove first by wedging wood against it to stop it from rotating.
Use a 1 1/8-inch wrench to remove the hex flange nut from the spindle assembly, rotating the nut in a counterclockwise manner. Set the nut aside and pull the blade off of its spindle. Repeat the removal process for the mower's second blade.
Tips & Warnings
Check the your mower's blades once a month for nicks or dullness. Do so earlier if you hit any foreign objects.
It's also good to have a spare set of sharpened blades ready for installation once you remove the dulled ones.


