Bulbs
Flower Basics
Flower Beds & Specialty Gardens
Flower Garden
Garden Furniture
Garden Gnomes
Garden Seeds
Garden Sheds
Garden Statues
Garden Tools & Supplies
Gardening Basics
Green & Organic
Groundcovers & Vines
Growing Annuals
Growing Basil
Growing Beans
Growing Berries
Growing Blueberries
Growing Cactus
Growing Corn
Growing Cotton
Growing Edibles
Growing Flowers
Growing Garlic
Growing Grapes
Growing Grass
Growing Herbs
Growing Jasmine
Growing Mint
Growing Mushrooms
Orchids
Growing Peanuts
Growing Perennials
Growing Plants
Growing Rosemary
Growing Roses
Growing Strawberries
Growing Sunflowers
Growing Thyme
Growing Tomatoes
Growing Tulips
Growing Vegetables
Herb Basics
Herb Garden
Indoor Growing
Landscaping Basics
Landscaping Patios
Landscaping Plants
Landscaping Shrubs
Landscaping Trees
Landscaping Walks & Pathways
Lawn Basics
Lawn Maintenance
Lawn Mowers
Lawn Ornaments
Lawn Planting
Lawn Tools
Outdoor Growing
Overall Landscape Planning
Pests, Weeds & Problems
Plant Basics
Rock Garden
Rose Garden
Shrubs
Soil
Specialty Gardens
Trees
Vegetable Garden
Yard Maintenance
How to Repot a Shamrock Plant
How to Repot a Shamrock Plant. There is no greater symbol of St. Patrick's Day than the shamrock plant. Far from being limited to this one holiday, the shamrock has a great color, fragrance and is a welcome reminder of spring. If you are keeping a shamrock plant, you likely will need to repot it occasionally. Repot your shamrock plants at least...
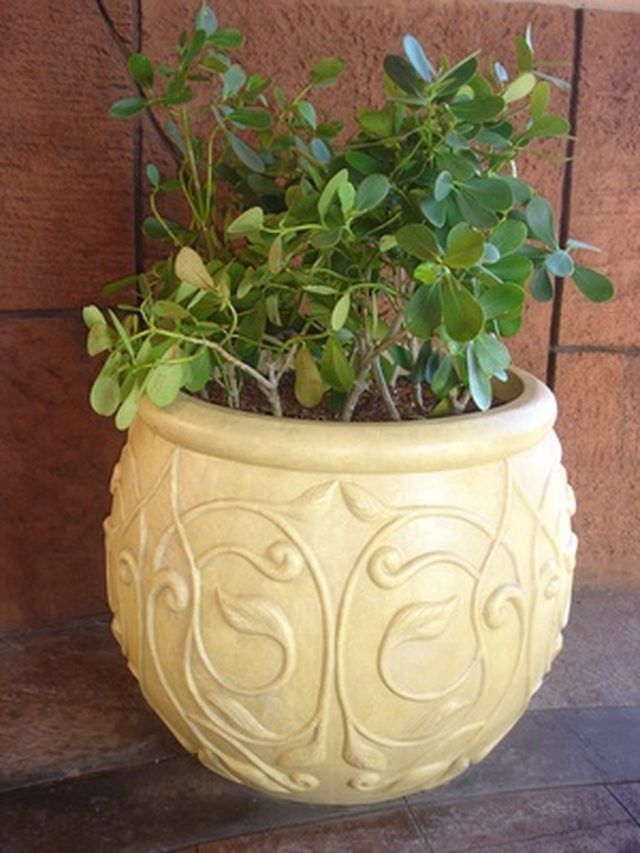
There is no greater symbol of St. Patrick's Day than the shamrock plant. Far from being limited to this one holiday, the shamrock has a great color, fragrance and is a welcome reminder of spring. If you are keeping a shamrock plant, you likely will need to repot it occasionally. Repot your shamrock plants at least once a year, preferably during spring, to gives them a chance to absorb fresh soil and nutrients. Repotting your shamrock plant is relatively easy to do with enough care and attention.
Things You'll Need
Butter knife
Nutrient-rich soil
Pieces of broken clay pot
Shamrock plant (already potted)
New pot
Water
Lay the already potted shamrock plant on its side.
With the handle of a butter knife, tap the sides of the pot toward the bottom to loosen the soil and help ease the plant out.
Gently pull the plant out, taking some of the soil with it. You may need to push your finger through the drainage hole at the bottom of the pot to help remove the plant.
Examine the soil attached to the plant when you've removed it. Brush off any crusty or whitish dirt from the soil.
Loosen the soil so plant roots can breathe more easily, taking care not to damage any roots.
Wash and dry the new pot. If you are using the same pot, be sure to clean it.
Place pieces of broken clay pot in the bottom of the pot, covering the drainage holes so water can drain out but soil won't escape.
Fill the pot with 2 to 3 inches of rich soil.
Set the shamrock plant on the fresh soil and begin to cover the roots with more soil, enough to hold the plant upright. Continue filling the pot with soil until the pot is about 7/8 full.
Place some small pebbles on top of the soil. This keeps the soil loose, allowing water to seep into the roots more easily.
Water your plant and set it in a sunny space.


