Bulbs
Flower Basics
Flower Beds & Specialty Gardens
Flower Garden
Garden Furniture
Garden Gnomes
Garden Seeds
Garden Sheds
Garden Statues
Garden Tools & Supplies
Gardening Basics
Green & Organic
Groundcovers & Vines
Growing Annuals
Growing Basil
Growing Beans
Growing Berries
Growing Blueberries
Growing Cactus
Growing Corn
Growing Cotton
Growing Edibles
Growing Flowers
Growing Garlic
Growing Grapes
Growing Grass
Growing Herbs
Growing Jasmine
Growing Mint
Growing Mushrooms
Orchids
Growing Peanuts
Growing Perennials
Growing Plants
Growing Rosemary
Growing Roses
Growing Strawberries
Growing Sunflowers
Growing Thyme
Growing Tomatoes
Growing Tulips
Growing Vegetables
Herb Basics
Herb Garden
Indoor Growing
Landscaping Basics
Landscaping Patios
Landscaping Plants
Landscaping Shrubs
Landscaping Trees
Landscaping Walks & Pathways
Lawn Basics
Lawn Maintenance
Lawn Mowers
Lawn Ornaments
Lawn Planting
Lawn Tools
Outdoor Growing
Overall Landscape Planning
Pests, Weeds & Problems
Plant Basics
Rock Garden
Rose Garden
Shrubs
Soil
Specialty Gardens
Trees
Vegetable Garden
Yard Maintenance
How to Repair Water Sprinkler Valves
How to Repair Water Sprinkler Valves. You may begin to notice that your lawn sprinkler system is not producing the results it should be. This is most likely due to a damaged or clogged sprinkler valve. Damage can occur to sprinkler valves by accidentally hitting it with a lawn mower or other objects. In order to keep your sprinkler system running...

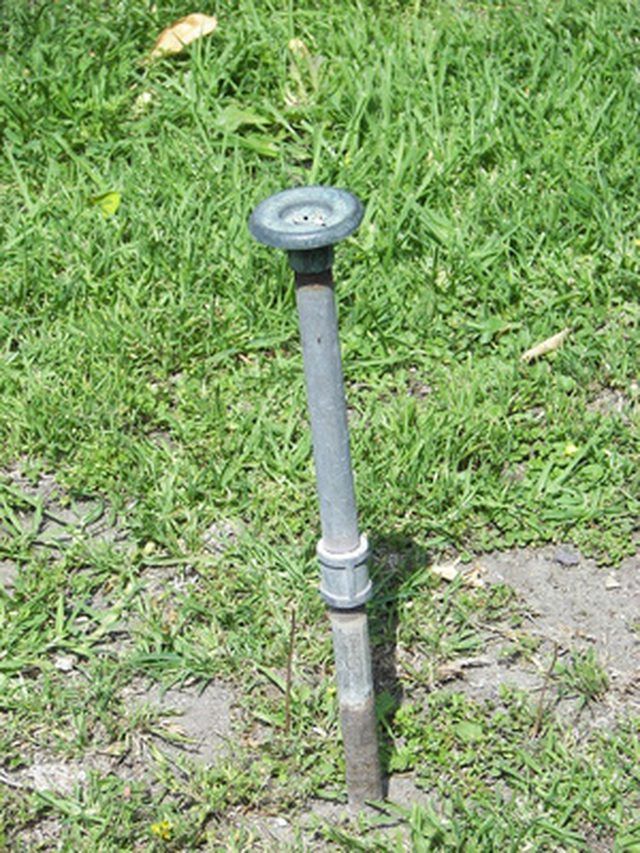
You may begin to notice that your lawn sprinkler system is not producing the results it should be. This is most likely due to a damaged or clogged sprinkler valve. Damage can occur to sprinkler valves by accidentally hitting it with a lawn mower or other objects. In order to keep your sprinkler system running at full capacity and efficiency, inspect, replace and clean sprinkler valves regularly.
Things You'll Need
Replacement sprinkler valve parts
Turn the sprinkler system off before you attempt any work on the system. Turn the water supply off as well, to prevent water pressure from building up and causing damage to the system.
Find the sprinkler valve. The valve resembles a thin cylinder that has a wire coming off each end. Release the valve from the sprinkler head by turning the valve counterclockwise until it springs out of place.
Twist the top of the valve to open the valve housing, continue twisting until it's released. Remove the flexible diaphragm and spring located in the valve.
Clean the diaphragm with your fingers or a soft cloth to remove any dirt. If the diaphragm or spring is damaged, replace them with new parts. Clean the housing and valve as well to remove any dirt. This may be causing water to be blocked.
Assemble the sprinkler valve back together. Replace the valve back into the sprinkler head. You may now restore power and water supply to your system. Repeat these steps anytime a sprinkler valve is damaged or needs cleaning.