Bulbs
Flower Basics
Flower Beds & Specialty Gardens
Flower Garden
Garden Furniture
Garden Gnomes
Garden Seeds
Garden Sheds
Garden Statues
Garden Tools & Supplies
Gardening Basics
Green & Organic
Groundcovers & Vines
Growing Annuals
Growing Basil
Growing Beans
Growing Berries
Growing Blueberries
Growing Cactus
Growing Corn
Growing Cotton
Growing Edibles
Growing Flowers
Growing Garlic
Growing Grapes
Growing Grass
Growing Herbs
Growing Jasmine
Growing Mint
Growing Mushrooms
Orchids
Growing Peanuts
Growing Perennials
Growing Plants
Growing Rosemary
Growing Roses
Growing Strawberries
Growing Sunflowers
Growing Thyme
Growing Tomatoes
Growing Tulips
Growing Vegetables
Herb Basics
Herb Garden
Indoor Growing
Landscaping Basics
Landscaping Patios
Landscaping Plants
Landscaping Shrubs
Landscaping Trees
Landscaping Walks & Pathways
Lawn Basics
Lawn Maintenance
Lawn Mowers
Lawn Ornaments
Lawn Planting
Lawn Tools
Outdoor Growing
Overall Landscape Planning
Pests, Weeds & Problems
Plant Basics
Rock Garden
Rose Garden
Shrubs
Soil
Specialty Gardens
Trees
Vegetable Garden
Yard Maintenance
How to Replace a Coil on a Briggs Engine
How to Replace a Coil on a Briggs Engine. Briggs & Stratton has been successfully building small engines since 1908. Lawn equipment such as tillers, push lawnmowers, riding lawn mowers, and weed eaters have used Briggs & Stratton engines as their primary means of power. Briggs engines provide a lot of power in a small package. Even though these...
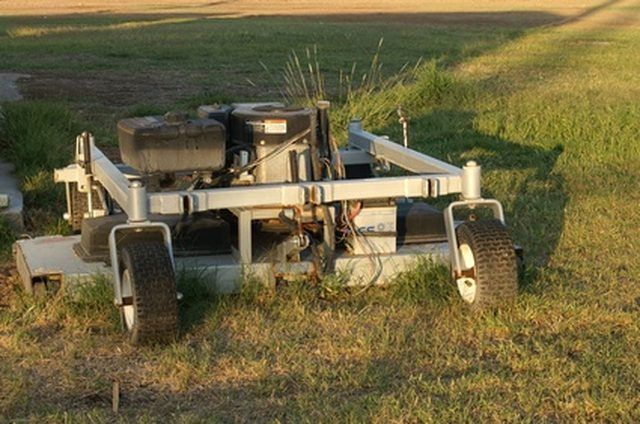
Briggs & Stratton has been successfully building small engines since 1908. Lawn equipment such as tillers, push lawnmowers, riding lawn mowers, and weed eaters have used Briggs & Stratton engines as their primary means of power. Briggs engines provide a lot of power in a small package. Even though these engines vary in size, their basic construction and design is still the same.
Things You'll Need
Socket wrench set
Feeler gauge set
Remove the spark plug.
Remove the three or four screws that hold the top flywheel cover housing in place and remove the housing.
Use your feeler gauge to determine the air gap between the flywheel and the existing coil. Record this measurement. It is a good idea to check the Briggs & Stratton repair manual to verify the proper setting of this gap.
Unscrew the bolts that hold the coil in place and remove it. Place the new coil in position and tighten the bolts finger tight.
Turn the flywheel until the magnets on the flywheel are in front of the new coil. Place the correct size feeler gauge between the flywheel magnets and coil. Squeeze the feeler gauge between the coil magnets and the coil.
Tighten the coil screws using your socket wrench and remove the feeler gauge. Rotate the flywheel one complete revolution to verify that the coil and flywheel do not make physical contact with each other.
Replace and tighten the flywheel cover housing. Replace the spark plug and reconnect the spark plug wire. Start the engine.


