Bulbs
Flower Basics
Flower Beds & Specialty Gardens
Flower Garden
Garden Furniture
Garden Gnomes
Garden Seeds
Garden Sheds
Garden Statues
Garden Tools & Supplies
Gardening Basics
Green & Organic
Groundcovers & Vines
Growing Annuals
Growing Basil
Growing Beans
Growing Berries
Growing Blueberries
Growing Cactus
Growing Corn
Growing Cotton
Growing Edibles
Growing Flowers
Growing Garlic
Growing Grapes
Growing Grass
Growing Herbs
Growing Jasmine
Growing Mint
Growing Mushrooms
Orchids
Growing Peanuts
Growing Perennials
Growing Plants
Growing Rosemary
Growing Roses
Growing Strawberries
Growing Sunflowers
Growing Thyme
Growing Tomatoes
Growing Tulips
Growing Vegetables
Herb Basics
Herb Garden
Indoor Growing
Landscaping Basics
Landscaping Patios
Landscaping Plants
Landscaping Shrubs
Landscaping Trees
Landscaping Walks & Pathways
Lawn Basics
Lawn Maintenance
Lawn Mowers
Lawn Ornaments
Lawn Planting
Lawn Tools
Outdoor Growing
Overall Landscape Planning
Pests, Weeds & Problems
Plant Basics
Rock Garden
Rose Garden
Shrubs
Soil
Specialty Gardens
Trees
Vegetable Garden
Yard Maintenance
How to Use Weed Block Fabric
How to Use Weed Block Fabric. Spending an entire growing season pulling weeds out of gardens and flower beds is a lot of unnecessary work, because Weed Block fabric will keep the weeds from growing in the first place. However, it has to be properly installed or it will not effectively stop the growth of unwanted weeds. A little extra preparation...
Spending an entire growing season pulling weeds out of gardens and flower beds is a lot of unnecessary work, because Weed Block fabric will keep the weeds from growing in the first place. However, it has to be properly installed or it will not effectively stop the growth of unwanted weeds. A little extra preparation work is involved in getting the soil ready for the fabric, and you must exercise care to prevent puncturing the fabric after installation.
Things You'll Need
Garden rake
Weed Block fabric
Fabric pegs
Utility knife
Step 1
Pull any weeds that are in the area that will be covered with Weed Block fabric. Dig the tines of the rake about an inch into the ground and pull it back, removing large clumps and smoothing the surface of the ground.
Step 2
Roll the Weed Block fabric out, smoothing any large puckers with your hands. If any spots are sticking up, reach under the fabric and remove the dirt clod or rock that is causing the lump.
Step 3
Position the Weed Block roll with 3 inches of fabric overlapping the first strip of fabric. Keep the second row of fabric smooth and overlapped while unrolling. Push the fabric pegs or staples into the overlap and the raw edges to secure the fabric, positioning the pegs 2 feet apart.
Step 4
Cut x shapes with the utility knife, to give you room to insert the plants. Avoid making cuts longer than necessary, to prevent weed growth.
Step 5
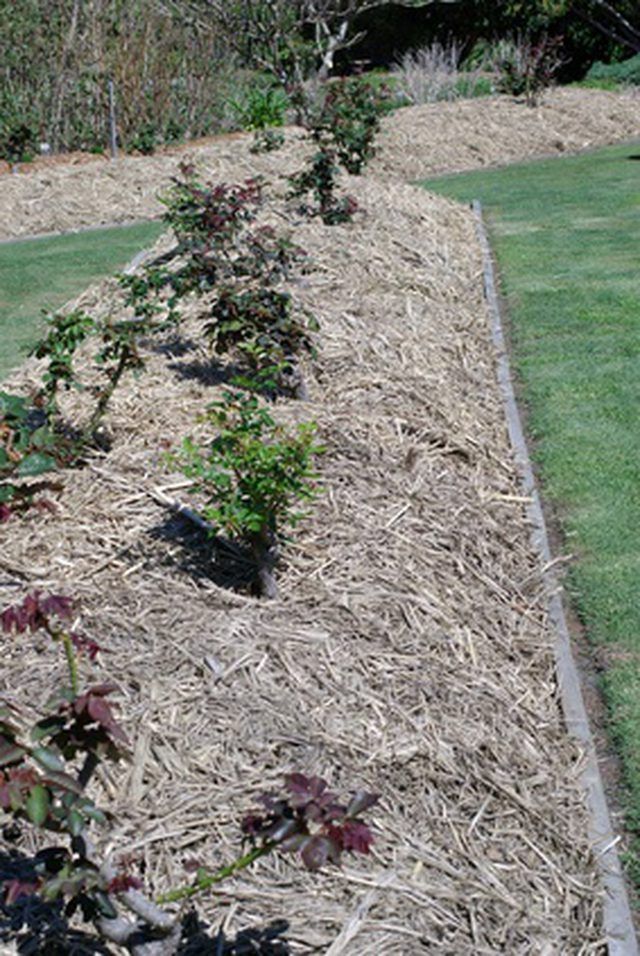
Cover the fabric with mulch or decorative stone after you have planted the area. This hides the fabric pegs or garden staples that are used to secure the fabric.
