Bulbs
Flower Basics
Flower Beds & Specialty Gardens
Flower Garden
Garden Furniture
Garden Gnomes
Garden Seeds
Garden Sheds
Garden Statues
Garden Tools & Supplies
Gardening Basics
Green & Organic
Groundcovers & Vines
Growing Annuals
Growing Basil
Growing Beans
Growing Berries
Growing Blueberries
Growing Cactus
Growing Corn
Growing Cotton
Growing Edibles
Growing Flowers
Growing Garlic
Growing Grapes
Growing Grass
Growing Herbs
Growing Jasmine
Growing Mint
Growing Mushrooms
Orchids
Growing Peanuts
Growing Perennials
Growing Plants
Growing Rosemary
Growing Roses
Growing Strawberries
Growing Sunflowers
Growing Thyme
Growing Tomatoes
Growing Tulips
Growing Vegetables
Herb Basics
Herb Garden
Indoor Growing
Landscaping Basics
Landscaping Patios
Landscaping Plants
Landscaping Shrubs
Landscaping Trees
Landscaping Walks & Pathways
Lawn Basics
Lawn Maintenance
Lawn Mowers
Lawn Ornaments
Lawn Planting
Lawn Tools
Outdoor Growing
Overall Landscape Planning
Pests, Weeds & Problems
Plant Basics
Rock Garden
Rose Garden
Shrubs
Soil
Specialty Gardens
Trees
Vegetable Garden
Yard Maintenance
How to Design a Soaker Hose Layout
How to Design a Soaker Hose Layout. A soaker hose is a garden hose made of permeable material or of material that has been perforated to allow water to dribble out. Soaker hoses are used in landscape design to deliver a controlled drip of water directly to the roots of plants. This helps prevent water loss due to evaporation, and helps to prevent...

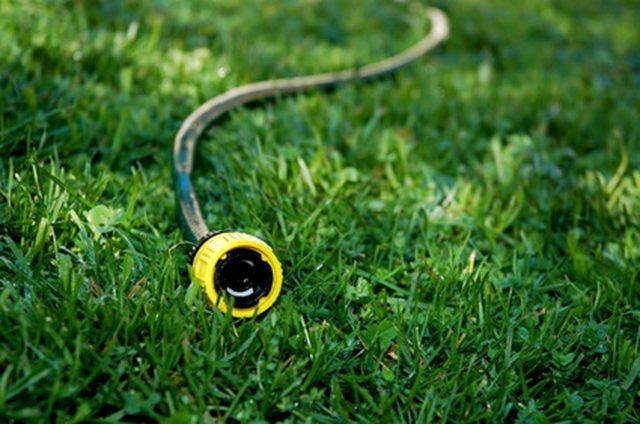
A soaker hose is a garden hose made of permeable material or of material that has been perforated to allow water to dribble out. Soaker hoses are used in landscape design to deliver a controlled drip of water directly to the roots of plants. This helps prevent water loss due to evaporation, and helps to prevent overwatering. Designing a soaker hose layout is a relatively simple project.
Things You'll Need
Tape measure
Soaker hose
Timer
Backflow device
Filter
Pressure regulator
Hose connectors
Hose stakes
End cap
Measure with a tape measure the path through your garden where you will lay the soaker hose. This will tell you how many feet of soaker hose you must purchase.
Attach multiple hoses with hose fittings to make a longer tube.
Configure your connection assembly between an external faucet and your soaker hose. First, attach the backflow device to the faucet. Then fit the timer onto the backflow device. Attach the pressure regulator onto the timer and the filters onto the pressure regulator. Then add the hose connectors to the pressure regulator.
Attach the hose to the connection assembly via the hose connectors. Flush the tubing to remove debris from the hose.
Place the tubing of your soaker hose around the root system of your plants. Anchor the tubing to the ground using hose stakes.
Place an end cap onto the end of the hose tubing.
Tips & Warnings
You can bury the hose 4 to 6 inches beneath the soil, which helps to efficiently distribute water to the roots of a plants.