Bulbs
Flower Basics
Flower Beds & Specialty Gardens
Flower Garden
Garden Furniture
Garden Gnomes
Garden Seeds
Garden Sheds
Garden Statues
Garden Tools & Supplies
Gardening Basics
Green & Organic
Groundcovers & Vines
Growing Annuals
Growing Basil
Growing Beans
Growing Berries
Growing Blueberries
Growing Cactus
Growing Corn
Growing Cotton
Growing Edibles
Growing Flowers
Growing Garlic
Growing Grapes
Growing Grass
Growing Herbs
Growing Jasmine
Growing Mint
Growing Mushrooms
Orchids
Growing Peanuts
Growing Perennials
Growing Plants
Growing Rosemary
Growing Roses
Growing Strawberries
Growing Sunflowers
Growing Thyme
Growing Tomatoes
Growing Tulips
Growing Vegetables
Herb Basics
Herb Garden
Indoor Growing
Landscaping Basics
Landscaping Patios
Landscaping Plants
Landscaping Shrubs
Landscaping Trees
Landscaping Walks & Pathways
Lawn Basics
Lawn Maintenance
Lawn Mowers
Lawn Ornaments
Lawn Planting
Lawn Tools
Outdoor Growing
Overall Landscape Planning
Pests, Weeds & Problems
Plant Basics
Rock Garden
Rose Garden
Shrubs
Soil
Specialty Gardens
Trees
Vegetable Garden
Yard Maintenance
How to Repair a Clay Chiminea
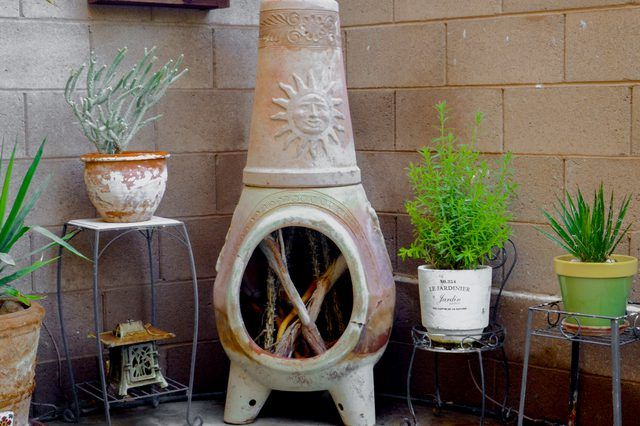
How to Repair a Clay Chiminea. Made from clay, chimineas consist of a bulb-shaped base that narrows upward into a tubular chimney. Despite being designed to withstand the heat from fires, many still crack over time. They can also crack easily if dropped or bumped. Depending on the severity of the crack, it is possible to repair the crack instead of...
Made from clay, chimineas consist of a bulb-shaped base that narrows upward into a tubular chimney. Despite being designed to withstand the heat from fires, many still crack over time. They can also crack easily if dropped or bumped. Depending on the severity of the crack, it is possible to repair the crack instead of replacing the entire unit.
Things You'll Need
Sandpaper
Automotive filler putty or high temperature epoxy adhesive
Putty knife (optional)
Clamp
Paint
Spray lacquer
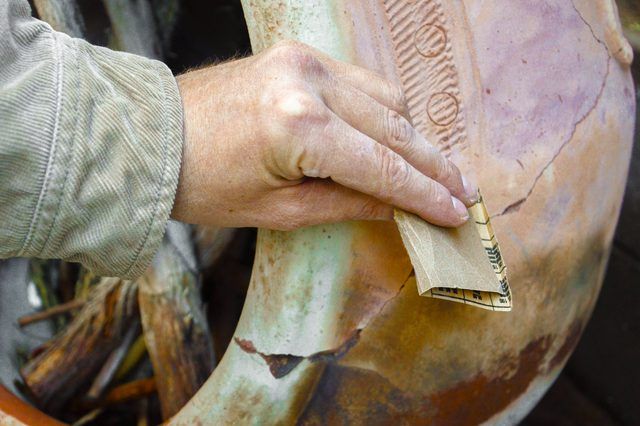
Step 1
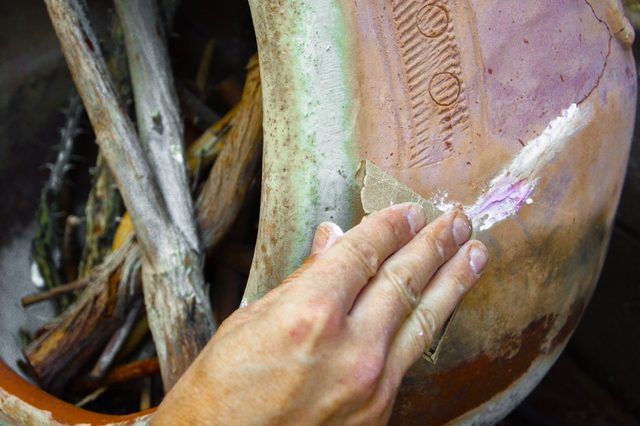
Sand the outside of the broken or cracked area of the chiminea with a medium grit sandpaper. Use light pressure to sand the clay surface until it is smooth. Keep sanding painted surfaces until all of the paint has been removed from around the crack or break.
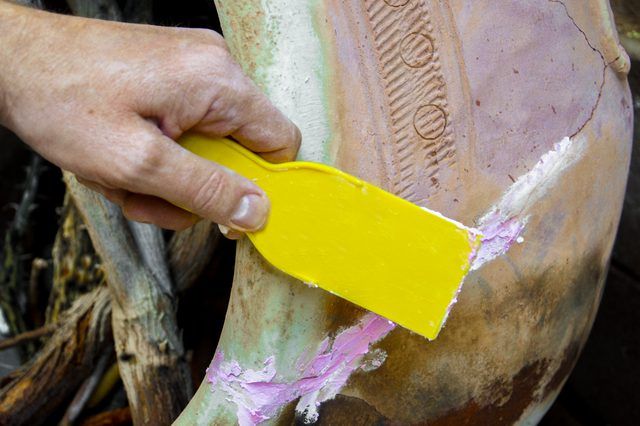
Step 2
Apply the automotive repair putty or high temperature epoxy adhesive to the cracked or broken part of the chiminea. Apply enough putty or adhesive that it mounds up slightly on the surface of the clay. Use a clamp to clamp any broken pieces onto a firm section of the clay before applying the putty or epoxy adhesive.
Step 3
Allow the putty or epoxy to dry until it changes to a lighter color and is completely dry to the touch.
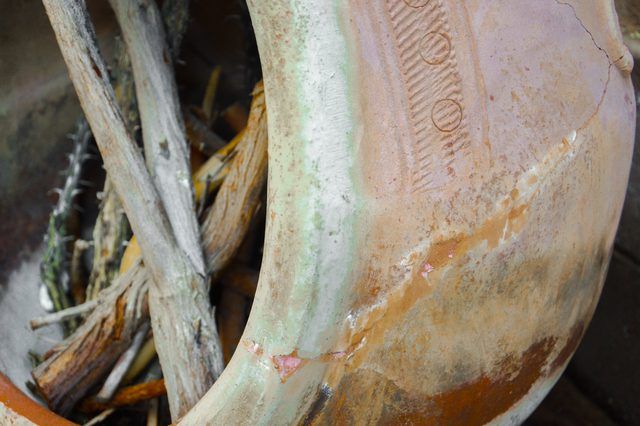
Step 4
Sand the surface of the putty or epoxy with medium grit sandpaper until the surface of the repair material is level with the surface of the chiminea.
Step 5
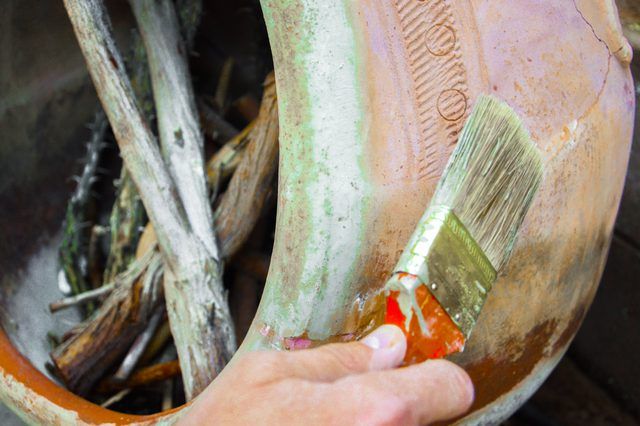
Paint the exterior of the chiminea, if desired, using any standard paint followed by a clear top coat of lacquer.


