Bulbs
Flower Basics
Flower Beds & Specialty Gardens
Flower Garden
Garden Furniture
Garden Gnomes
Garden Seeds
Garden Sheds
Garden Statues
Garden Tools & Supplies
Gardening Basics
Green & Organic
Groundcovers & Vines
Growing Annuals
Growing Basil
Growing Beans
Growing Berries
Growing Blueberries
Growing Cactus
Growing Corn
Growing Cotton
Growing Edibles
Growing Flowers
Growing Garlic
Growing Grapes
Growing Grass
Growing Herbs
Growing Jasmine
Growing Mint
Growing Mushrooms
Orchids
Growing Peanuts
Growing Perennials
Growing Plants
Growing Rosemary
Growing Roses
Growing Strawberries
Growing Sunflowers
Growing Thyme
Growing Tomatoes
Growing Tulips
Growing Vegetables
Herb Basics
Herb Garden
Indoor Growing
Landscaping Basics
Landscaping Patios
Landscaping Plants
Landscaping Shrubs
Landscaping Trees
Landscaping Walks & Pathways
Lawn Basics
Lawn Maintenance
Lawn Mowers
Lawn Ornaments
Lawn Planting
Lawn Tools
Outdoor Growing
Overall Landscape Planning
Pests, Weeds & Problems
Plant Basics
Rock Garden
Rose Garden
Shrubs
Soil
Specialty Gardens
Trees
Vegetable Garden
Yard Maintenance
How to Winterize a Rainbird Sprinkler System
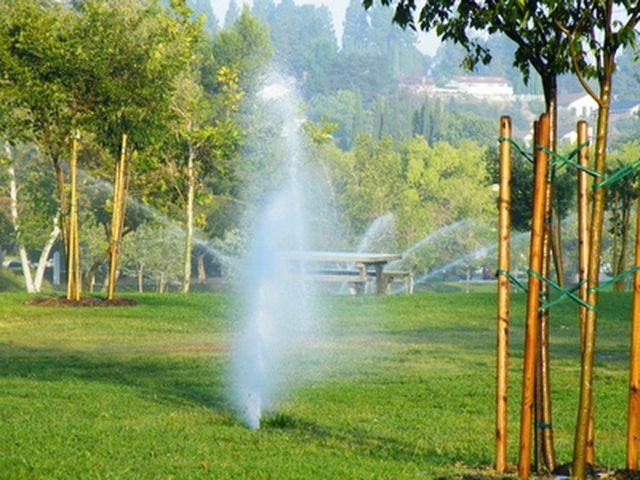
How to Winterize a Rainbird Sprinkler System. Winterizing your Rainbird sprinkler system ensures that your irrigation system does not break during freezing temperatures. Winterize your system around the middle of autumn to make certain that the job is done before any freezing occurs. The process mainly consists of getting all of the water out of...

Winterizing your Rainbird sprinkler system ensures that your irrigation system does not break during freezing temperatures. Winterize your system around the middle of autumn to make certain that the job is done before any freezing occurs. The process mainly consists of getting all of the water out of the lines. Some Rainbird systems have a drain valve installed which means you do not have to use a compressor to blow out the lines. When water is left in the system and freezes, it can split the valves and ruin the entire set up.
Things You'll Need
Eye protection
Compressor (possibly)
Screwdriver
Wrench
Small towels
Systems With Drain Valve
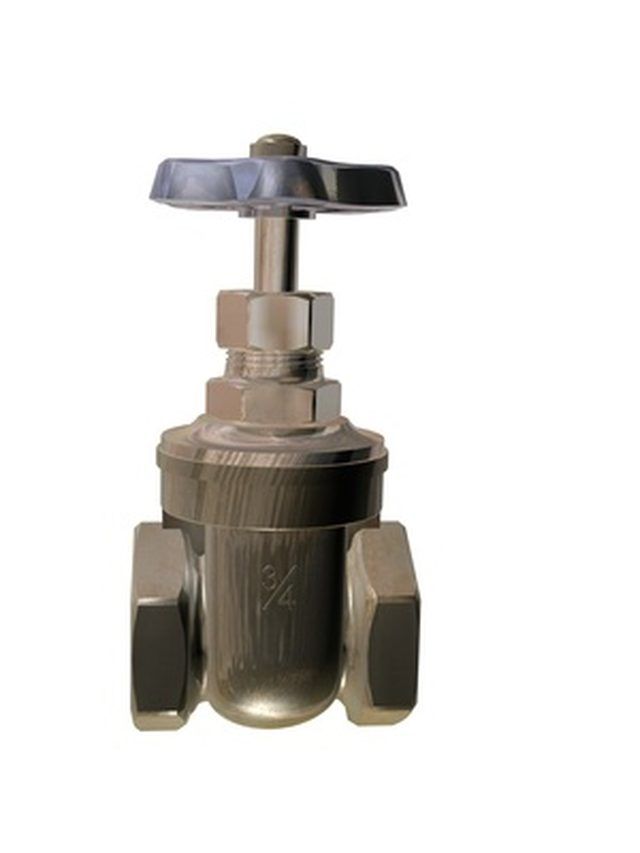
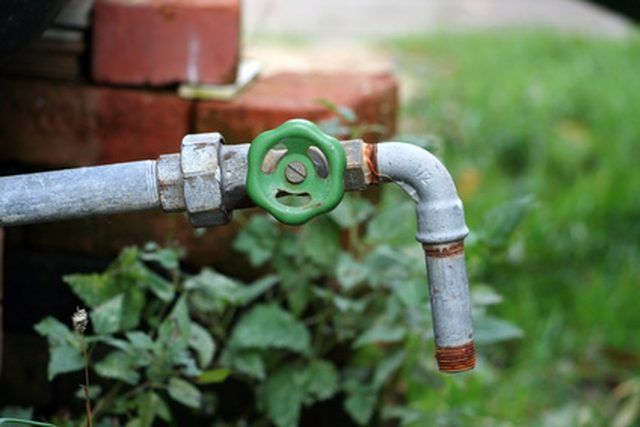
Switch off the main valve to the entire irrigation system. This is the valve that runs from the water meter to the sprinkler system.

Open up any one of the irrigation control valves. This can be done manually or electronically.
Put on protective eye glasses and unscrew the drain cap for the manual drain valve. This is located at the lowest point of the sprinkler system at the base of the line that runs from the main shutoff valve to the rest of the system.

Wait until there is no more water coming out of the drain valve and then replace the cap and close the irrigation control valve.
Replicate this process for every control valve on your system.
Blowing Out The Lines With a Compressor
Turn off the shutoff valve at the mainline of the sprinkler system.
Turn on the sprinkler zone furthest from the mainline using the electronic control box.
Put on your safety glasses and connect the compressor to the blow out adapter. The blow out adapter is located near the beginning of the sprinkler line that runs to the sprinkler control valves. The compressor must be able to supply 10 to 25 cubic feet of air per minute or CFM and no more then 50 pounds of air pressure per square inch or psi.
Turn the pressure valve on the compressor to 50 psi and slowly increase the air flow until you see the head of sprinkler pop up in the zone that you turned on.
Turn off the compressor before two minutes have passed. At this point, only a fine mist if anything should be coming out of the sprinkler head.
Turn off the compressor and return to the control box.
Repeat the process by turning off the open zone and turning on a different zone and then blowing out the line again.
Winterizing the Valves
Take apart all of the the valves by removing the bonnet, solenoid and diaphragm. The bonnet is located on top of the valve. The solenoid is under the bonnet along with the diaphragm. You will need a screwdriver and possibly a wrench to take the valve apart.
Wipe off all of the pieces of the valve with a small towel.
Reassemble each valve leaving the solenoid in the open position for the winter.
Tips & Warnings
Running the air compressor at more then 50 psi can damage the system. You should also never run the compressor for more then 2 minutes at a time to avoid system damage.