Bulbs
Flower Basics
Flower Beds & Specialty Gardens
Flower Garden
Garden Furniture
Garden Gnomes
Garden Seeds
Garden Sheds
Garden Statues
Garden Tools & Supplies
Gardening Basics
Green & Organic
Groundcovers & Vines
Growing Annuals
Growing Basil
Growing Beans
Growing Berries
Growing Blueberries
Growing Cactus
Growing Corn
Growing Cotton
Growing Edibles
Growing Flowers
Growing Garlic
Growing Grapes
Growing Grass
Growing Herbs
Growing Jasmine
Growing Mint
Growing Mushrooms
Orchids
Growing Peanuts
Growing Perennials
Growing Plants
Growing Rosemary
Growing Roses
Growing Strawberries
Growing Sunflowers
Growing Thyme
Growing Tomatoes
Growing Tulips
Growing Vegetables
Herb Basics
Herb Garden
Indoor Growing
Landscaping Basics
Landscaping Patios
Landscaping Plants
Landscaping Shrubs
Landscaping Trees
Landscaping Walks & Pathways
Lawn Basics
Lawn Maintenance
Lawn Mowers
Lawn Ornaments
Lawn Planting
Lawn Tools
Outdoor Growing
Overall Landscape Planning
Pests, Weeds & Problems
Plant Basics
Rock Garden
Rose Garden
Shrubs
Soil
Specialty Gardens
Trees
Vegetable Garden
Yard Maintenance
How to Repair a Stihl Weed Eater
How to Repair a Stihl Weed Eater. Whether you're a homeowner or professional, if you own a Stihl weed eater, there will come a time when it breaks down. You have two options: take it to a repair shop, or fix it yourself. Most people don't like to pay someone else for repairs that can be accomplished with a few tools and a basic understanding of the...
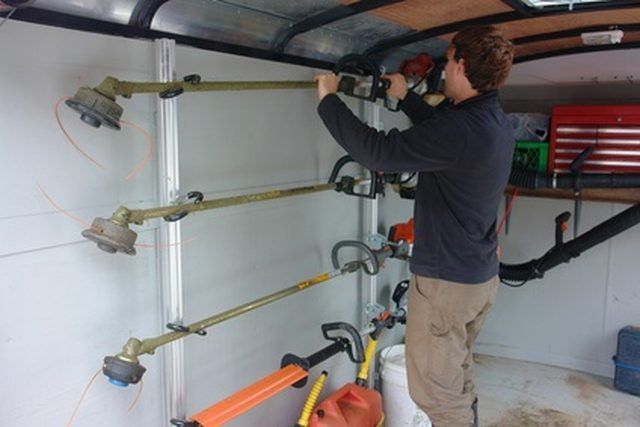
Whether you're a homeowner or professional, if you own a Stihl weed eater, there will come a time when it breaks down. You have two options: take it to a repair shop, or fix it yourself. Most people don't like to pay someone else for repairs that can be accomplished with a few tools and a basic understanding of the mechanics of small engines. To start and run, these engines require only three basic things: spark, compression, and fuel. When making repairs, isolate the problem into one of these three components.
Things You'll Need
Screwdriver
Socket wrench
New spark plug
Rag
Brush
Detergent
Needle nose pliers
Carburetor cleaner
Replacement parts
Spark Repairs
Insert the flat-bladed tip of the screwdriver underneath the edge of the rubber boot covering the spark plug. Gently pop the rubber boot off the spark plug. Unscrew the spark plug and remove it from the engine.
Wearing a leather glove, put the new spark plug inside the rubber boot, holding it close to a metal point on the cylinder. Pull on the starter cord and check for a blue spark across the points. If there's no spark or it's a weak yellow, inspect the boot and wire for a loose connection.
Continue working back to the ignition module, looking for signs of a disconnected or damaged wire. Unscrew the cover over the "On/Off" switch. Disconnect the ground wire from the ignition switch. Repeat the spark plug test. If there's a spark, replace the ignition switch.
If there's still no spark, check the two lead wires and their connection with the switch and the starter. Replace any loose or damaged wires.
Unscrew the starter cover and remove it from the engine. Turn the flywheel by hand and inspect for any damage. Replace the flywheel if it's heavily worn or parts are sheared off. Take the trimmer to a mechanic for further ignition testing.
Compression Repairs
Set the choke to its closed position. Unhook the tab holding the air filter cover in place over the air filter. Remove the cover and pull out the air filter from its housing. With a rag, clean around the air filter housing and cover. Knock the air filter felt against a hard surface or replace if it's too dirty to clean.
Unscrew the muffler cover, which sits on the back right side of most Stihl trimmer engines, and pull out the spark arrester screen from inside the muffler. Scrub the screen clean with the brush and some soapy water. Replace the screen if it can't be cleaned well enough.
Inspect the exhaust port hole inside the muffler for any carbon clogs and heavy buildup. Inspect the muffler for any cracks or damage. Replace the muffler if it's damaged.
Unscrew the starter cover and remove it from the engine. Inspect the starter cord, pulley, and recoil spring for any damage. Replace these parts as necessary.
Take the engine to a mechanic to test it to see if it can hold compression.
Fuel Repairs
Drain the contents of the fuel tank into an approved fuel container. Wipe the inside of the tank with the brush and rag. Inspect the tank for any damage, holes or clogs.
Remove the air filter cover and air filter from the engine. With needle nose pliers, disconnect the main fuel line from the elbow connector on the carburetor. Pull the fuel filter and fuel line out through the hole in the gas tank. Throw both of them away.
Install the new fuel filter and fuel line, and fill the trimmer with fresh gas. If fuel problems still persist, take the engine to a mechanic to clean the carburetor.
Trimmer Head Repairs
Check the head and the shaft's connecting point to make sure there's no grass stopping the head from spinning. Depress the center knob and turn the cover in the direction of the arrow.
Remove the cover and inner spool from the trimmer head. Take off any remaining trimmer line. Wipe the cover and inner spool clean with the rag and inspect them for any cracks or damage. Replace as necessary.
Remove the inner spring from the spool head and make sure it still has tension. Clean inside the head and inspect for any loose bolts, cracks, or damage. Replace parts as necessary.


