Bulbs
Flower Basics
Flower Beds & Specialty Gardens
Flower Garden
Garden Furniture
Garden Gnomes
Garden Seeds
Garden Sheds
Garden Statues
Garden Tools & Supplies
Gardening Basics
Green & Organic
Groundcovers & Vines
Growing Annuals
Growing Basil
Growing Beans
Growing Berries
Growing Blueberries
Growing Cactus
Growing Corn
Growing Cotton
Growing Edibles
Growing Flowers
Growing Garlic
Growing Grapes
Growing Grass
Growing Herbs
Growing Jasmine
Growing Mint
Growing Mushrooms
Orchids
Growing Peanuts
Growing Perennials
Growing Plants
Growing Rosemary
Growing Roses
Growing Strawberries
Growing Sunflowers
Growing Thyme
Growing Tomatoes
Growing Tulips
Growing Vegetables
Herb Basics
Herb Garden
Indoor Growing
Landscaping Basics
Landscaping Patios
Landscaping Plants
Landscaping Shrubs
Landscaping Trees
Landscaping Walks & Pathways
Lawn Basics
Lawn Maintenance
Lawn Mowers
Lawn Ornaments
Lawn Planting
Lawn Tools
Outdoor Growing
Overall Landscape Planning
Pests, Weeds & Problems
Plant Basics
Rock Garden
Rose Garden
Shrubs
Soil
Specialty Gardens
Trees
Vegetable Garden
Yard Maintenance
How to Put Rocks in the Bank of a Creek to Prevent Erosion
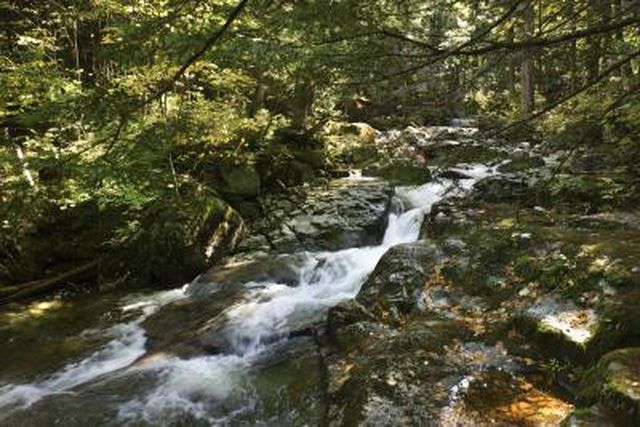
How to Put Rocks in the Bank of a Creek to Prevent Erosion. It's very common for erosion to occur on the banks of streams with a sizable flow of water. Placing rocks in the bank is an effective way to slow or prevent the erosion, and it's one of the easiest techniques to put into practice.

It's very common for erosion to occur on the banks of streams with a sizable flow of water. Placing rocks in the bank is an effective way to slow or prevent the erosion, and it's one of the easiest techniques to put into practice.
Things You'll Need
2- to 3-foot-long rocks, flat or rectangular in shape
Geotextile material
Shovel
Wading boots
Determine the number of rows of rocks you need to stabilize the creek bank. In slower-moving streams, the bank is short enough that only one or two rows of rocks will be required. Larger streams, or those with more serious erosion, may require six rows or more.
Dig a slight trench for your footer rocks at the bottom of the creek bed. Dig a trench where the rock wall will begin, typically at or just below the waterline. You want to provide a solid, steady base for the layer of rocks that will serve as the base for the wall. This row is called the footer rocks.
Lay geotextile material on the creek bank on any section that will have a wall taller than 3 feet. This material, found in most home improvement stores, will help secure the rocks to the creek bank.
Place the footer rocks carefully into the trench you've dug. Make sure they're level and snugly seated in the trench. Ensuring the integrity of the foundation reduces the risk that the wall will collapse. If you have used geotextile material on the creek bank, tuck the bottom edge of the material into the trench and place the footer rocks on top of the material.
Add a second row of rocks, seating them carefully one at a time on top of the layer below. It may be necessary to dig out the bank a bit to ensure that the rocks are seated properly. You can also use mud from the surrounding areas between the rocks to strengthen the wall.
Repeat Step 5 until the required number of rows of rocks have been constructed.
Examine the rock wall for problems. Wiggle the rocks slowly to ensure that they are properly wedged into the creek bank. Apply mud between rocks as needed to secure the wall.