Bulbs
Flower Basics
Flower Beds & Specialty Gardens
Flower Garden
Garden Furniture
Garden Gnomes
Garden Seeds
Garden Sheds
Garden Statues
Garden Tools & Supplies
Gardening Basics
Green & Organic
Groundcovers & Vines
Growing Annuals
Growing Basil
Growing Beans
Growing Berries
Growing Blueberries
Growing Cactus
Growing Corn
Growing Cotton
Growing Edibles
Growing Flowers
Growing Garlic
Growing Grapes
Growing Grass
Growing Herbs
Growing Jasmine
Growing Mint
Growing Mushrooms
Orchids
Growing Peanuts
Growing Perennials
Growing Plants
Growing Rosemary
Growing Roses
Growing Strawberries
Growing Sunflowers
Growing Thyme
Growing Tomatoes
Growing Tulips
Growing Vegetables
Herb Basics
Herb Garden
Indoor Growing
Landscaping Basics
Landscaping Patios
Landscaping Plants
Landscaping Shrubs
Landscaping Trees
Landscaping Walks & Pathways
Lawn Basics
Lawn Maintenance
Lawn Mowers
Lawn Ornaments
Lawn Planting
Lawn Tools
Outdoor Growing
Overall Landscape Planning
Pests, Weeds & Problems
Plant Basics
Rock Garden
Rose Garden
Shrubs
Soil
Specialty Gardens
Trees
Vegetable Garden
Yard Maintenance
How to Revive Wooden Outdoor Furniture
How to Revive Wooden Outdoor Furniture. If you have an old picnic table or some Adirondack chairs with peeling paint and chipped or splintered wood, it's not that hard to make them look (almost) as good as new. Furniture refinishing of this sort is much closer to carpentry and house painting than it is to restoring an antique sideboard. That's...
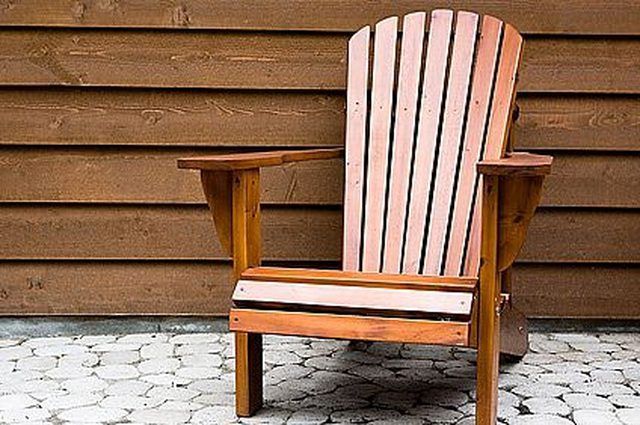
If you have an old picnic table or some Adirondack chairs with peeling paint and chipped or splintered wood, it's not that hard to make them look (almost) as good as new. Furniture refinishing of this sort is much closer to carpentry and house painting than it is to restoring an antique sideboard. That's fine, though, because without much effort you'll be able to cover up any minor imperfections and have a good-looking result.
Things You'll Need
Waterproof Glue
Cloth
Paintbrushes
Exterior Paint
Stain-killing Primer
Stiff Wire Brush
Wood Primer
Paste Wood Filler
Putty Knife
Clamp
120-, 180- and 220-grit sandpaper
Patching damaged wood
Scrub the splintered, chipped or dented area with a stiff wire brush to remove any loose paint or wood chips.
Apply a waterproof glue to any splintered pieces and clamp them until the glue dries.
With a putty knife, spread a paste wood filler over the damaged area, covering it completely.
Smooth down the wood filler until it is flush with the wood surface. Let dry overnight.
Sand the patch gently with 220-grit sandpaper, feathering out the edges to make the patch less visible.
Wipe off the sanding residue with a damp cloth.
Repainting outdoor furniture
Remove any peeling paint with a stiff wire brush.
Sand the item with 120-grit sandpaper, along the grain.
Switch to 180-grit paper, and sand again until the item is fairly smooth, especially along the edges between the painted and unpainted areas.
Paint any bare wood with a primer; let dry.
If the wood has a number of knotholes or dark blemishes that you want hidden, paint them with a stain-killing primer. Let dry.
Paint the entire piece with an exterior paint--even the hard-to-see places underneath, which will need the paint for protection, if not appearance. Let dry.
Apply a second coat; let dry.
Tips & Warnings
When painting a bulky piece of furniture such as a picnic table, prop it up on one end first, to expose its underside and other parts you might not notice.
Either latex or oil-based primers will work here, but latex paint is much easier to clean up. Latex paint has also improved in quality and adhesion in recent years, and it is used by most painters for most jobs.
Paint the end grain of the wood twice while applying each coat (painting it first and then again at the end will make this easy to remember). This ensures that the paint completely covers the grain.


