Bulbs
Flower Basics
Flower Beds & Specialty Gardens
Flower Garden
Garden Furniture
Garden Gnomes
Garden Seeds
Garden Sheds
Garden Statues
Garden Tools & Supplies
Gardening Basics
Green & Organic
Groundcovers & Vines
Growing Annuals
Growing Basil
Growing Beans
Growing Berries
Growing Blueberries
Growing Cactus
Growing Corn
Growing Cotton
Growing Edibles
Growing Flowers
Growing Garlic
Growing Grapes
Growing Grass
Growing Herbs
Growing Jasmine
Growing Mint
Growing Mushrooms
Orchids
Growing Peanuts
Growing Perennials
Growing Plants
Growing Rosemary
Growing Roses
Growing Strawberries
Growing Sunflowers
Growing Thyme
Growing Tomatoes
Growing Tulips
Growing Vegetables
Herb Basics
Herb Garden
Indoor Growing
Landscaping Basics
Landscaping Patios
Landscaping Plants
Landscaping Shrubs
Landscaping Trees
Landscaping Walks & Pathways
Lawn Basics
Lawn Maintenance
Lawn Mowers
Lawn Ornaments
Lawn Planting
Lawn Tools
Outdoor Growing
Overall Landscape Planning
Pests, Weeds & Problems
Plant Basics
Rock Garden
Rose Garden
Shrubs
Soil
Specialty Gardens
Trees
Vegetable Garden
Yard Maintenance
How to Repot Houseplants
How to Repot Houseplants. Your houseplant is growing from the top, but the bottom leaves are turning yellow and dropping off, and there are roots coming out the drainage hole. It's definitely time to transplant into a larger pot.
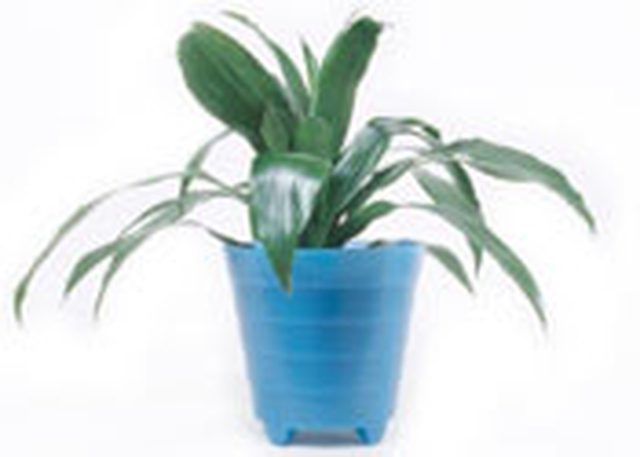
Your houseplant is growing from the top, but the bottom leaves are turning yellow and dropping off, and there are roots coming out the drainage hole. It's definitely time to transplant into a larger pot.
Things You'll Need
Gravel
Garden Trowels
Planting Containers
Potting Soil
Watering Cans
Buckets
Screen Wire
Remove the plant from the old pot. Support the plant by placing your hand over the top of the soil with the stem between your fingers. Tip the pot upside down and slide the root ball out of the pot. You may need to tap the rim of the pot gently with a knife or other tool.
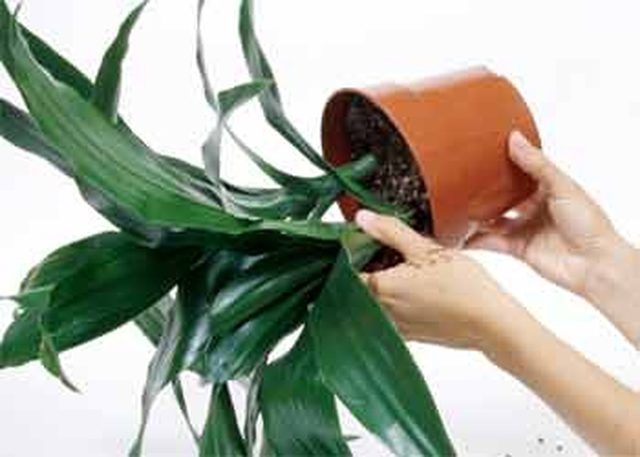
If the plant still won't come out, slide the blade of a knife between the outside of the soil and the inside of the pot, then slide the plant - roots, soil and all - out of the pot.
Cover the drainage hole of the new pot with a piece of plastic window screen that has been cut to fit the bottom of the pot; it will prevent the soil from washing out the hole when you water, and will also keep out insects.

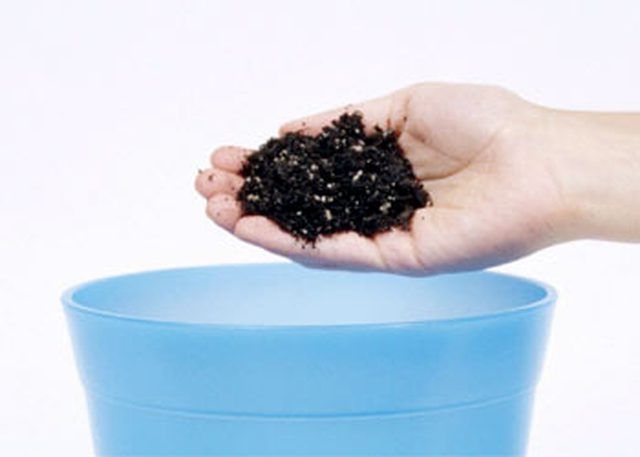
Place an inch or so of fresh soil in the bottom of the pot. Set the plant back in the pot to check the depth. You want to leave at least 1 inch of space from the rim to allow for watering. Add or remove soil from the bottom of the pot, as necessary, to achieve the proper height.
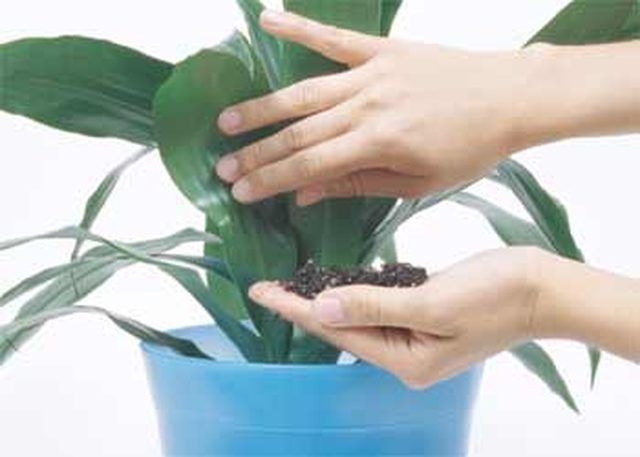
Begin filling in around the sides of the root ball. Add soil with your hands or a trowel, tamping it gently with a chopstick as you go, until you reach the top of the root ball. Press your fingers gently into the soil and tap the pot several times on the tabletop to settle the contents. Add more soil if necessary.
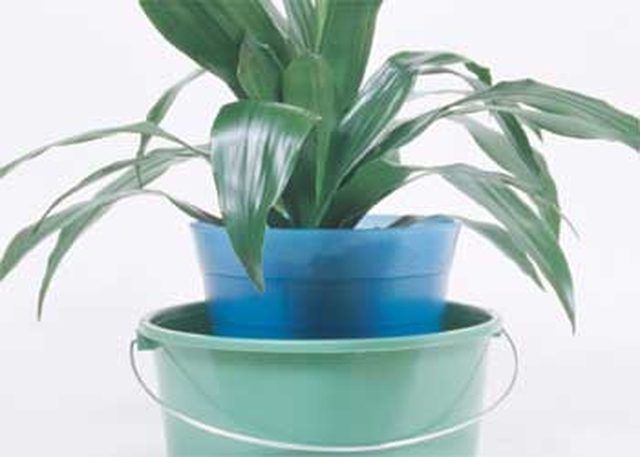
Water to settle the roots in place by immersing the entire pot in a bucket of water or a sink for 1/2 hour to 1 hour. If you do use a watering can, run water through the drainage hole at least three times.
Tips & Warnings
It's important to have everything close at hand before you start so that the roots don't dry out during the transplanting process.
Plants should never be allowed to sit in water. Remove the standing water from the saucer after watering, or fill the saucer with gravel so that the plant sits up, out of the water.
No fertilizer until you begin to see new growth!


