Bulbs
Flower Basics
Flower Beds & Specialty Gardens
Flower Garden
Garden Furniture
Garden Gnomes
Garden Seeds
Garden Sheds
Garden Statues
Garden Tools & Supplies
Gardening Basics
Green & Organic
Groundcovers & Vines
Growing Annuals
Growing Basil
Growing Beans
Growing Berries
Growing Blueberries
Growing Cactus
Growing Corn
Growing Cotton
Growing Edibles
Growing Flowers
Growing Garlic
Growing Grapes
Growing Grass
Growing Herbs
Growing Jasmine
Growing Mint
Growing Mushrooms
Orchids
Growing Peanuts
Growing Perennials
Growing Plants
Growing Rosemary
Growing Roses
Growing Strawberries
Growing Sunflowers
Growing Thyme
Growing Tomatoes
Growing Tulips
Growing Vegetables
Herb Basics
Herb Garden
Indoor Growing
Landscaping Basics
Landscaping Patios
Landscaping Plants
Landscaping Shrubs
Landscaping Trees
Landscaping Walks & Pathways
Lawn Basics
Lawn Maintenance
Lawn Mowers
Lawn Ornaments
Lawn Planting
Lawn Tools
Outdoor Growing
Overall Landscape Planning
Pests, Weeds & Problems
Plant Basics
Rock Garden
Rose Garden
Shrubs
Soil
Specialty Gardens
Trees
Vegetable Garden
Yard Maintenance
How to Build a Backhoe Subframe
How to Build a Backhoe Subframe. A backhoe subframe is the assembly skeleton for building a stand-alone backhoe or one that attaches to an existing tractor. The primary structural element of the subframe, to which all other elements of the backhoe are mounted or connected, is typically a heavy steel channel, tubular or I-beam. The axle and feet...
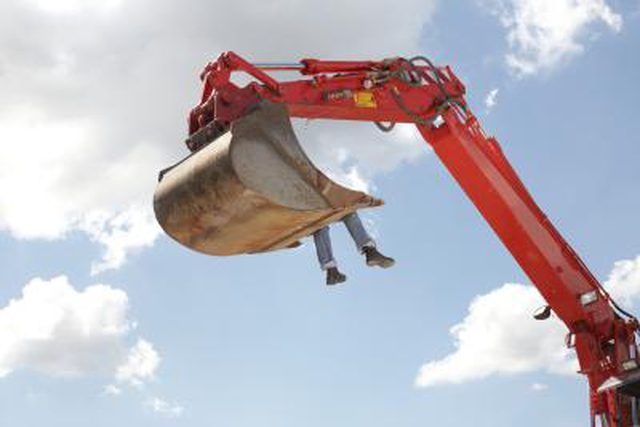
A backhoe subframe is the assembly skeleton for building a stand-alone backhoe or one that attaches to an existing tractor. The primary structural element of the subframe, to which all other elements of the backhoe are mounted or connected, is typically a heavy steel channel, tubular or I-beam. The axle and feet assemblies are welded or bolted below the beam and the engine, seat, control and power assemblies are bolted or welded to its upper surface. The control plate -- the forward-most control surface -- is typically bolted or welded vertically to the forward vertical surface of the subframe beam.
Things You'll Need
5-inch by 6-foot heavy tubular steel beam
1-by-5-by-18-inch steel channel beam
Tape measure
T-square
Power drill
140-amp stick welder
Place a piece of 5-inch tubular steel on a pair of saw horses. Measure and cut a length of 6 feet, using a power hacksaw. Use a power grinder to smooth off the edges.
Measure, mark and cut an 18-inch length of 1-by-5-inch steel channel beam (the control plate). Use a steel file to clean up and smooth the edges.
Mount the control plate in a heavy steel vise and measure and mark two drill holes. Make the locations 2 inches in from the flange edges and at 4 and 14 inches from one end.
Use a power drill to drill a 3/4-inch hole at both locations.
Use a 140-amp stick welder to weld the control plate to the forward vertical surface of the 6-foot tubular steel beam. Mount the plate equally centered, laterally and vertically. Double-weld the welds. This completes the beam skeleton of the subframe.
Mount the chosen wheel assembly or rear stationary feet of the backhoe to the underside of the rear of the tubular steel beam. Mount the chosen front wheel or stationary feet of the backhoe to the underside of the front of the beam. Cut and weld an engine support frame for the engine -- this will vary by engine choice -- onto the upper rear surface of the subframe. Mount both the seat assembly and the control assembly, respectively, to the middle and forward positions on the subframe.
Bolt the hydraulic control arm and the structural control arm through the upper and lower drilled locations, respectively, on the control plate.
Tips & Warnings
Use standard-built circular 2-inch mounting bases for the connection of both the seat and the control panel.
Use caution when working with power tools.
Wear heavy gloves and goggles when cutting metal.


