Bulbs
Flower Basics
Flower Beds & Specialty Gardens
Flower Garden
Garden Furniture
Garden Gnomes
Garden Seeds
Garden Sheds
Garden Statues
Garden Tools & Supplies
Gardening Basics
Green & Organic
Groundcovers & Vines
Growing Annuals
Growing Basil
Growing Beans
Growing Berries
Growing Blueberries
Growing Cactus
Growing Corn
Growing Cotton
Growing Edibles
Growing Flowers
Growing Garlic
Growing Grapes
Growing Grass
Growing Herbs
Growing Jasmine
Growing Mint
Growing Mushrooms
Orchids
Growing Peanuts
Growing Perennials
Growing Plants
Growing Rosemary
Growing Roses
Growing Strawberries
Growing Sunflowers
Growing Thyme
Growing Tomatoes
Growing Tulips
Growing Vegetables
Herb Basics
Herb Garden
Indoor Growing
Landscaping Basics
Landscaping Patios
Landscaping Plants
Landscaping Shrubs
Landscaping Trees
Landscaping Walks & Pathways
Lawn Basics
Lawn Maintenance
Lawn Mowers
Lawn Ornaments
Lawn Planting
Lawn Tools
Outdoor Growing
Overall Landscape Planning
Pests, Weeds & Problems
Plant Basics
Rock Garden
Rose Garden
Shrubs
Soil
Specialty Gardens
Trees
Vegetable Garden
Yard Maintenance
How to Reuse Broken Concrete for a Driveway
How to Reuse Broken Concrete for a Driveway. There isn't a heaven built just for concrete. Smash it or stomp on it -- it's not going away. The best you will accomplish is small chunks of gravel and a very sore body that cannot forget the feeling of a jackhammer. There's a better way, however -- recycle the concrete for driveway paving. Much like...

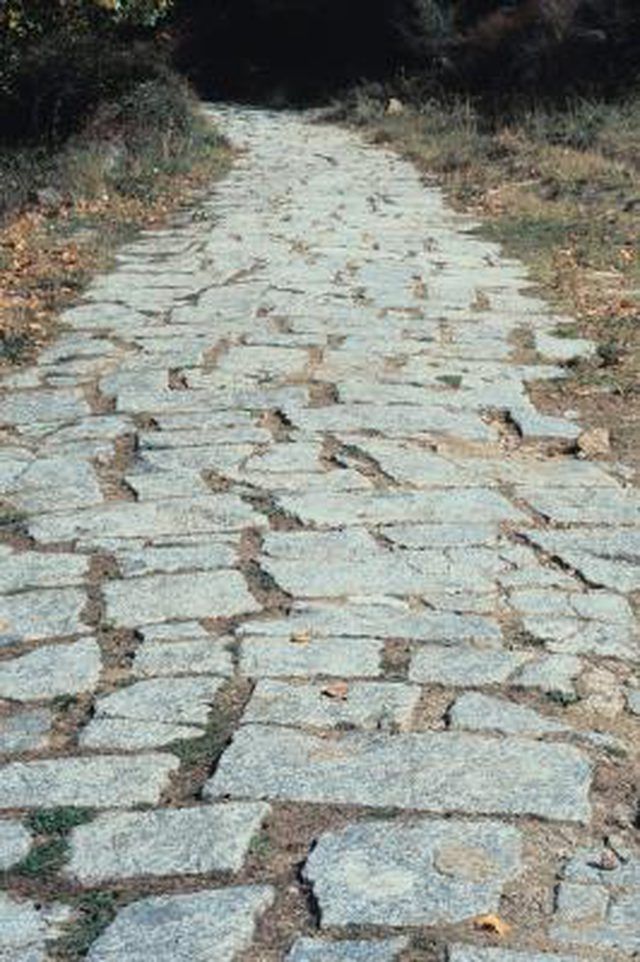
There isn't a heaven built just for concrete. Smash it or stomp on it -- it's not going away. The best you will accomplish is small chunks of gravel and a very sore body that cannot forget the feeling of a jackhammer. There's a better way, however -- recycle the concrete for driveway paving. Much like flagstone or brick, chunks of concrete -- called urbanite -- are laid in a base, filled around with sand or gravel and sometimes finished with stain. Not only does it look expensive, but it conserves fossil fuels required to produce new paving materials and saves landfills.
Things You'll Need
Wooden stakes
Twine
Shovel
Tractor with blade or backhoe (optional)
Plate compactor or hand tamper (optional)
Black plastic sheeting
Paver base or deteriorated limestone with stabilizer or resin
Water hose
Sand
Long, straight wood board
Gravel (optional)
Edging
Stain (optional)
Broom
Outline the driveway area with wooden stakes. Extend the width of the driveway about 6 inches on either side. When finished, the extra room on the side acts like a road shoulder, helping keep the driveway material from spreading outward.
Excavate the outlined area to a depth of 9 to 12 inches. Remove any large rocks, tree roots and debris protruding from the uncovered subsoil. While you may choose to dig the driveway with a shovel, a tractor with a blade works better. Gradually scrape away the dirt and level the dirt with the blade. True level isn't important, since a slight grade helps prevent standing water. The dirt needs to be fairly even across the surface, however.
Run a rented plate compactor or hand tamper over the driveway area, following the manufacturer's instructions. Both work to compact the installation area by vibrating and exerting tremendous weight on the soil. If the area was excavated with a backhoe or trailer, it may already be compacted, however.
Cut large pieces of black plastic sheeting to spread over the entire driveway area. Overlap the edges, along the seams, about a foot to ensure continuous coverage. Plastic prevents plants from growing, and black plastic doesn't degrade as does regular, clear plastic sheeting.
Spread a thick layer of paver base or deteriorated limestone premixed with either stabilizer or resin. While paver base is the less costly option, it must be tamped again to compact the material to avoid shifting. In contrast, deteriorated limestone bonds together with cement-like properties.
Spray the base down thoroughly with a water hose. This activates the bond in deteriorated limestone aggregate and helps control dust in the paver base. Follow by tamping the base down if necessary.
Pour a layer of sand on top of the base, making it an inch or two thick. Use pea gravel, alternatively, or even a mixture of the two for a strong base that shifts to fill in around the urbanite chunks. Screed the surface, running a long, straight board across the surface to level it. Follow with another spray of water to compact and anchor the material in place.
Lay each chunk of broken concrete in place along the drive, beginning in a corner and working outward to avoid stepping on your prepared driveway bed. Turn each piece so that sharp edges point down and pieces fit together logically. Experiment to create designs and a flow to the pieces. There's no real right or wrong here -- it's all about how you think it looks.
Check that the chunks of urbanite are level with each other periodically as you work. Lay the board used to screed the sand on top of several bricks at a time. Tap the board with a hammer to sink pieces that are slightly higher or add a little sand or gravel underneath pieces that sink lower than the board.
Work in sections, re-wetting the base as needed as you work. Wiggle each piece as you set it to ensure a stable position. Fill in spaces around each piece with excess gravel or sand as you position the urbanite.
Spread sand and fine gravel over the surface when each section is complete. Brush across the surface, using a broom or shovel as necessary, to work it down into any remaining cracks or crevices. Consider using play sand or plaster sand, as these don't contain silica, which harms plants.
Edge the entire driveway with bricks, railroad ties or any edging desired. This design feature helps prevent spreading that occurs over time and use. Stain the concrete, if desired, with iron sulfate or a similar natural concrete stain. Fill in around the edges with excess soil and periodically brush more material across the surface to fill in around the concrete, especially in the first week or two.