Bulbs
Flower Basics
Flower Beds & Specialty Gardens
Flower Garden
Garden Furniture
Garden Gnomes
Garden Seeds
Garden Sheds
Garden Statues
Garden Tools & Supplies
Gardening Basics
Green & Organic
Groundcovers & Vines
Growing Annuals
Growing Basil
Growing Beans
Growing Berries
Growing Blueberries
Growing Cactus
Growing Corn
Growing Cotton
Growing Edibles
Growing Flowers
Growing Garlic
Growing Grapes
Growing Grass
Growing Herbs
Growing Jasmine
Growing Mint
Growing Mushrooms
Orchids
Growing Peanuts
Growing Perennials
Growing Plants
Growing Rosemary
Growing Roses
Growing Strawberries
Growing Sunflowers
Growing Thyme
Growing Tomatoes
Growing Tulips
Growing Vegetables
Herb Basics
Herb Garden
Indoor Growing
Landscaping Basics
Landscaping Patios
Landscaping Plants
Landscaping Shrubs
Landscaping Trees
Landscaping Walks & Pathways
Lawn Basics
Lawn Maintenance
Lawn Mowers
Lawn Ornaments
Lawn Planting
Lawn Tools
Outdoor Growing
Overall Landscape Planning
Pests, Weeds & Problems
Plant Basics
Rock Garden
Rose Garden
Shrubs
Soil
Specialty Gardens
Trees
Vegetable Garden
Yard Maintenance
How to Divide Gladiolus
How to Divide Gladiolus. Gladiolus offers big, bold flower-covered spikes to the landscape -- it's no wonder this plant is so loved by gardeners. Since gladioli are not hardy enough to overwinter in most areas, gardeners dig up the plants and divide their corms as part of the yearly storage ritual. This yearly treatment increases their vigor since...
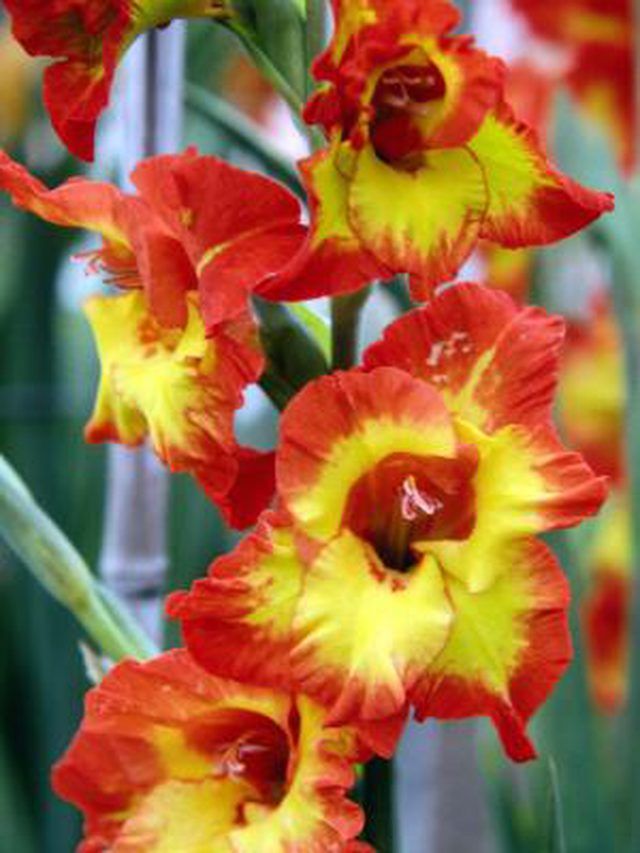
Gladiolus offers big, bold flower-covered spikes to the landscape -- it's no wonder this plant is so loved by gardeners. Since gladioli are not hardy enough to overwinter in most areas, gardeners dig up the plants and divide their corms as part of the yearly storage ritual. This yearly treatment increases their vigor since sickly parts of the plants can be removed so that the glads can multiply into many new plants.
Things You'll Need
Shovel or garden fork
Clean cloth
Small brush
Handheld bypass pruners
Dig up the corms after the first frost with a shovel or garden fork. Carefully dig out the soil approximately 2 inches away from the masses of crowns in a large circle while being careful not to injure other nearby clumps. Push the fork or shovel under the clump to dislodge it.
Shake or brush off the excess soil from the corms back into the hole to expose the outer edges of the clump you are working on. Move the clump to a workbench or table where you can separate the corms.
Separate the corms by snapping them apart by hand. Remove new corms from the top of old corms and break older corms off of one another. Discard any rotten, disfigured or unusually small corms. Cut any remaining foliage back to about 2 inches above the corms with a pair of handheld bypass pruners.
Dry the best corms on a clean cloth in an unheated area with indirect lighting. Distribute the corms evenly and allow them to dry for two to three weeks. Brush any loose dirt from the dried corms and store them in a well-ventilated place with temperatures between 40 and 50 degrees Fahrenheit.


