Bulbs
Flower Basics
Flower Beds & Specialty Gardens
Flower Garden
Garden Furniture
Garden Gnomes
Garden Seeds
Garden Sheds
Garden Statues
Garden Tools & Supplies
Gardening Basics
Green & Organic
Groundcovers & Vines
Growing Annuals
Growing Basil
Growing Beans
Growing Berries
Growing Blueberries
Growing Cactus
Growing Corn
Growing Cotton
Growing Edibles
Growing Flowers
Growing Garlic
Growing Grapes
Growing Grass
Growing Herbs
Growing Jasmine
Growing Mint
Growing Mushrooms
Orchids
Growing Peanuts
Growing Perennials
Growing Plants
Growing Rosemary
Growing Roses
Growing Strawberries
Growing Sunflowers
Growing Thyme
Growing Tomatoes
Growing Tulips
Growing Vegetables
Herb Basics
Herb Garden
Indoor Growing
Landscaping Basics
Landscaping Patios
Landscaping Plants
Landscaping Shrubs
Landscaping Trees
Landscaping Walks & Pathways
Lawn Basics
Lawn Maintenance
Lawn Mowers
Lawn Ornaments
Lawn Planting
Lawn Tools
Outdoor Growing
Overall Landscape Planning
Pests, Weeds & Problems
Plant Basics
Rock Garden
Rose Garden
Shrubs
Soil
Specialty Gardens
Trees
Vegetable Garden
Yard Maintenance
How to Make Balcony Plant Holders
How to Make Balcony Plant Holders. One of the hottest trends for growing plants in smaller spaces is a pallet garden. This is a vertical garden made from a recycled wooden pallet. The pallets themselves range from free to a few dollars and you can buy the rest of the materials at home improvement and garden centers. This project also allows you to...

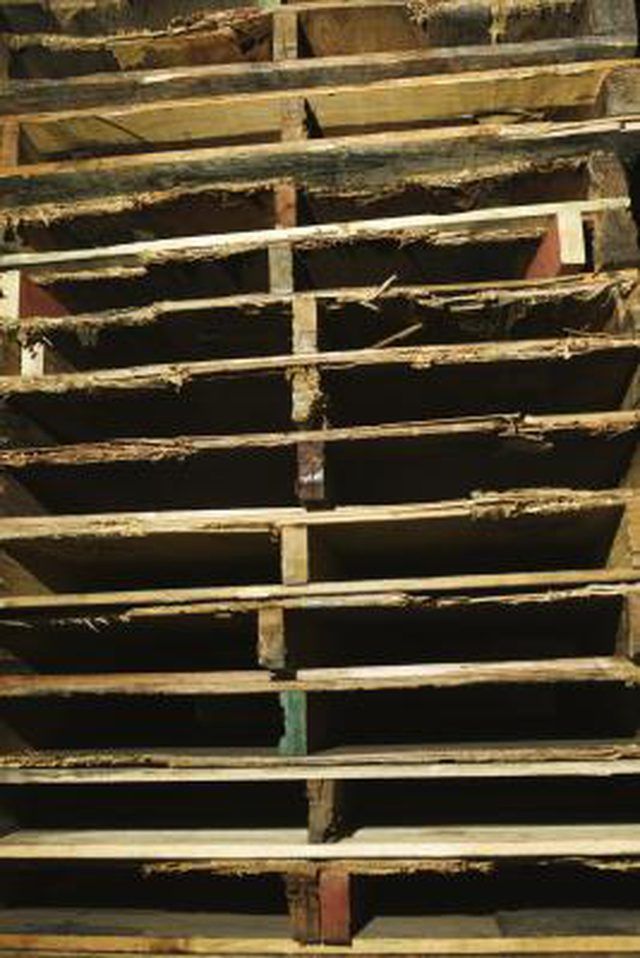
One of the hottest trends for growing plants in smaller spaces is a pallet garden. This is a vertical garden made from a recycled wooden pallet. The pallets themselves range from free to a few dollars and you can buy the rest of the materials at home improvement and garden centers. This project also allows you to maximize your balcony space because it is a vertical planter. Use the planter for almost any small plants, from fruits and vegetables to flowering annuals or herbs. Essentially, any plant that works well in a container garden will work well in a pallet on your balcony.
Things You'll Need
Pallet
Hammer
Sandpaper
Landscape fabric
Staple gun
Scissors
Soil
Plants
Fix any loose boards on the pallet, reattaching them with a hammer and nails. Sand any rough, splinter-filled areas until they're smooth. Paint the pallet, if you wish.
Lay the pallet down on the side you want showing when you are finished. Unroll the landscape fabric so there is enough material to cover the back, sides and bottom, plus a few extra inches. Cut another piece of landscape fabric the same size and lay it over the first one.
Staple the center top of the landscape fabric first, folding the fabric over the top edge by at least 1 inch. Staple the fabric into place in the center. Work outwards to each corner, keeping the fabric taut as you go. Use a staple every 2 inches to keep the fabric secure.
Smooth the fabric down the pallet to the bottom. At the bottom edge, leave a long flap of fabric to hang over the edge, as it shouldn't be wrapped yet. Staple the bottom edge into place, beginning in the center and working your way to each corner. Use one staple every 2 inches.
Fold the excess fabric inward so there is a smooth, folded edge along the side. Keep the fabric taut and staple down the side, from the center outward, with a staple every 2 inches. Repeat on the other side.
Add more staples along the spine of the pallet. The staples are what keeps the fabric tight and the soil inside the pallet, so if you feel you need more staples, add them. You can't really under-staple this project.
Turn the pallet over so it is resting on the fabric side. At the bottom, wrap the long flap of fabric up and over the bottom edge. Staple it into place, beginning again in the center and working your way out with a staple every 2 inches. Trim any excess with scissors.
Leave the planter on its back while you fill it. First fill the top of the planter, wedging the plants in tightly. This forms a cap while you fill the rest with soil. Fill the planter with soil so the soil is level throughout the pallet. Place plants tightly in the bottom opening.
Add plants to the remaining openings. There should be no space for soil to fall out. Leave the pallet on its back for at least a few days and up to two weeks. This gives the root systems time to spread and be able to hold the plants in place. Then set the planter upright in the final spot.
Tips & Warnings
Water your plants regularly. Pallet gardens tend to dry out quickly, so check the soil daily.
If you decide to paint your pallet, use an exterior or marine-grade paint so it is water-resistant. Let the paint dry completely before completing project.