Bulbs
Flower Basics
Flower Beds & Specialty Gardens
Flower Garden
Garden Furniture
Garden Gnomes
Garden Seeds
Garden Sheds
Garden Statues
Garden Tools & Supplies
Gardening Basics
Green & Organic
Groundcovers & Vines
Growing Annuals
Growing Basil
Growing Beans
Growing Berries
Growing Blueberries
Growing Cactus
Growing Corn
Growing Cotton
Growing Edibles
Growing Flowers
Growing Garlic
Growing Grapes
Growing Grass
Growing Herbs
Growing Jasmine
Growing Mint
Growing Mushrooms
Orchids
Growing Peanuts
Growing Perennials
Growing Plants
Growing Rosemary
Growing Roses
Growing Strawberries
Growing Sunflowers
Growing Thyme
Growing Tomatoes
Growing Tulips
Growing Vegetables
Herb Basics
Herb Garden
Indoor Growing
Landscaping Basics
Landscaping Patios
Landscaping Plants
Landscaping Shrubs
Landscaping Trees
Landscaping Walks & Pathways
Lawn Basics
Lawn Maintenance
Lawn Mowers
Lawn Ornaments
Lawn Planting
Lawn Tools
Outdoor Growing
Overall Landscape Planning
Pests, Weeds & Problems
Plant Basics
Rock Garden
Rose Garden
Shrubs
Soil
Specialty Gardens
Trees
Vegetable Garden
Yard Maintenance
How to Use Wood Chips in a Garden
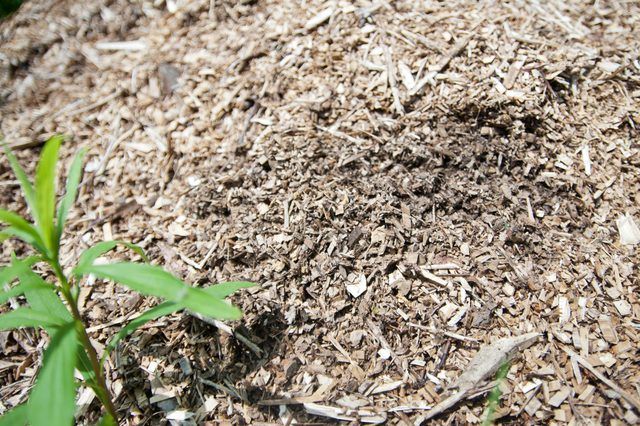
How to Use Wood Chips in a Garden. Wood chips are a garden gold mine. They are easy to get, inexpensive and add beauty and an attractive aroma to your landscaping and garden. Keep them above the ground, however, as they will bind up the nitrogen in your soil as they decompose, and your harvest will suffer.
Wood chips are a garden gold mine. They are easy to get, inexpensive and add beauty and an attractive aroma to your landscaping and garden. Keep them above the ground, however, as they will bind up the nitrogen in your soil as they decompose, and your harvest will suffer.
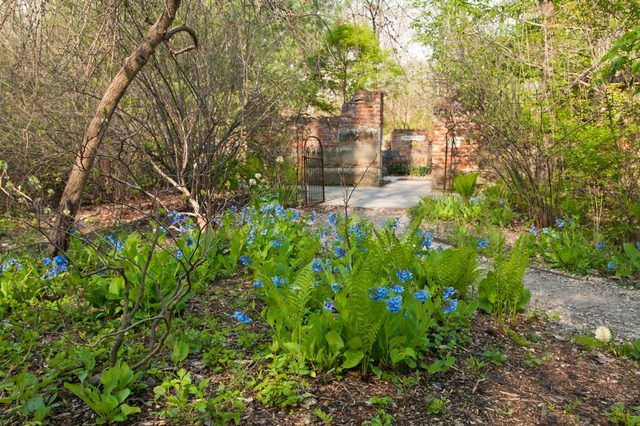
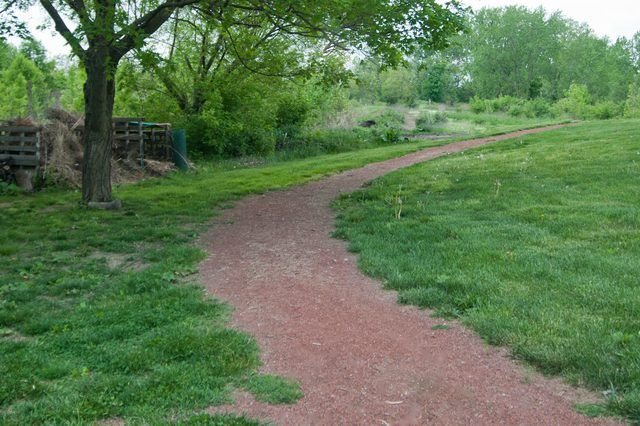
Wood chips make an inexpensive and attractive garden path. Lay down a 1/4-inch layer of newspapers, a single layer of cardboard or commercial weed cloth and cover with 3 to 4 inches of wood chips. This type of path will keep the mud under control in the garden when the weather is wet, and the wood chips will discourage weed growth.
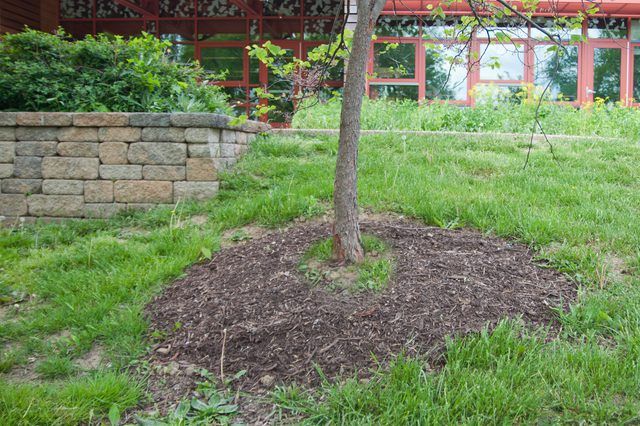
A 3- to 4-inch layer of wood chips around the base of trees and shrubs keeps weeds from encroaching on your plantings. Be sure to keep the mulch about 6 inches away from the trunk. If you pile wood chips up the tree, the bark will be too moist, and you could weaken the tree. Blueberries (Vaccinium corymbosum), found in USDA plant hardiness zones 5 through 8, thrive with a layer of wood chips at their base.
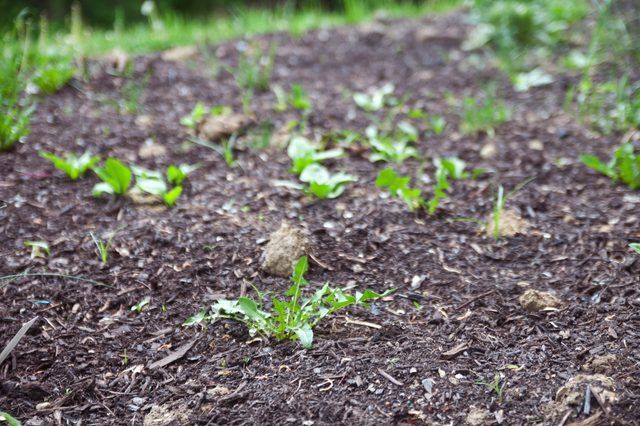
Wood chips over weed cloth will block weeds from coming up in a bed of perennials. Lay the weed cloth over the prepared soil and cut out the areas where the plants will go. Plant the perennials according to your chosen design, water them well and then spread 3 to 4 inches of wood chips over the weed cloth. Weeds may still sprout in the mulch, but the wood chips will weaken them and they can be removed easily. Wood chips break down over time, so you will need to add another layer in the spring.
Most experts recommend laying wood chips on top of the soil and not tilling them in, especially with garden beds, because of the nitrogen depletion. A way around this, however, is to mix the wood chips with something with a high nitrogen content, such as chicken manure. or blood meal. You can also spread a layer of wood chips down and let it rot for two to three years. The resulting soil is dark, rich and fertile.
Many tree services will give you wood chips for nothing just to get rid of them. Check to make sure that the chips do not include nut trees, especially black walnut (Juglans nigra), which grows in U.S. Department of Agriculture plant hardiness zones 4 through 9, and is toxic to other trees and garden plants. Some municipalities collect and chip branches and yard waste and make it available to gardeners. If you have enough land and trees to make it worthwhile, buy a chipper/shredder and create your own wood chips to use in the garden.


