Bulbs
Flower Basics
Flower Beds & Specialty Gardens
Flower Garden
Garden Furniture
Garden Gnomes
Garden Seeds
Garden Sheds
Garden Statues
Garden Tools & Supplies
Gardening Basics
Green & Organic
Groundcovers & Vines
Growing Annuals
Growing Basil
Growing Beans
Growing Berries
Growing Blueberries
Growing Cactus
Growing Corn
Growing Cotton
Growing Edibles
Growing Flowers
Growing Garlic
Growing Grapes
Growing Grass
Growing Herbs
Growing Jasmine
Growing Mint
Growing Mushrooms
Orchids
Growing Peanuts
Growing Perennials
Growing Plants
Growing Rosemary
Growing Roses
Growing Strawberries
Growing Sunflowers
Growing Thyme
Growing Tomatoes
Growing Tulips
Growing Vegetables
Herb Basics
Herb Garden
Indoor Growing
Landscaping Basics
Landscaping Patios
Landscaping Plants
Landscaping Shrubs
Landscaping Trees
Landscaping Walks & Pathways
Lawn Basics
Lawn Maintenance
Lawn Mowers
Lawn Ornaments
Lawn Planting
Lawn Tools
Outdoor Growing
Overall Landscape Planning
Pests, Weeds & Problems
Plant Basics
Rock Garden
Rose Garden
Shrubs
Soil
Specialty Gardens
Trees
Vegetable Garden
Yard Maintenance
How to Make a Trellis for Pumpkins
How to Make a Trellis for Pumpkins. Building a pumpkin trellis can save you a lot of space in your garden, especially if you grow a lot of pumpkins and other types of squash, since they can get very lengthy with their vines. Though it sounds difficult to build something strong enough that can hold something as heavy as a pumpkin, it is true that a...
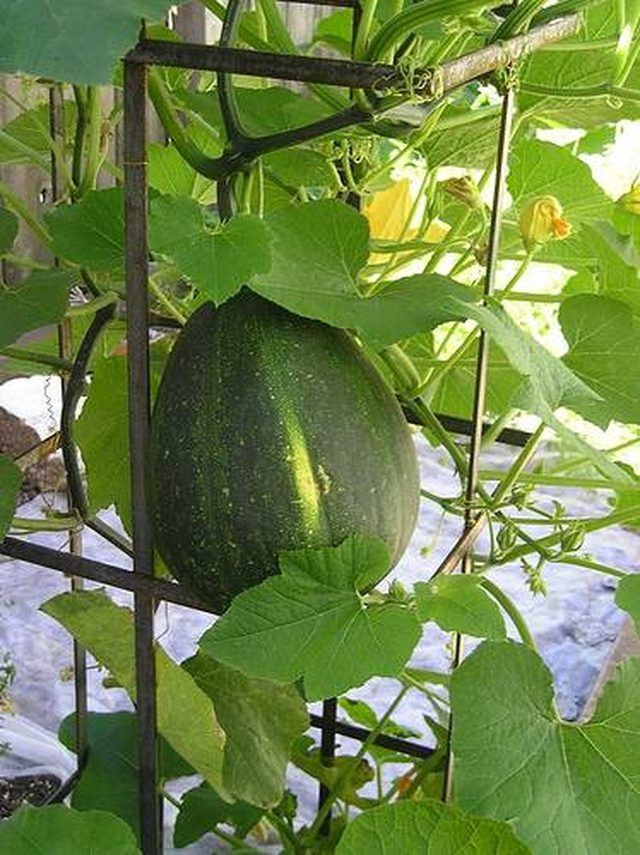
Building a pumpkin trellis can save you a lot of space in your garden, especially if you grow a lot of pumpkins and other types of squash, since they can get very lengthy with their vines. Though it sounds difficult to build something strong enough that can hold something as heavy as a pumpkin, it is true that a trellis will do much better for smaller pumpkins but it is not impossible to build it so it can hold large ones as well.
Things You'll Need
Four 6 foot cedar posts
Six 42-inch cedar posts
Nine gauge 10# Tension wire
Clam shell shovel
Gravel (enough for 5 inches at bottom of each hole)
Power drill
2- to 3-inch inch deck screws
Phillips head driver bit
3/8" wood drill bit
Measuring tape
Staple gun
With your measuring tape, measure out the dimensions of a rectangle, 10 feet x 3 feet. Place markers at each corner. With a clam shell shovel, dig four holes at 2 1/2 feet deep each. Fill each hole approximately 6 inches with gravel. This will help the posts to stay sturdy and not sink or shift when the soil gets wet. Place each post in a hole and replace the dirt around the post and pack it firmly. Each post should now stand 4 feet high.
Using a power drill with 2- to 3-inch deck screws, attach the 42-inch posts across the top of each two end posts, 5 inches from the top of each post.
Attach the other four 42-inch posts in the same manner, 15 inches apart. Your trellis structure should now look like two ladders at each end.
Using the power drill and a 3/8-inch wood drill bit, drill two holes into the 42-inch posts. Each hole should measure about an inch from each end. After you are done drilling on each post, you should have a total of 12 holes.
Measure out six 12 foot pieces of wire. Run one strand of wire through one hole, and run the other end of the wire through the hole directly at the opposite end. Leave 2 feet of wire on each end so that you can securely wrap it around the cedar post. After the wire is securely wrapped around the end of each post, use a staple gun to help the wire stay firmly in place.
Tips & Warnings
You can add cement around the base of your cedar posts if you want a trellis with more durability. This will all depend on the size of pumpkins that you are planning to grow.


