Bulbs
Flower Basics
Flower Beds & Specialty Gardens
Flower Garden
Garden Furniture
Garden Gnomes
Garden Seeds
Garden Sheds
Garden Statues
Garden Tools & Supplies
Gardening Basics
Green & Organic
Groundcovers & Vines
Growing Annuals
Growing Basil
Growing Beans
Growing Berries
Growing Blueberries
Growing Cactus
Growing Corn
Growing Cotton
Growing Edibles
Growing Flowers
Growing Garlic
Growing Grapes
Growing Grass
Growing Herbs
Growing Jasmine
Growing Mint
Growing Mushrooms
Orchids
Growing Peanuts
Growing Perennials
Growing Plants
Growing Rosemary
Growing Roses
Growing Strawberries
Growing Sunflowers
Growing Thyme
Growing Tomatoes
Growing Tulips
Growing Vegetables
Herb Basics
Herb Garden
Indoor Growing
Landscaping Basics
Landscaping Patios
Landscaping Plants
Landscaping Shrubs
Landscaping Trees
Landscaping Walks & Pathways
Lawn Basics
Lawn Maintenance
Lawn Mowers
Lawn Ornaments
Lawn Planting
Lawn Tools
Outdoor Growing
Overall Landscape Planning
Pests, Weeds & Problems
Plant Basics
Rock Garden
Rose Garden
Shrubs
Soil
Specialty Gardens
Trees
Vegetable Garden
Yard Maintenance
How to Clean a Lawn Mower Carburetor
How to Clean a Lawn Mower Carburetor. Small engines in lawn mowers burn hot and fast, and the carburetor provides the proper air and fuel mixture for operation. Check it first when your mower falters and clean it at least annually to avoid problems. Specific designs vary with mowers, so study yours closely as you disassemble and clean the...
Small engines in lawn mowers burn hot and fast, and the carburetor provides the proper air and fuel mixture for operation. Check it first when your mower falters and clean it at least annually to avoid problems. Specific designs vary with mowers, so study yours closely as you disassemble and clean the carburetor. Always refer to your owners manual for your specific carburetor's specifications.
Things You'll Need
Vice grip or clamp
Wrench set or socket wrenches
Phillips and slot-head screw drivers
Clean rags
Wire
Small wire brush
Pipe cleaners
Aerosol carburetor cleaner
Replacement parts as needed
Step 1
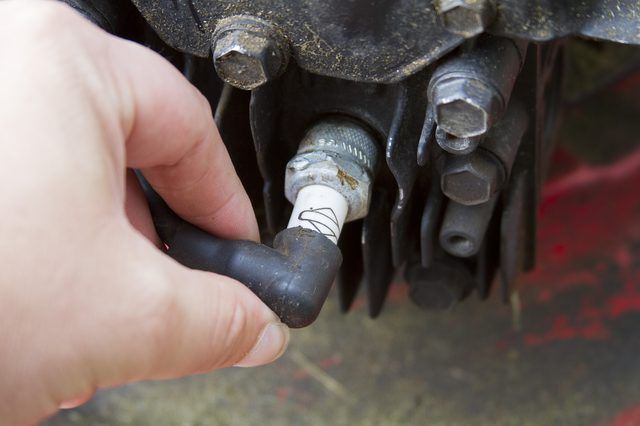
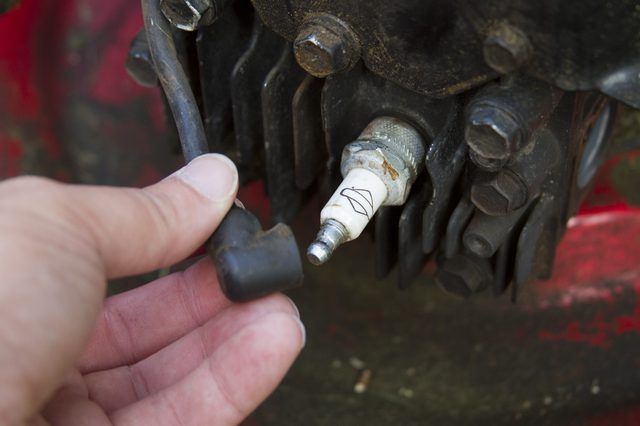
Disconnect the spark plug by pulling off the spark plug boot. Clamp the fuel line that leads from the fuel tank to the carburetor or pinch it shut with a vice grip. Work the fuel line off the carburetor nozzle by twisting and pulling the flexible hose.
Step 2
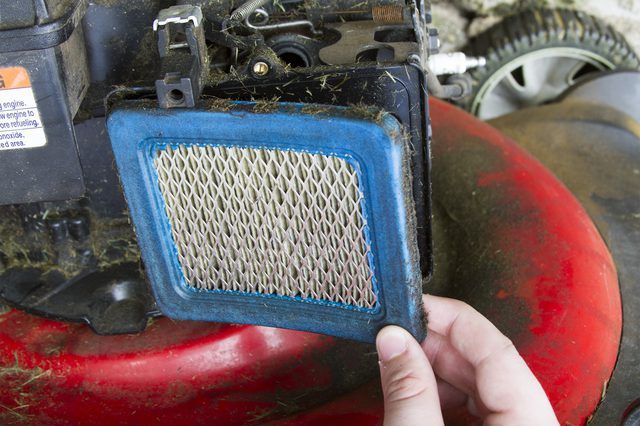
Remove the air filter from the carburetor. Some filters are flat and sit in cases -- unscrew with a socket wrench or screwdriver and remove the cover, remove the filter and tip out the back cover, setting bolts or screws aside in the order they're removed. Other filters are smaller and attach to one side of the carburetor. They typically twist or pull off by hand. Whatever the type, clean or replace the air filter if necessary before reassembling.
Step 3
Unbolt or unscrew the two bolts or screws that hold the carburetor on the manifold. Pull the carburetor away, gently disengaging the linkage, a wire that may connect to a spring that engages the throttle.
Step 4
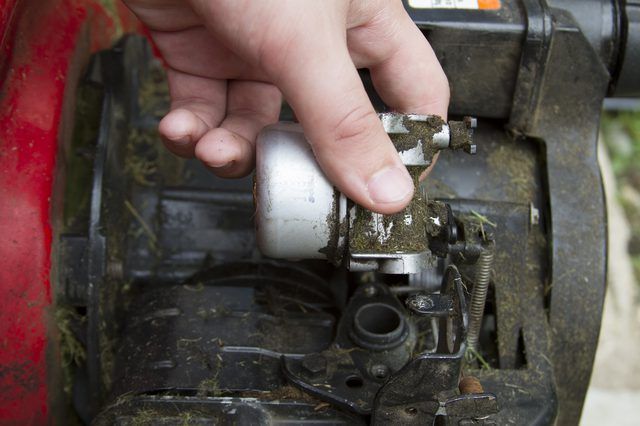
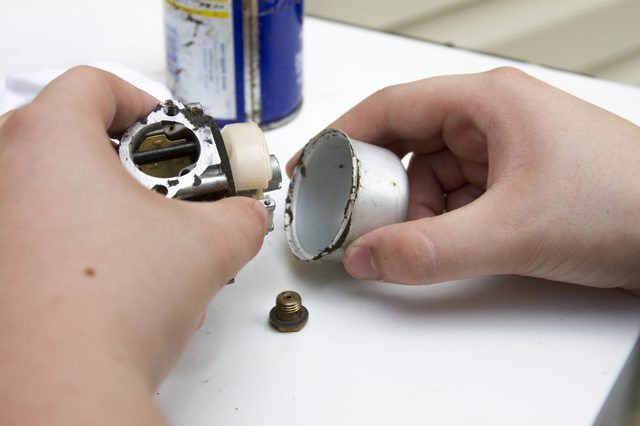
Remove the bowl, the metal bulb on the bottom of the carburetor, by unbolting the bolt on the bottom with a wrench or socket wrench. Clean the bowl and bolt with aerosol carburetor cleaner and a clean rag. Pull the O-ring that seals the bowl to the bottom of the carburetor body. Inspect it for wear or cracks and replace it if needed. Set the bowl aside.
Step 5
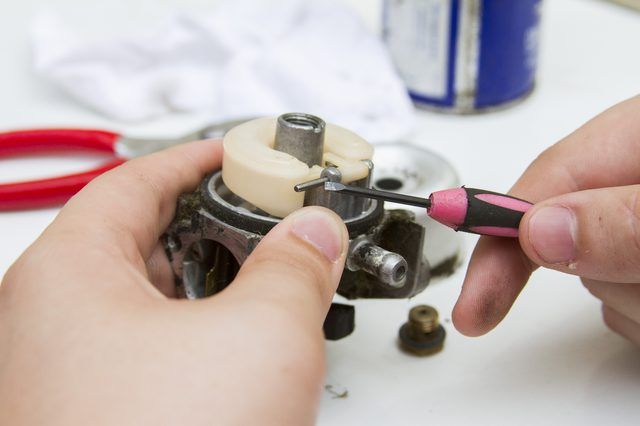
Tip the carburetor upside down and remove the float by removing the pin in the hinge on one side. Use a screwdriver to tap the hinge pin through until you can pull it out. Lift out the float and needle that sits in the jet. Clean the pin, needle and float with carburetor cleaner and set them aside.
Step 6
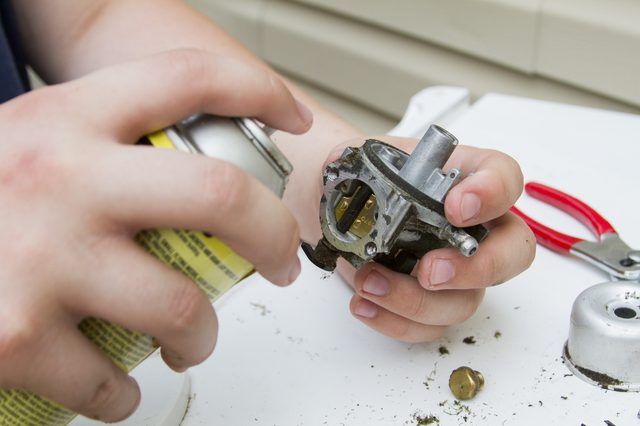
Spray the inside of the carburetor liberally with cleaner and let the carburetor sit in the solvent for two or three minutes.
Step 7
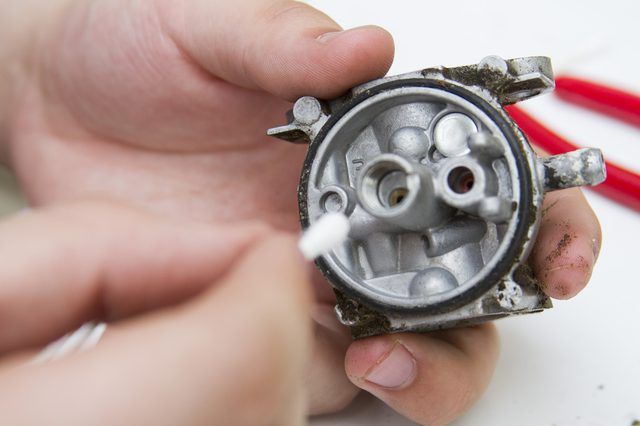
Test and clean the openings, including the fuel jets inside the carburetor. Use a fine wire to clear or pipe cleaner to scrub.
Step 8
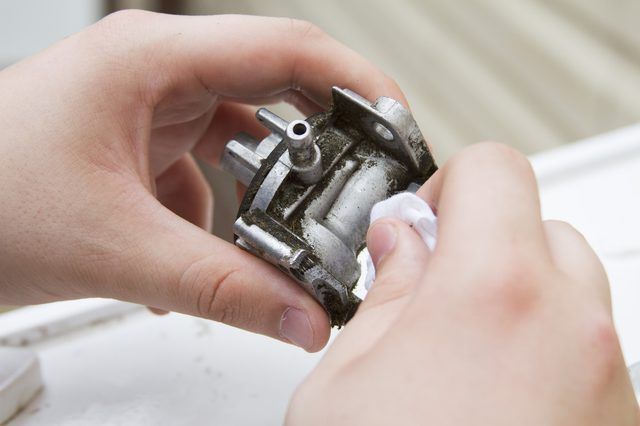
Scrub the rest of the carburetor to remove fuel or carbon deposits with a clean cloth or pipe cleaners, depending on their location. Use the small wire brush for stubborn or thick deposits.
Step 9
Wipe all parts with a clean cloth. Rinse all with carburetor cleaner before reassembling. Reassemble in reverse, beginning with the wire linkage. After reassembly, connect the spark plug boot to the spark plug.
