Bulbs
Flower Basics
Flower Beds & Specialty Gardens
Flower Garden
Garden Furniture
Garden Gnomes
Garden Seeds
Garden Sheds
Garden Statues
Garden Tools & Supplies
Gardening Basics
Green & Organic
Groundcovers & Vines
Growing Annuals
Growing Basil
Growing Beans
Growing Berries
Growing Blueberries
Growing Cactus
Growing Corn
Growing Cotton
Growing Edibles
Growing Flowers
Growing Garlic
Growing Grapes
Growing Grass
Growing Herbs
Growing Jasmine
Growing Mint
Growing Mushrooms
Orchids
Growing Peanuts
Growing Perennials
Growing Plants
Growing Rosemary
Growing Roses
Growing Strawberries
Growing Sunflowers
Growing Thyme
Growing Tomatoes
Growing Tulips
Growing Vegetables
Herb Basics
Herb Garden
Indoor Growing
Landscaping Basics
Landscaping Patios
Landscaping Plants
Landscaping Shrubs
Landscaping Trees
Landscaping Walks & Pathways
Lawn Basics
Lawn Maintenance
Lawn Mowers
Lawn Ornaments
Lawn Planting
Lawn Tools
Outdoor Growing
Overall Landscape Planning
Pests, Weeds & Problems
Plant Basics
Rock Garden
Rose Garden
Shrubs
Soil
Specialty Gardens
Trees
Vegetable Garden
Yard Maintenance
How to Build a Wood Pedestal
How to Build a Wood Pedestal. If you want to display an item on its own with added height and importance, you may want to think about using a pedestal. A pedestal is a single column which an item is placed on top of in order to give it prominence. You are more than welcome to buy a pedestal if you would like, but if you are picky about the...
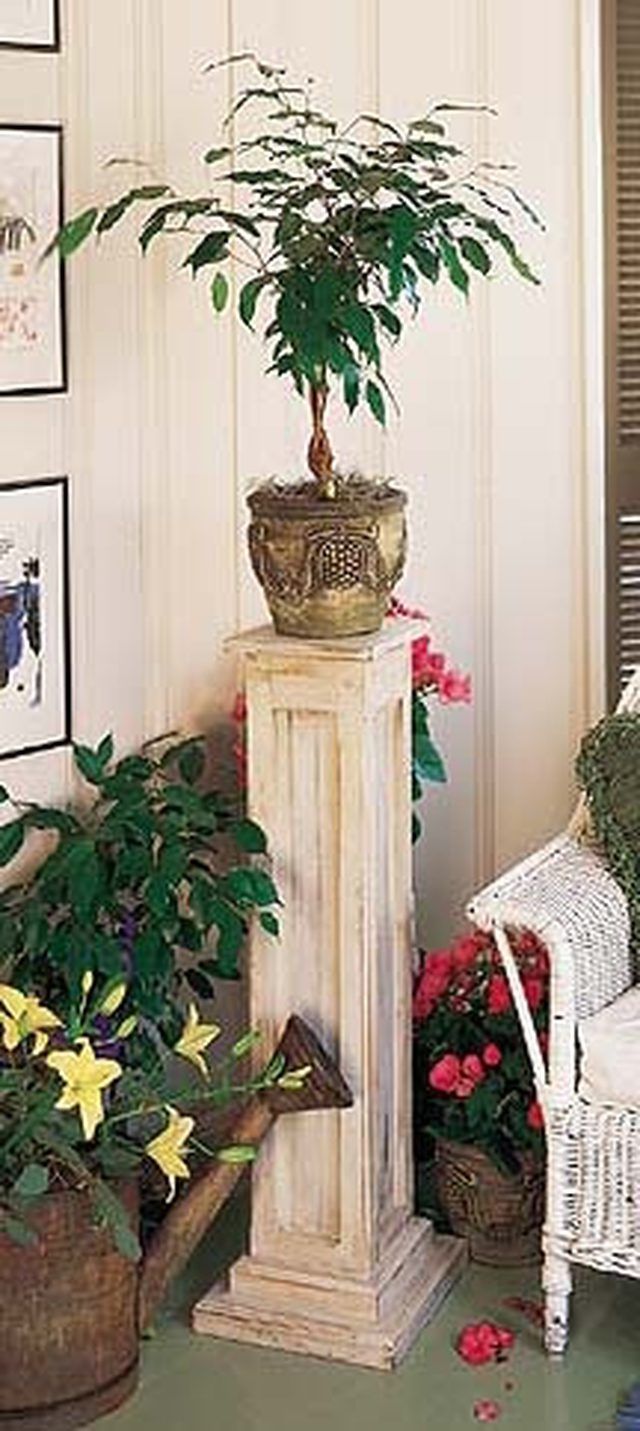
If you want to display an item on its own with added height and importance, you may want to think about using a pedestal. A pedestal is a single column which an item is placed on top of in order to give it prominence. You are more than welcome to buy a pedestal if you would like, but if you are picky about the specifications, it may be easier just to build one your self.
Things You'll Need
4 33 inch long boards which are 1 inch by 1-1/2 inches
4 33 inch long boards which are 1 inch by 5/8 inches
8 3-5/8 inch long 1-by-3 boards
4 beaded board panels 4-1/2 inches wide by 28 inches tall
2 11-by-11 inch plywood 3/4 inch thick
2 1-by-2 which are mitered with 45 degree cuts at either end. The finished piece has a longer side of 9-3/8", the shorter side is 7-3/8" and it is 1 inch thick.
2 1-by-2 which are mitered with 45 degree cuts at either end. The finished piece has a longer side of 7-7/8", the shorter side is 5-7/8" and it is 1 inch thick.
3/4" plywood which is 8-1/4"-by-8-1/2".
Screws
biscuits
wood glue
nails
sandpaper
stain
hammer
paintbrush
mask
goggles
ear plugs
Take two of your 33 inch long by 1-1/2 inch wide pieces and two of your 3-by-3-5/8" and create a rectangle. The 33 inch pieces will be your stiles and the 3-5/8" pieces will be the rails. The longer pieces should be on the outside of the smaller pieces. Connect them using the biscuits. Repeat this process and build a second frame.
Take two of your 33 inch long by 5/8" inch wide pieces and two of your 3-by-3-5/8" and create a rectangle. The 33 inch pieces will be your stiles and the 3-5/8" pieces will be the rails. The longer pieces should be on the outside of the smaller pieces. Connect them using the biscuits. Repeat this process and build a fourth frame. You should now have four frames which will correspond to your sides.
Glue and nail the beaded paneling to the back of all four frames you just finished. You should now have four complete sides.
Glue and nail a thinner panel to a wider panel at an edge and at a 90 degree angle. Repeat this to glue and nail all four pieces of the column together. Wait until the glue dries.
Place the 11-by-11 inch 3/4 plywood on top of each other and screw them together to create a base which is 11-by-11-by-1-1/2 inches.
Screw one end of the column into the 11-by11 inch board. Make sure it is centered.
Use the mitered 1-by-2 to go around the column where it meets the base, and screw it into the column This will help stabilize it and give the appearance of added weight to the bottom
Take your last piece of plywood and glue and nail it to the top of the column
Sand the pedestal down and stain it.
Tips & Warnings
This pedestal will only be about 36 inches tall. Feel free to make your stiles and rails bigger and longer if you want a bigger pedestal. The instructions for construction will be the same
Make sure you don't get your boards confused. Lay out each side before you begin assembly in order to make sure everything fits correctly.


