Bulbs
Flower Basics
Flower Beds & Specialty Gardens
Flower Garden
Garden Furniture
Garden Gnomes
Garden Seeds
Garden Sheds
Garden Statues
Garden Tools & Supplies
Gardening Basics
Green & Organic
Groundcovers & Vines
Growing Annuals
Growing Basil
Growing Beans
Growing Berries
Growing Blueberries
Growing Cactus
Growing Corn
Growing Cotton
Growing Edibles
Growing Flowers
Growing Garlic
Growing Grapes
Growing Grass
Growing Herbs
Growing Jasmine
Growing Mint
Growing Mushrooms
Orchids
Growing Peanuts
Growing Perennials
Growing Plants
Growing Rosemary
Growing Roses
Growing Strawberries
Growing Sunflowers
Growing Thyme
Growing Tomatoes
Growing Tulips
Growing Vegetables
Herb Basics
Herb Garden
Indoor Growing
Landscaping Basics
Landscaping Patios
Landscaping Plants
Landscaping Shrubs
Landscaping Trees
Landscaping Walks & Pathways
Lawn Basics
Lawn Maintenance
Lawn Mowers
Lawn Ornaments
Lawn Planting
Lawn Tools
Outdoor Growing
Overall Landscape Planning
Pests, Weeds & Problems
Plant Basics
Rock Garden
Rose Garden
Shrubs
Soil
Specialty Gardens
Trees
Vegetable Garden
Yard Maintenance
How to Make a Tomato Cage Light Tree
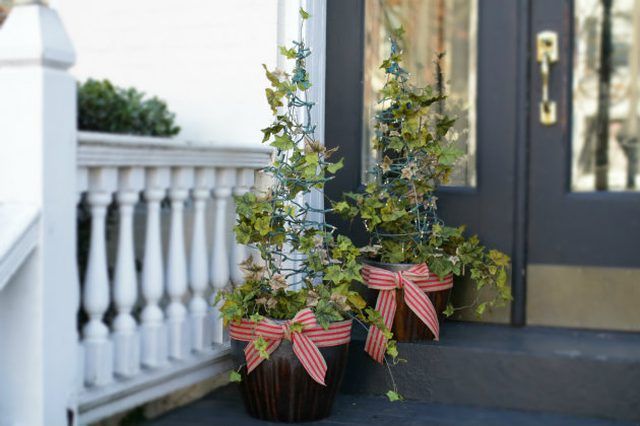
How to Make a Tomato Cage Light Tree. Transform tomato cages and garden planters into a welcoming pair of illuminated holiday topiaries with the help of string lights, floral ivy and festive ribbon.Instead of leaving these gardening staples in winter storage, make them work double-duty for a budget-friendly holiday update. When turning a tomato...
Transform tomato cages and garden planters into a welcoming pair of illuminated holiday topiaries with the help of string lights, floral ivy and festive ribbon.
Instead of leaving these gardening staples in winter storage, make them work double-duty for a budget-friendly holiday update. When turning a tomato cage on its base, the support stakes come together to form a point, resembling a Christmas tree or topiary shape.
Things You'll Need
2 planters, varied sizes
2 standard tomato cages
Wire cutters
2 rubber bands
String lights, 22 feet lighted length
Green twist ties
2 floral ivy bunches
Burlap wired ribbon, 14 feet
Extension cord
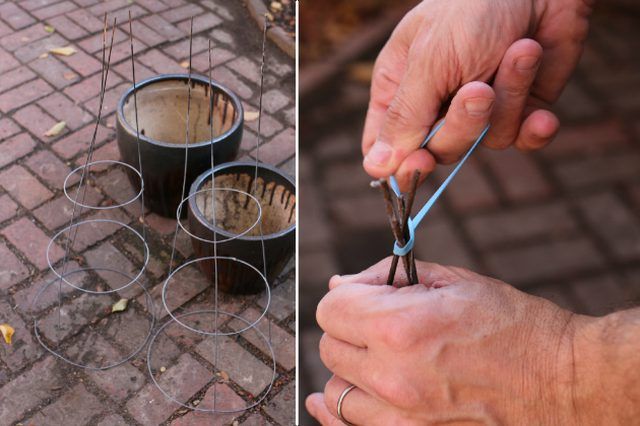
Step 1
Secure the three tomato cage support stakes together with a rubber band to form a coned tree shape on each cage.
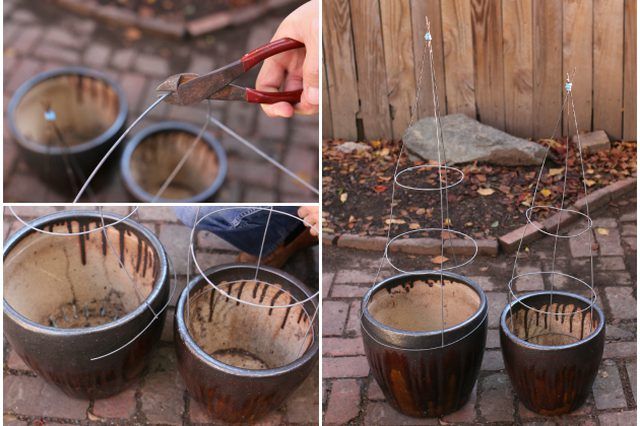
Step 2
To make a standard tomato cage base fit most any size planter, use wire cutters to snip an opening into the base ring of the cage. Doing so will allow flexibility to either overlap the ring ends to fit securely inside a smaller planter, or alternatively open to extend securely around the outside rim of a larger planter. This is also one way to achieve a varied look in size, even if starting with the same standard-size cages.
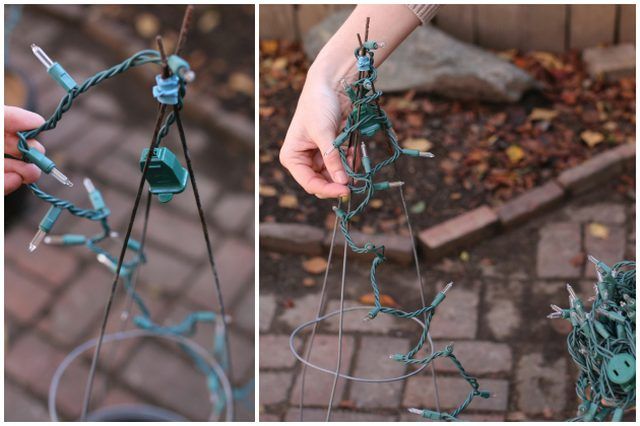
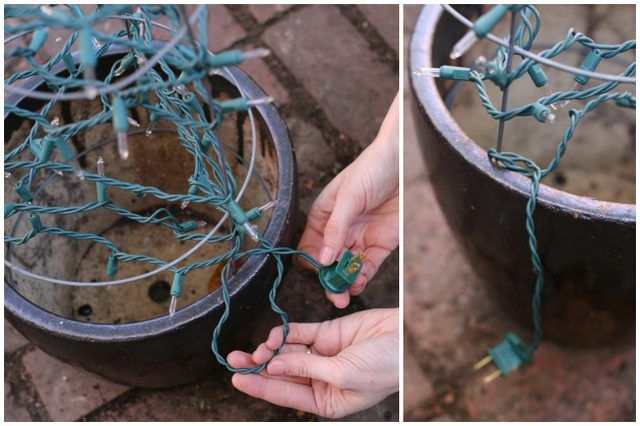
Step 3
String the lights on the tomato cage. Position the female end of the plug just inside the top points of the cage. Wrap the light cord around the top points to conceal the rubber band and end of the plug before continuing to wrap evenly down and around the cage.
Step 4
Where the base of the cage meets the rim of the planter, wrap the excess cord once around cage support to secure in place. This will act as the backside of the topiary where the extension cord can be plugged in.
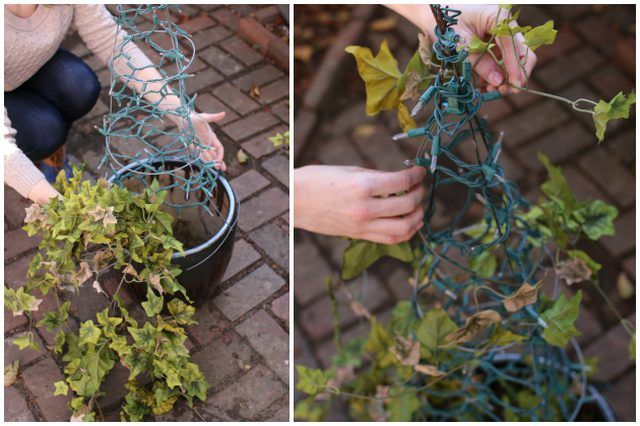
Step 5
Brush out the floral ivy bunch so each vine is workable. Insert the base of the ivy bunch into the center of the tomato cage. Wrap longest vines in a loose, natural-looking spiral up and around the tomato cage, securing with two to three twist ties to keep their shape. Allow shorter vines to remain loose, overflowing out from the base of the planter as natural ivy would.
Step 6
Cut at least 7 feet of burlap wired ribbon to wrap around the base of each planter. Finish with a simple bow, cutting edges on an angle. Wired ribbon is lined with small wires along each edge of fabric, making it easier to manipulate and hold the final shape. The ribbon will help conceal the overlapped base of the tomato cage on the larger planter, and tie in a seasonal, festive effect for the topiaries.

Step 7
Position topiaries on a covered stoop or just inside the entryway. Use an extension cord to plug them in and illuminate.


