Bulbs
Flower Basics
Flower Beds & Specialty Gardens
Flower Garden
Garden Furniture
Garden Gnomes
Garden Seeds
Garden Sheds
Garden Statues
Garden Tools & Supplies
Gardening Basics
Green & Organic
Groundcovers & Vines
Growing Annuals
Growing Basil
Growing Beans
Growing Berries
Growing Blueberries
Growing Cactus
Growing Corn
Growing Cotton
Growing Edibles
Growing Flowers
Growing Garlic
Growing Grapes
Growing Grass
Growing Herbs
Growing Jasmine
Growing Mint
Growing Mushrooms
Orchids
Growing Peanuts
Growing Perennials
Growing Plants
Growing Rosemary
Growing Roses
Growing Strawberries
Growing Sunflowers
Growing Thyme
Growing Tomatoes
Growing Tulips
Growing Vegetables
Herb Basics
Herb Garden
Indoor Growing
Landscaping Basics
Landscaping Patios
Landscaping Plants
Landscaping Shrubs
Landscaping Trees
Landscaping Walks & Pathways
Lawn Basics
Lawn Maintenance
Lawn Mowers
Lawn Ornaments
Lawn Planting
Lawn Tools
Outdoor Growing
Overall Landscape Planning
Pests, Weeds & Problems
Plant Basics
Rock Garden
Rose Garden
Shrubs
Soil
Specialty Gardens
Trees
Vegetable Garden
Yard Maintenance
How to Build Gravel Patios & Walkways
How to Build Gravel Patios & Walkways. Building gravel paths and patios is a simple way to improve your outdoor space. There is no messy concrete to pour, and no back-breaking lifting as with stone work. You are also free to create much more organic design forms, winding your gravel paths through narrow garden spaces or building flowing, curved...
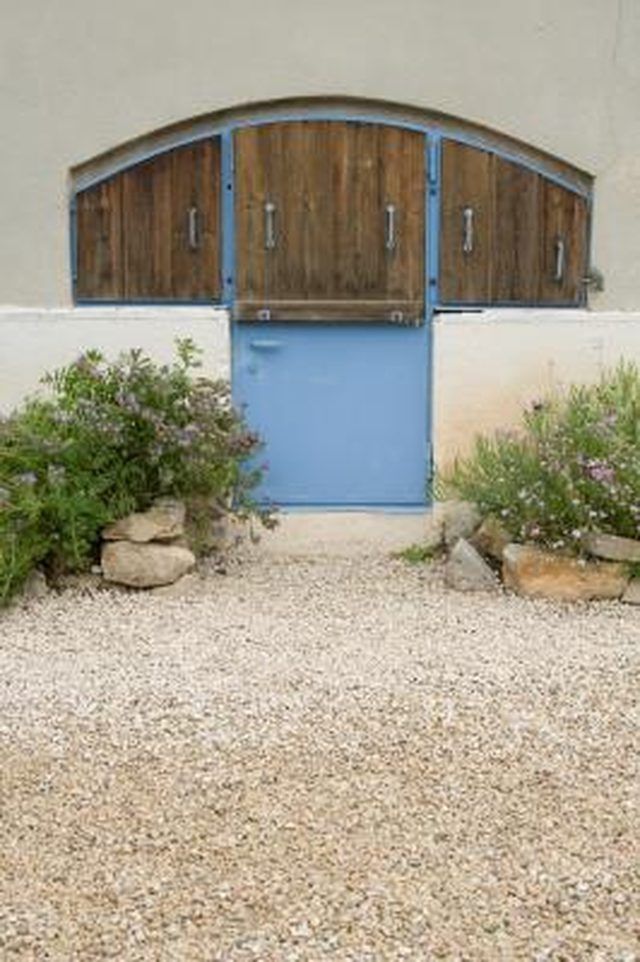
Building gravel paths and patios is a simple way to improve your outdoor space. There is no messy concrete to pour, and no back-breaking lifting as with stone work. You are also free to create much more organic design forms, winding your gravel paths through narrow garden spaces or building flowing, curved patio spaces. Gravel can often be much more affordable, as well. With only a few tools and some creativity, you can be well on your way to updating your yard with functional elegance.
Things You'll Need
Square-tipped spade
Hand tamp
Rake
Crushed stone pack
Landscape fabric
Border material
Gravel
Decide on the outline and dimensions for your path or patio, and mark with landscape paint, string or even a simple garden hose.
Dig out a 4-inch deep base using a square-tipped shovel. Try to keep the sides of the trench straight.
Use a hand tamper to pack and level the soil.
Pour a 2- to 3-inch layer of crushed stone into the trench, and rake it smooth. Use the hand tamper to pack the crushed stone, misting with a hose or water bottle to keep the dust down and aid in packing the stone. If you live in an area with hard clay soil, you can optionally skip the crushed stone and simply compact the soil itself.
Lay a layer of landscape plastic or fabric over the crushed stone to prevent weeds from working their way through your path or patio.
Install the border. You can use pre-made galvanized steel garden borders designed for the process, or alternately place a border of brick, stones or wood. When building a gravel path, it's a good idea to create a template to assist this process by notching a piece of scrap wood to demarcate your path's width, and following along your pre-made edging as you hammer it in place.
Backfill the outside of the border with soil.
Pour enough gravel to fill the borders to within 1/2 inch. This allows room for displaced gravel to move around without spilling out of the border. Rake your patio or path smooth.
Tips & Warnings
Maintain the finished path or patio by occasionally raking or topping off with more gravel.
Soften the edges of your path or patio by adding landscaping and decor such as bordering foliage, potted plants or fountains.


