Bulbs
Flower Basics
Flower Beds & Specialty Gardens
Flower Garden
Garden Furniture
Garden Gnomes
Garden Seeds
Garden Sheds
Garden Statues
Garden Tools & Supplies
Gardening Basics
Green & Organic
Groundcovers & Vines
Growing Annuals
Growing Basil
Growing Beans
Growing Berries
Growing Blueberries
Growing Cactus
Growing Corn
Growing Cotton
Growing Edibles
Growing Flowers
Growing Garlic
Growing Grapes
Growing Grass
Growing Herbs
Growing Jasmine
Growing Mint
Growing Mushrooms
Orchids
Growing Peanuts
Growing Perennials
Growing Plants
Growing Rosemary
Growing Roses
Growing Strawberries
Growing Sunflowers
Growing Thyme
Growing Tomatoes
Growing Tulips
Growing Vegetables
Herb Basics
Herb Garden
Indoor Growing
Landscaping Basics
Landscaping Patios
Landscaping Plants
Landscaping Shrubs
Landscaping Trees
Landscaping Walks & Pathways
Lawn Basics
Lawn Maintenance
Lawn Mowers
Lawn Ornaments
Lawn Planting
Lawn Tools
Outdoor Growing
Overall Landscape Planning
Pests, Weeds & Problems
Plant Basics
Rock Garden
Rose Garden
Shrubs
Soil
Specialty Gardens
Trees
Vegetable Garden
Yard Maintenance
How to Divide Rose Bushes
How to Divide Rose Bushes. Growing roses from cuttings is relatively simple. However, not all roses are appropriate for dividing. Some of the newer hybrid roses must be grafted by a professional. Antique or "old roses" are especially easy to propagate. Late summer and early fall are the ideal times to make cuttings, but almost any time...
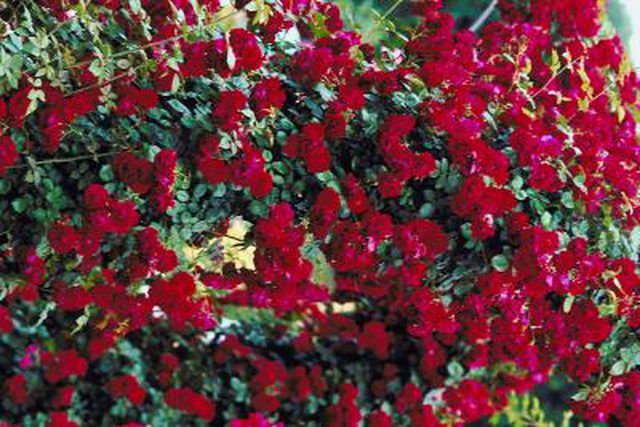
Growing roses from cuttings is relatively simple. However, not all roses are appropriate for dividing. Some of the newer hybrid roses must be grafted by a professional. Antique or "old roses" are especially easy to propagate. Late summer and early fall are the ideal times to make cuttings, but almost any time of the year will work.
Things You'll Need
Pruning sheers
Garden gloves
Pruning knife
4-inch to 6-inch pot
Vermiculite
Potting soil
Aluminum wire
Plastic bags
8-inch pots
Fertilizer
Choose a strong cane that has four to five leaves. The cane should be disease-free and insect-free. The cutting needs to be 6 to 8 inches. Trim the top of the cutting at a 45-degree angle and at the bottom of the cutting trim another 45-degree angle just below a side branch, leaving a "heel" at the base. Place in water.
Mix one part perlite or vermiculite and one part potting soil, and fill a peat pot or 6-inch plastic container.
Remove the lower leaves and keep at least two at the top. With a gloved hand,
press against each thorn and pop it off, careful not to damage the buds. Make a narrow, 1-inch wound on each side of the base of the cutting.
Punch a hole in the center of the prepared pot. Dip the cutting in the rooting hormone,
and insert it into the pot. Firm the soil and water with a fine spray. Label the cutting with the name of the rose and date.
Cut two lengths of wire long enough to make an arch over the pot and form a frame for your "greenhouse." Insert the pot into the plastic bag and secure it with a tie.
Place the pot in a warm, bright location, but avoid direct sunlight. Keep the soil moist. When new leaves appear, you will know that the cutting has grown roots. This process usually takes five to eight weeks.
Transfer the rooted cutting to an 8-inch or larger pot filled with organic potting soil. Make sure all the roots are covered. Add a slow-release fertilizer to the soil. Keep the plant in cool shade for one to two weeks, then gradually expose it to direct sunlight for several hours a day. Make several slits in the plastic bag and expose the plant for a few days, allowing it to become slightly dryer before transplanting. Transplant to your garden in about six months.


