Bulbs
Flower Basics
Flower Beds & Specialty Gardens
Flower Garden
Garden Furniture
Garden Gnomes
Garden Seeds
Garden Sheds
Garden Statues
Garden Tools & Supplies
Gardening Basics
Green & Organic
Groundcovers & Vines
Growing Annuals
Growing Basil
Growing Beans
Growing Berries
Growing Blueberries
Growing Cactus
Growing Corn
Growing Cotton
Growing Edibles
Growing Flowers
Growing Garlic
Growing Grapes
Growing Grass
Growing Herbs
Growing Jasmine
Growing Mint
Growing Mushrooms
Orchids
Growing Peanuts
Growing Perennials
Growing Plants
Growing Rosemary
Growing Roses
Growing Strawberries
Growing Sunflowers
Growing Thyme
Growing Tomatoes
Growing Tulips
Growing Vegetables
Herb Basics
Herb Garden
Indoor Growing
Landscaping Basics
Landscaping Patios
Landscaping Plants
Landscaping Shrubs
Landscaping Trees
Landscaping Walks & Pathways
Lawn Basics
Lawn Maintenance
Lawn Mowers
Lawn Ornaments
Lawn Planting
Lawn Tools
Outdoor Growing
Overall Landscape Planning
Pests, Weeds & Problems
Plant Basics
Rock Garden
Rose Garden
Shrubs
Soil
Specialty Gardens
Trees
Vegetable Garden
Yard Maintenance
How to Secure Artificial Turf
How to Secure Artificial Turf. Artificial turf is becoming more and more popular for use in residential backyards. One of the final steps for artificial turf installation is securing the turf to the ground with landscaping spikes or turf pins and securing the seams between sections with joining tape and turf adhesive. Properly securing your turf...
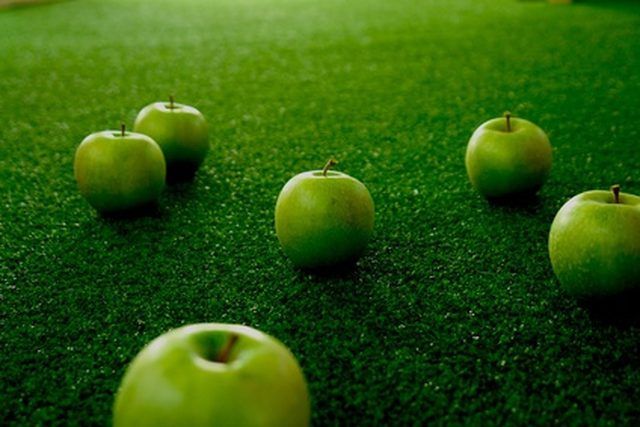
Artificial turf is becoming more and more popular for use in residential backyards. One of the final steps for artificial turf installation is securing the turf to the ground with landscaping spikes or turf pins and securing the seams between sections with joining tape and turf adhesive. Properly securing your turf will prevent the edges of your turf from loosening. Loose edges are easy to trip on and will certainly spoil the illusion of real grass, so don't skimp on secure edges.
Things You'll Need
6-inch nails, galvanized turf U-pins or landscape spikes
Hammer
Turf adhesive
Joining tape
Putty knife
Lay down your turf. You may be working with one uniform piece or several sections.
Align the edges of your turf with the edges of the lawn space you are constructing.
Pin down the perimeter of your turf by hammering in your turf pins, nails or spikes. Use one pin every 12 inches. If you choose to use U-pins, hammer in the pin about half or two-thirds of the way, then take a moment to fluff the "grass" blades and try to remove as many as possible from underneath the pin. This way, you won't have patches of flattened blades. Finish hammering the pin.
Lay the joining tape where required and secure it to the ground. One edge of the turf should cover half of the tape and the other edge should cover the other half. Where the halves meet, there should be no visible tape.
Apply turf adhesive to the joining tape with a putty knife. Work on one half at a time, just where the turf will lie. Don't be afraid to lay it on liberally. Lay down turf and press it onto the tape, then work on the other side.
Secure the turf along the seam, working to eliminate any bunching or creases as you go. If you are using U-pins, see Step 3.
Pin any remaining perimeter, after cutting and removing any excess turf.
Tips & Warnings
While artificial turf eliminates the need to mow and significantly reduces the amount of water used in the yard, because it is made of plastic material, the surface temperature can get extremely hot. A 2002 study by Brigham Young University found that the surface temperature of artificial turf was 37 degrees hotter than asphalt and 86.5 degrees hotter than natural turf. Irrigation of the turf cools it momentarily, but the temperature very quickly rises again. While artificial turf is becoming quite popular in desert communities, it is perhaps safest for use in a shady backyard where pets and children often play but where conditions are unfavorable for growing real grass.


