Bulbs
Flower Basics
Flower Beds & Specialty Gardens
Flower Garden
Garden Furniture
Garden Gnomes
Garden Seeds
Garden Sheds
Garden Statues
Garden Tools & Supplies
Gardening Basics
Green & Organic
Groundcovers & Vines
Growing Annuals
Growing Basil
Growing Beans
Growing Berries
Growing Blueberries
Growing Cactus
Growing Corn
Growing Cotton
Growing Edibles
Growing Flowers
Growing Garlic
Growing Grapes
Growing Grass
Growing Herbs
Growing Jasmine
Growing Mint
Growing Mushrooms
Orchids
Growing Peanuts
Growing Perennials
Growing Plants
Growing Rosemary
Growing Roses
Growing Strawberries
Growing Sunflowers
Growing Thyme
Growing Tomatoes
Growing Tulips
Growing Vegetables
Herb Basics
Herb Garden
Indoor Growing
Landscaping Basics
Landscaping Patios
Landscaping Plants
Landscaping Shrubs
Landscaping Trees
Landscaping Walks & Pathways
Lawn Basics
Lawn Maintenance
Lawn Mowers
Lawn Ornaments
Lawn Planting
Lawn Tools
Outdoor Growing
Overall Landscape Planning
Pests, Weeds & Problems
Plant Basics
Rock Garden
Rose Garden
Shrubs
Soil
Specialty Gardens
Trees
Vegetable Garden
Yard Maintenance
How to Adjust a Rain Bird 5000 Rotor
How to Adjust a Rain Bird 5000 Rotor. The Rain Bird 5000 rotor is a pop-up sprinkler head commonly used in residential and light commercial irrigation systems. It is gear-driven to deliver water smoothly and silently and is fully enclosed to prevent wear and tear from dirt and debris. It has a variety of spray nozzles that can be changed out easily...

The Rain Bird 5000 rotor is a pop-up sprinkler head commonly used in residential and light commercial irrigation systems. It is gear-driven to deliver water smoothly and silently and is fully enclosed to prevent wear and tear from dirt and debris. It has a variety of spray nozzles that can be changed out easily to adjust the spray pattern for any situation. The arc of the spray angle can also be adjusted to cover an area more effectively.
Things You'll Need
Sprinkler adjustment tool
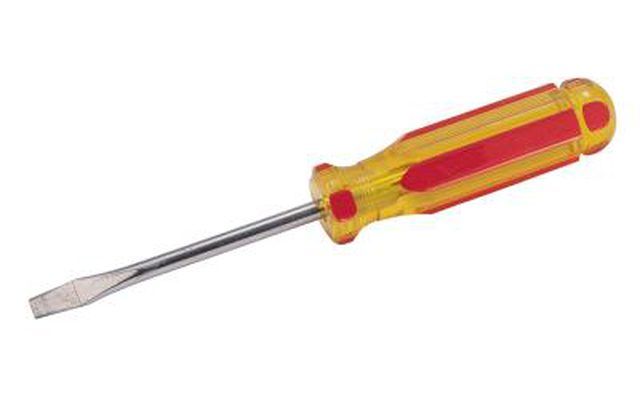
Small flat head screwdriver
Changing Nozzles and Adjusting the Radius
Insert the special sprinkler tool that came with the Rain Bird 5000 into the pull-up slot on the top of the sprinkler stem, turn it 90 degrees in the slot and pull the sprinkler stem up until it stops.
Turn the radius adjustment screw, on top of the sprinkler stem, counterclockwise to back it out of its hole. Insert the screwdriver blade under the nozzle removal tab on the side of the stem and press down. The nozzle will come out of the nozzle socket.
Insert the correct nozzle into the nozzle socket. Turn the radius adjustment screw clockwise to hold the new nozzle in place. Insert the identification plug for the new nozzle into the opening on top of the sprinkler stem.
Adjust the radius of the spray by turning the radius adjustment screw clockwise to shorten and counterclockwise to lengthen the radius of the spray.
Setting the Arc
Align the fixed left edge of the sprinkler stem. Insert the special sprinkler tool into the pull-up slot on the top of the sprinkler stem, turn it 90 degrees in the slot and pull the sprinkler stem up until it stops. Turn the turret on the stem counterclockwise until it stops.
Rotate entire sprinkler unit to the proper left starting position or unscrew the cap of the sprinkler and remove the gear assembly. Rotate the gear assembly to align it to the left starting point and reinstall the gear assembly and replace the cap.
Turn the adjustment socket with the screwdriver while the turret is aligned to the fixed left edge. To increase the arc of the spray, turn the socket clockwise. To decrease the arc, turn the socket counterclockwise. Each full turn of the socket will add or remove 90 degrees of arc.
Do not adjust the arc of the sprinkler to less than 40 or greater than 360 degrees to prevent the gear assembly from failing to operate properly.