Bulbs
Flower Basics
Flower Beds & Specialty Gardens
Flower Garden
Garden Furniture
Garden Gnomes
Garden Seeds
Garden Sheds
Garden Statues
Garden Tools & Supplies
Gardening Basics
Green & Organic
Groundcovers & Vines
Growing Annuals
Growing Basil
Growing Beans
Growing Berries
Growing Blueberries
Growing Cactus
Growing Corn
Growing Cotton
Growing Edibles
Growing Flowers
Growing Garlic
Growing Grapes
Growing Grass
Growing Herbs
Growing Jasmine
Growing Mint
Growing Mushrooms
Orchids
Growing Peanuts
Growing Perennials
Growing Plants
Growing Rosemary
Growing Roses
Growing Strawberries
Growing Sunflowers
Growing Thyme
Growing Tomatoes
Growing Tulips
Growing Vegetables
Herb Basics
Herb Garden
Indoor Growing
Landscaping Basics
Landscaping Patios
Landscaping Plants
Landscaping Shrubs
Landscaping Trees
Landscaping Walks & Pathways
Lawn Basics
Lawn Maintenance
Lawn Mowers
Lawn Ornaments
Lawn Planting
Lawn Tools
Outdoor Growing
Overall Landscape Planning
Pests, Weeds & Problems
Plant Basics
Rock Garden
Rose Garden
Shrubs
Soil
Specialty Gardens
Trees
Vegetable Garden
Yard Maintenance
How to Grow a Plant in a Glass Bottle
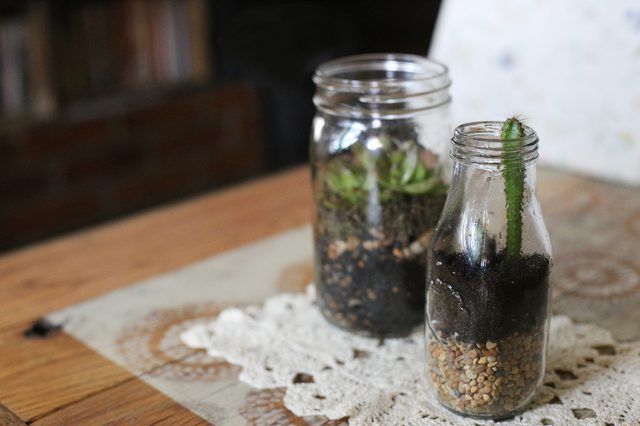
How to Grow a Plant in a Glass Bottle. An empty bottle made from clear glass can be a terrarium container for growing compact plants. The plants need to fit the temperature and light conditions where you plan to keep the bottle terrarium. The homemade terrarium needs a drainage area at the bottom since the container doesn't have any drainage...
An empty bottle made from clear glass can be a terrarium container for growing compact plants. The plants need to fit the temperature and light conditions where you plan to keep the bottle terrarium. The homemade terrarium needs a drainage area at the bottom since the container doesn't have any drainage holes. With a few basic materials, you are on your way to turning an old bottle into a new home for plants.
Things You'll Need
Plants
Bottle
Soap
Expanded clay pellets
Pea gravel
Aquarium gravel
Horticulture charcoal
Funnel
Nylon fabric
Fiberglass window screen
Wooden dowel
Chopsticks
Sphagnum moss
Potting medium
Tongs
Wire
Step 1
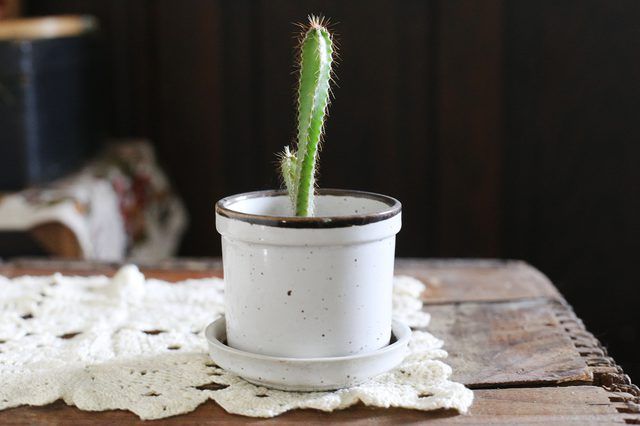
Select plants for the bottle terrarium that need the amount of light available in the area you plan to put the terrarium. For a bottle with a small opening, try creeping fig (Ficus pumila) or ti plant (Cordyline terminalis). The creeping fig grows in U.S. Department of Agriculture plant hardiness zones 9 to 11, while the ti plant is hardy in zones 10 to 12. Skinny succulents and cacti are also suitable options.
Step 2
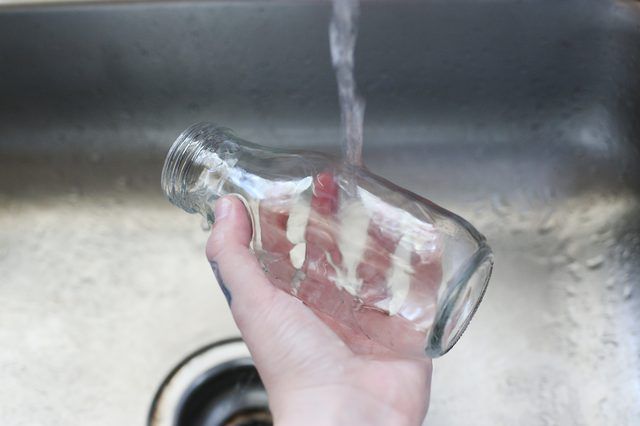
Remove labels from the outside of the bottle. Wash the inside and outside of the bottle using warm water and a mild soap. Rinse the bottle thoroughly to remove all traces of the soap. A bottle with a larger opening, such as a glass jug, makes planting easier in your terrarium. If you use a bottle with a small opening, such as a wine bottle, it becomes more difficult to get the materials and the plants inside the bottle.
Step 3
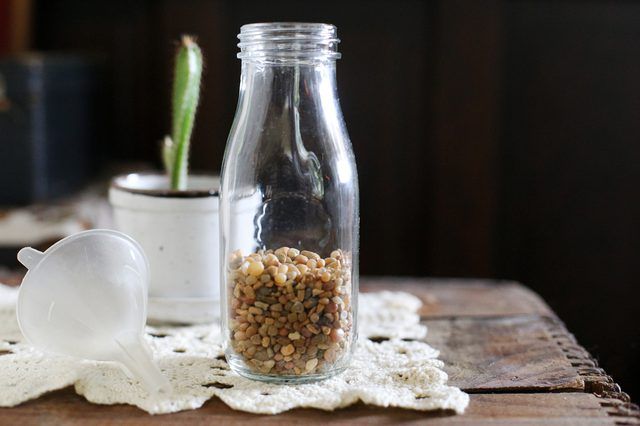
Pour 1 to 2 inches of expanded clay pellets, pea gravel or large aquarium gravel in the bottom of the bottle to create drainage. Use a funnel to direct the material into the bottle. Shake the bottle gently to level out the layer. Top the drainage material with 1/2 inch of horticultural charcoal to keep the soil from smelling.
Step 4
Cut a piece of nylon fabric or fiberglass window screen into a circle the same diameter as the bottle. Fold the piece of material so it will fit through the opening in the bottle and push it inside. Use a wooden dowel or chopstick to open up the material and position it over the charcoal. An alternative is to use sphagnum moss to cover the charcoal. The layer keeps the soil from filtering down into the drainage material.
Step 5
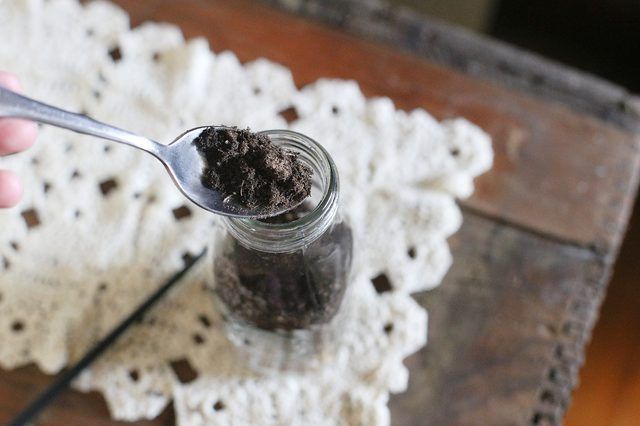
Add about 1 1/2 inches of slightly damp, sterilized potting medium to the bottle. The soil should be damp enough that it doesn't stir up dust but not so moist that it clumps or sticks to the sides.
Step 6
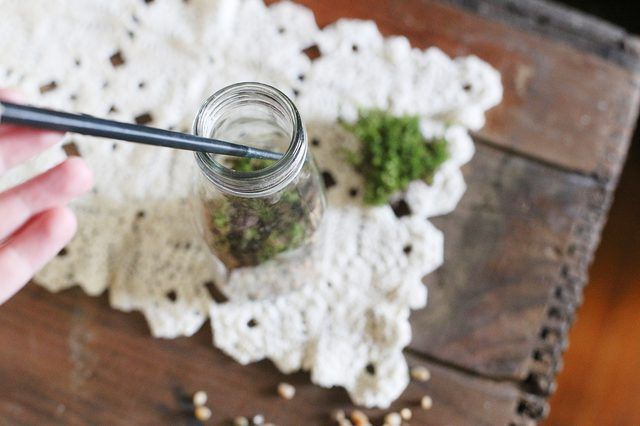
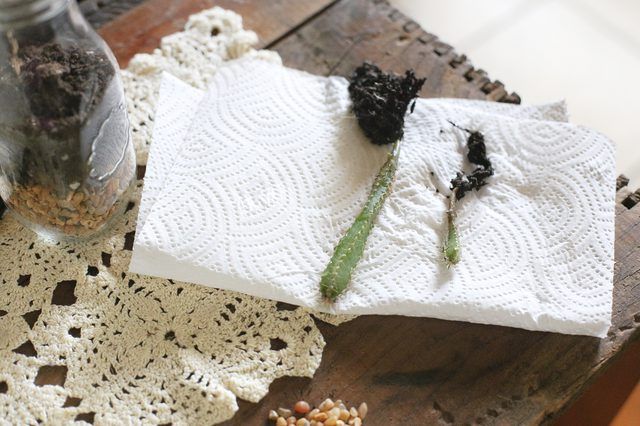
Arrange the plants on the table if you're putting more than one inside the bottle. Knowing how they will fit together in the bottle makes it easier to plant them.
Step 7
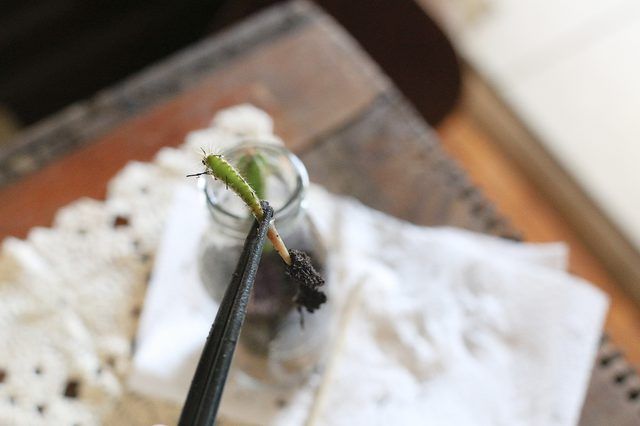
Dig holes for the plants using a long stick or handle. Lower the plants into the bottle with a pair of skinny tongs, two chopsticks or a piece of sturdy wire with a loop at the end. Fill in dirt around the plant roots using a stick or other long tool.
Step 8
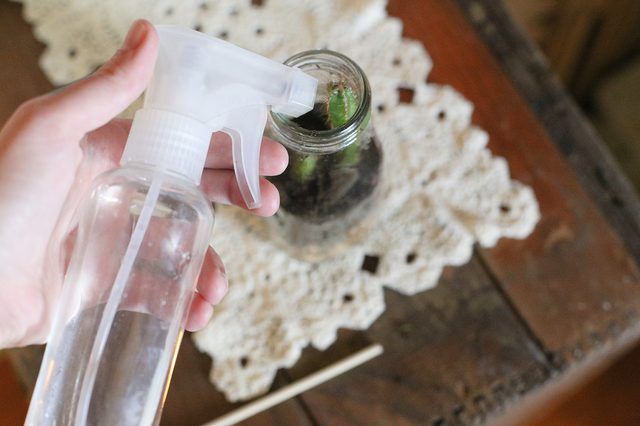
Mist the plants in the bottle to wash off any dirt and provide moisture. No more than 1/4 of an inch of water should accumulate in the bottom in the drainage layer. Too much water causes the plants to rot or get a fungal infection.
Step 9
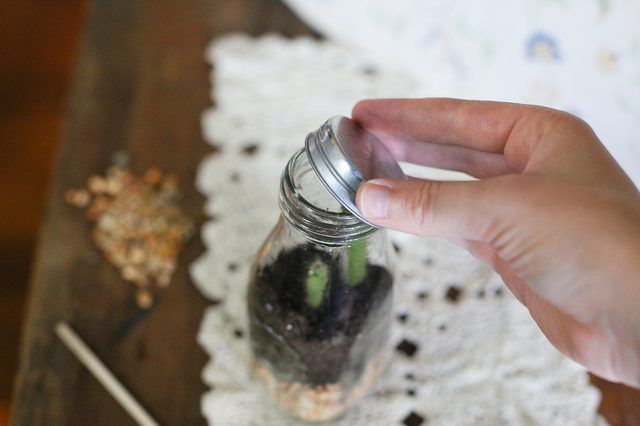
Put a cork or lid on the bottle if you want to create a closed terrarium. Closed containers create high-humidity environments and require little if any watering. An open container requires some watering and is best for plants such as cacti and succulents that like drier environments.


