Bulbs
Flower Basics
Flower Beds & Specialty Gardens
Flower Garden
Garden Furniture
Garden Gnomes
Garden Seeds
Garden Sheds
Garden Statues
Garden Tools & Supplies
Gardening Basics
Green & Organic
Groundcovers & Vines
Growing Annuals
Growing Basil
Growing Beans
Growing Berries
Growing Blueberries
Growing Cactus
Growing Corn
Growing Cotton
Growing Edibles
Growing Flowers
Growing Garlic
Growing Grapes
Growing Grass
Growing Herbs
Growing Jasmine
Growing Mint
Growing Mushrooms
Orchids
Growing Peanuts
Growing Perennials
Growing Plants
Growing Rosemary
Growing Roses
Growing Strawberries
Growing Sunflowers
Growing Thyme
Growing Tomatoes
Growing Tulips
Growing Vegetables
Herb Basics
Herb Garden
Indoor Growing
Landscaping Basics
Landscaping Patios
Landscaping Plants
Landscaping Shrubs
Landscaping Trees
Landscaping Walks & Pathways
Lawn Basics
Lawn Maintenance
Lawn Mowers
Lawn Ornaments
Lawn Planting
Lawn Tools
Outdoor Growing
Overall Landscape Planning
Pests, Weeds & Problems
Plant Basics
Rock Garden
Rose Garden
Shrubs
Soil
Specialty Gardens
Trees
Vegetable Garden
Yard Maintenance
How to Root Photinia Cuttings
How to Root Photinia Cuttings. Photinia is a shrub that is related to the hawthorn plant and is of the family Rosaceae. The photinia has oval-shaped dark green leaves that get up to 5 inches long and 2 to 3 inches wide. New growth is bright-colored, usually red, and it darkens to green when mature. The plant has small white clusters of flowers. The...

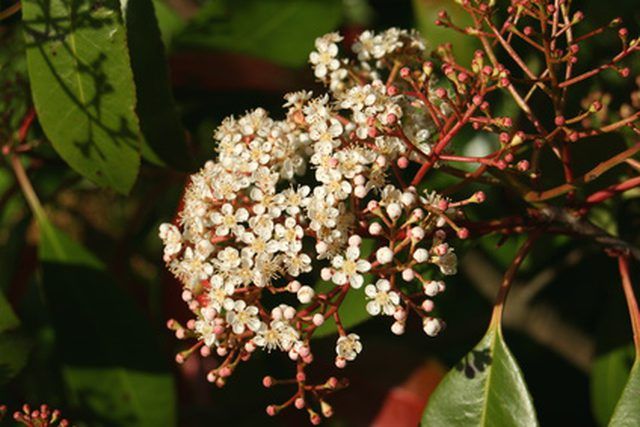
Photinia is a shrub that is related to the hawthorn plant and is of the family Rosaceae. The photinia has oval-shaped dark green leaves that get up to 5 inches long and 2 to 3 inches wide. New growth is bright-colored, usually red, and it darkens to green when mature. The plant has small white clusters of flowers. The photinia is an evergreen plant as long as the temperature stays above 10 degrees. This plant needs neutral to acid soils and is a great plant in hedges growing to the height of 10 to 15 feet.
Things You'll Need
6-inch pot
5-lb. bag of perlite
5-lb. bag of peat moss
Sharp sterile knife
Rooting hormone
Pencil
Prepare a 6-inch nursery pot. Fill the pot with 50 percent perlite and 50 percent peat moss to about 1 inch from the top mixing the two mediums well. Both can be purchased at your local nursery for about $5 per bag as of April 2010. Using a soilless mix will ensure a healthy disease-free plant.
Cut a 4- to 6-inch cutting from a photinia near the top of the plant with a sharp sterile knife. You want a cutting with at least three nodes. Make the cut below a plant node at a 45-degree angle. Cuttings should be made in the summer during the months of June through September. A plant node is a bump on the stem of a plant from which leaves will grow. Roots will emerge from the bottom of the nodes.
Trim away the lower leaves of the cutting about halfway down the cutting.
Use rooting hormone which can be bought at your local nursery for around $5 as of April 2010. Dip the bottom tip of the cutting into the root hormone. Follow the directions on the jar carefully.
Use a pencil to make a 2-inch deep hole into the perlite peat moss mixture. Place the cutting into the hole, making sure at least two nodes are buried.
Water the cutting until water comes out of the holes on the bottom. For the next six weeks it is important to keep the cutting moist. Keep in direct sunlight.
Transplant the cutting into a commercial soil mix after six weeks. Use a commercial mix rather then native soil and this will ensure that your cutting will be disease-free.